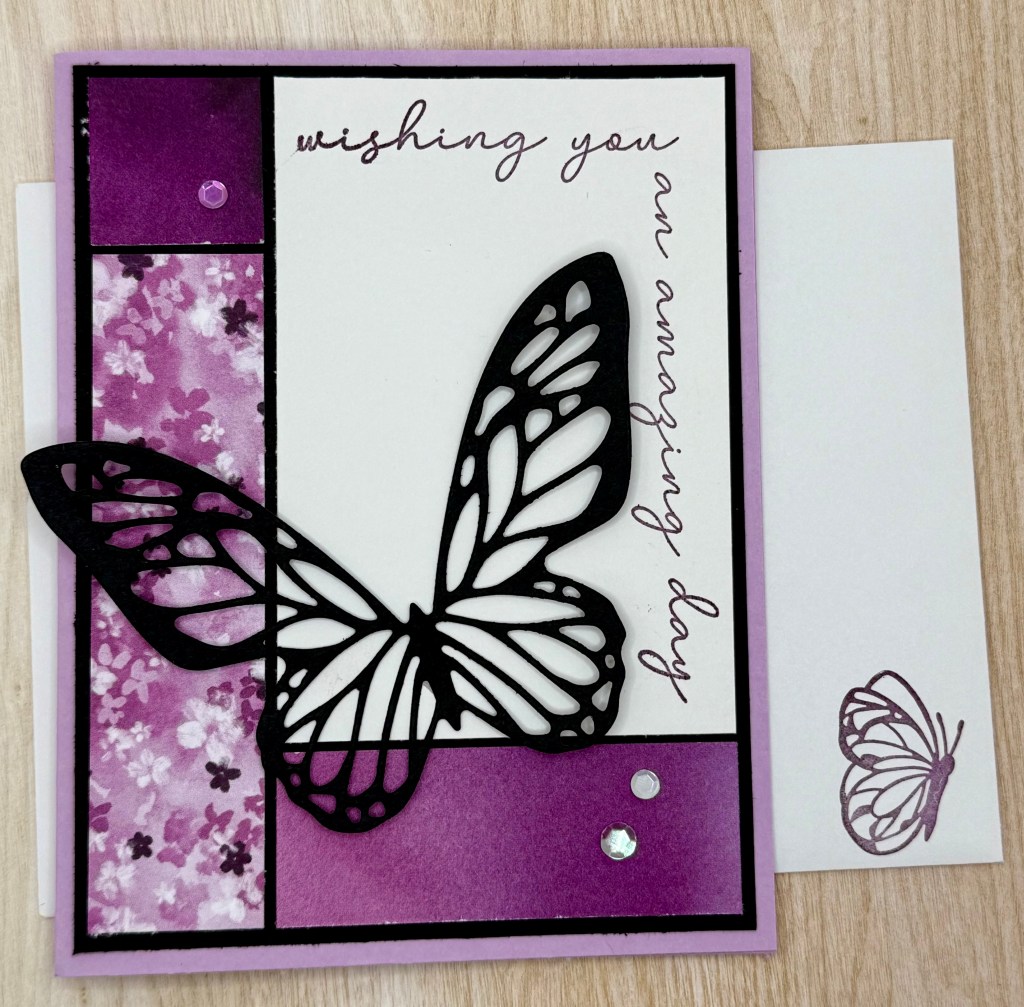
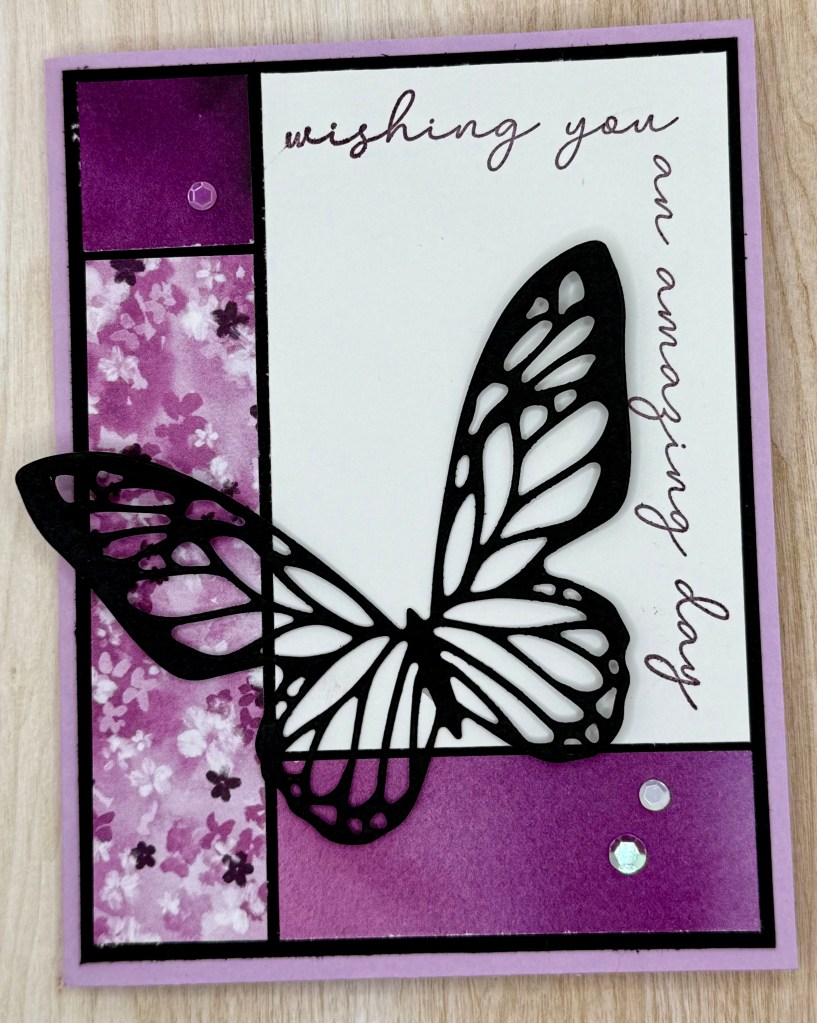
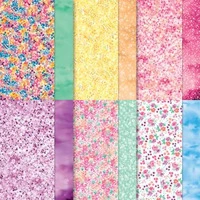
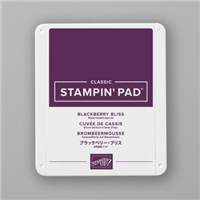
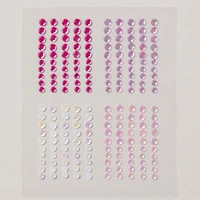
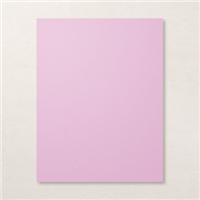
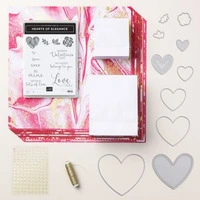
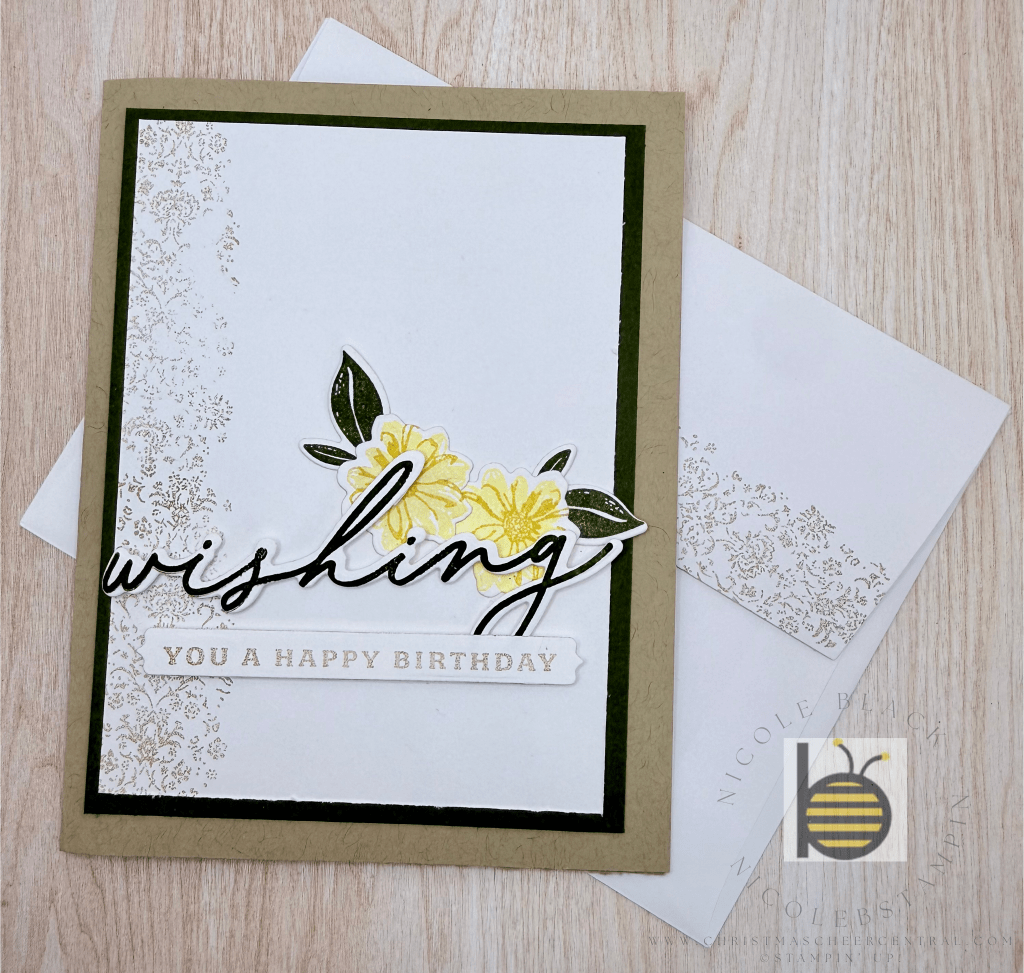
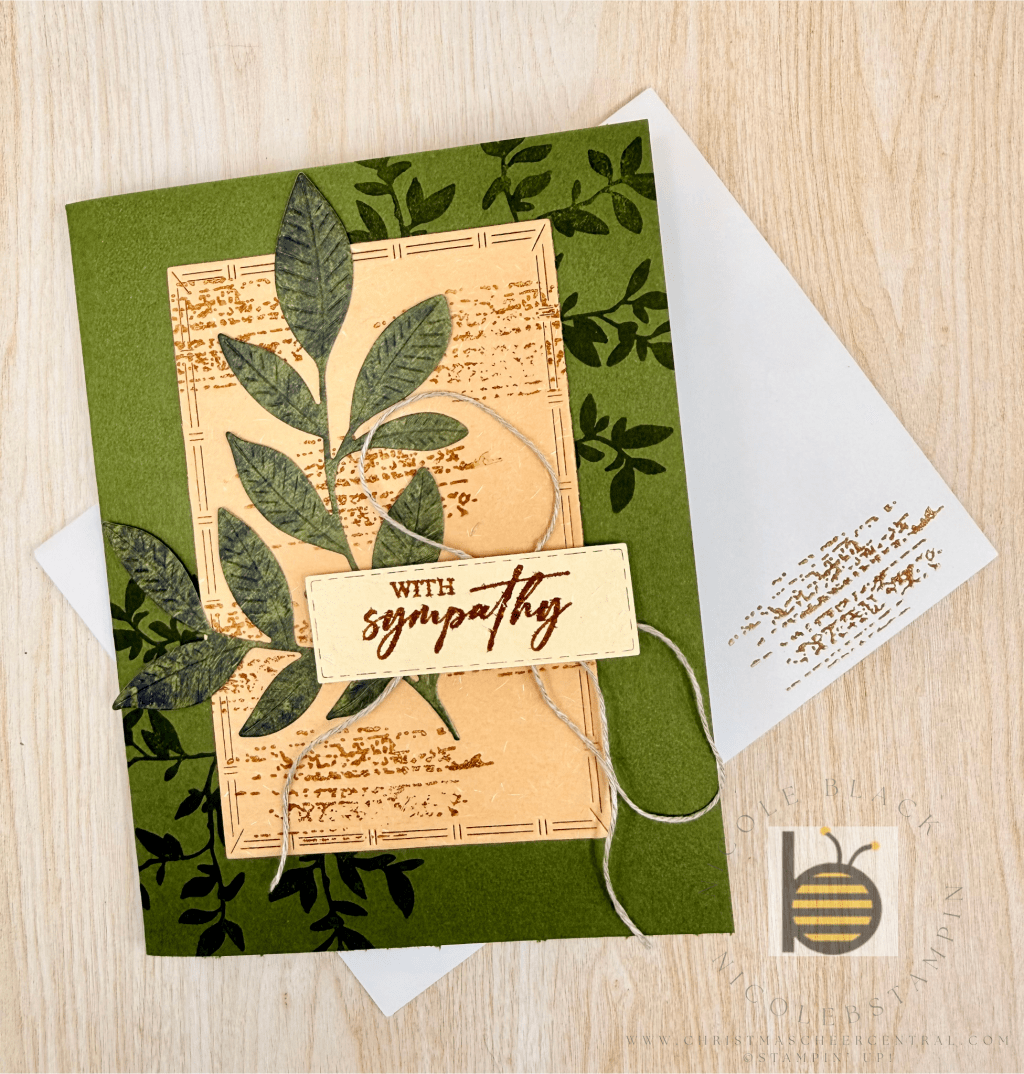
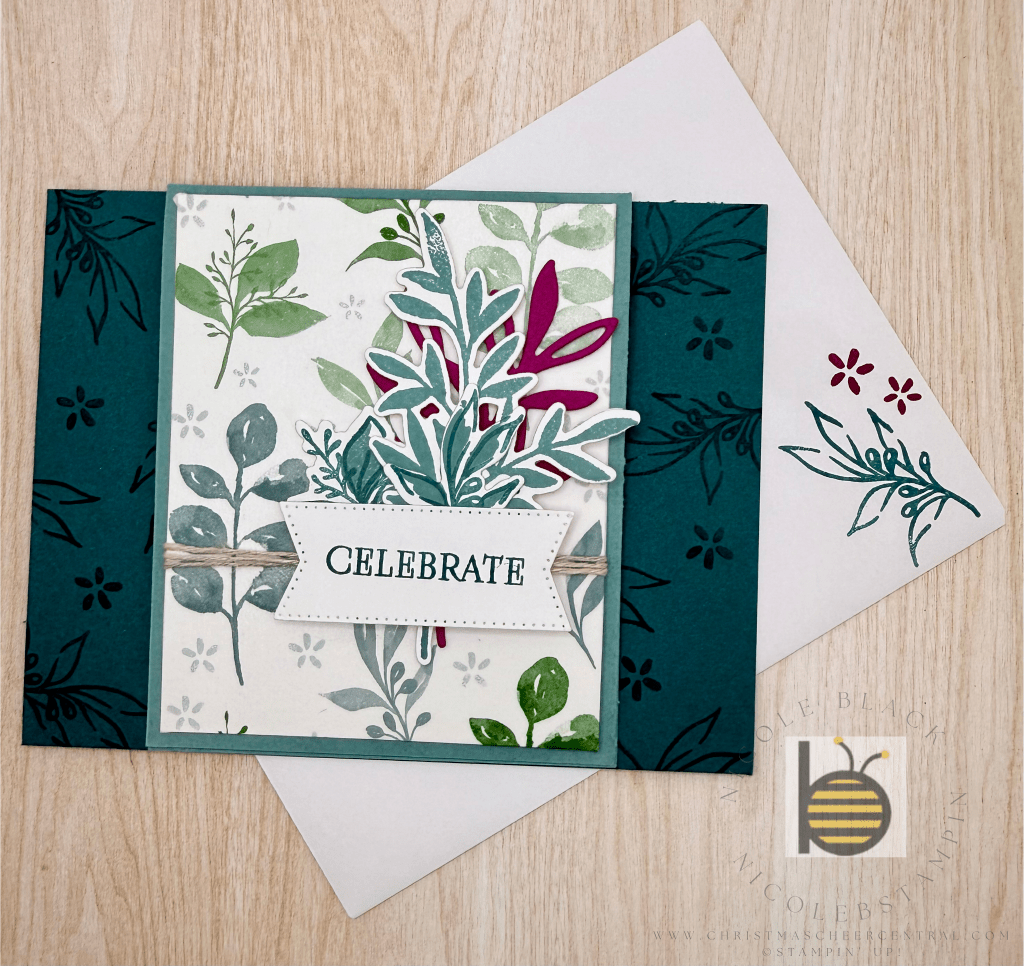
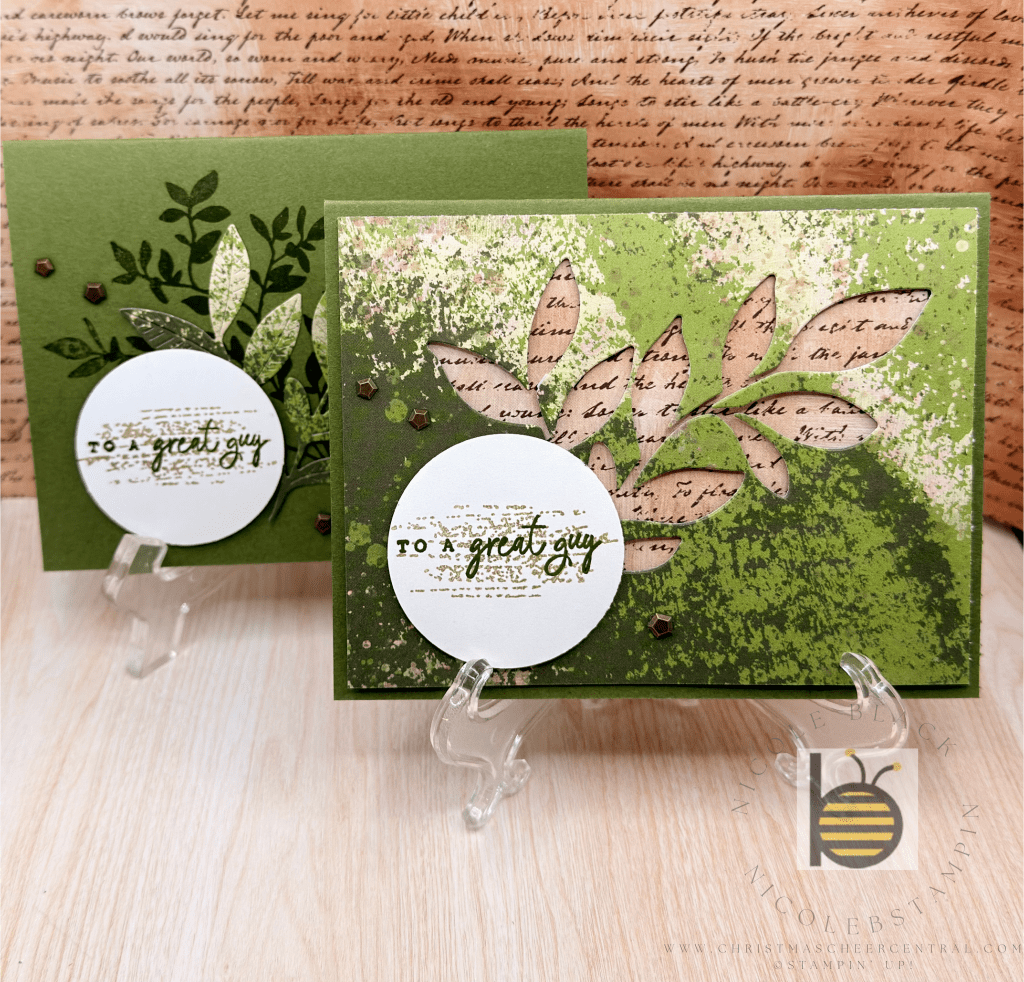
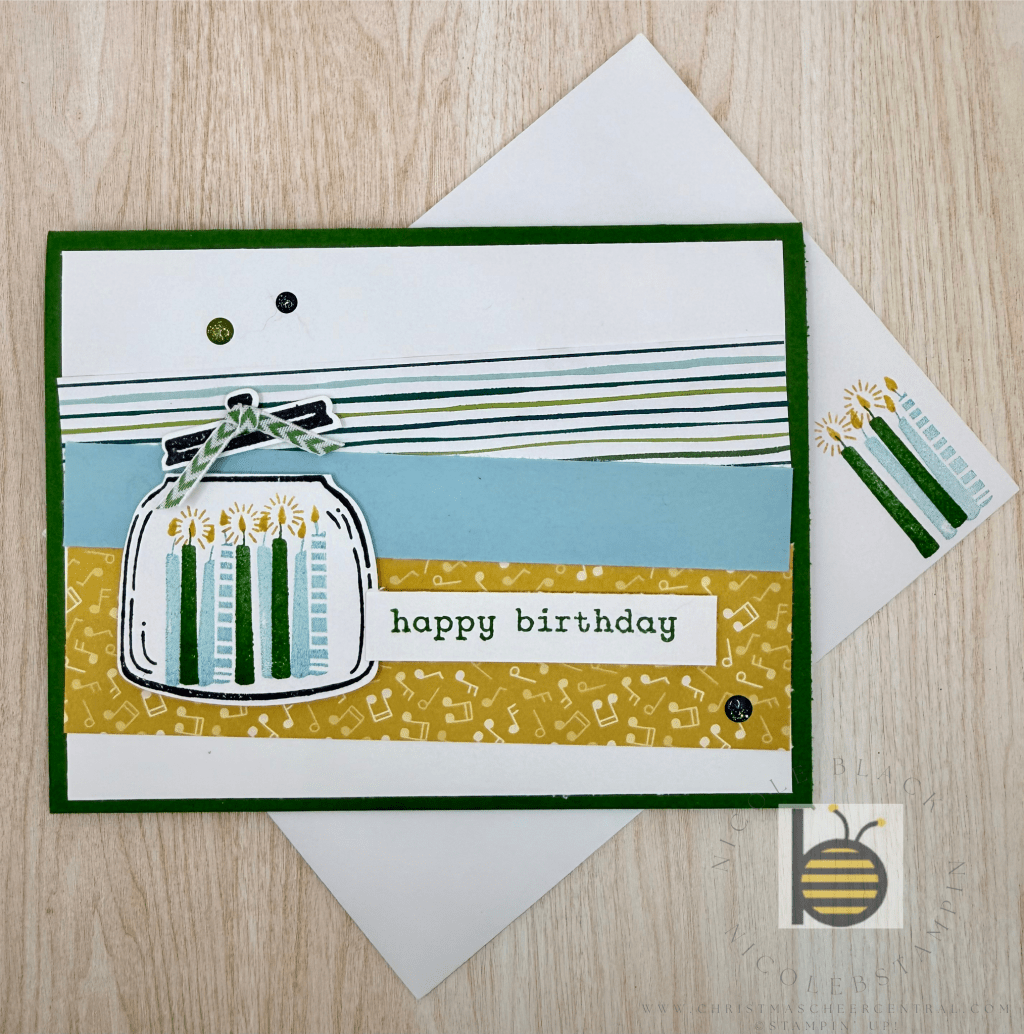
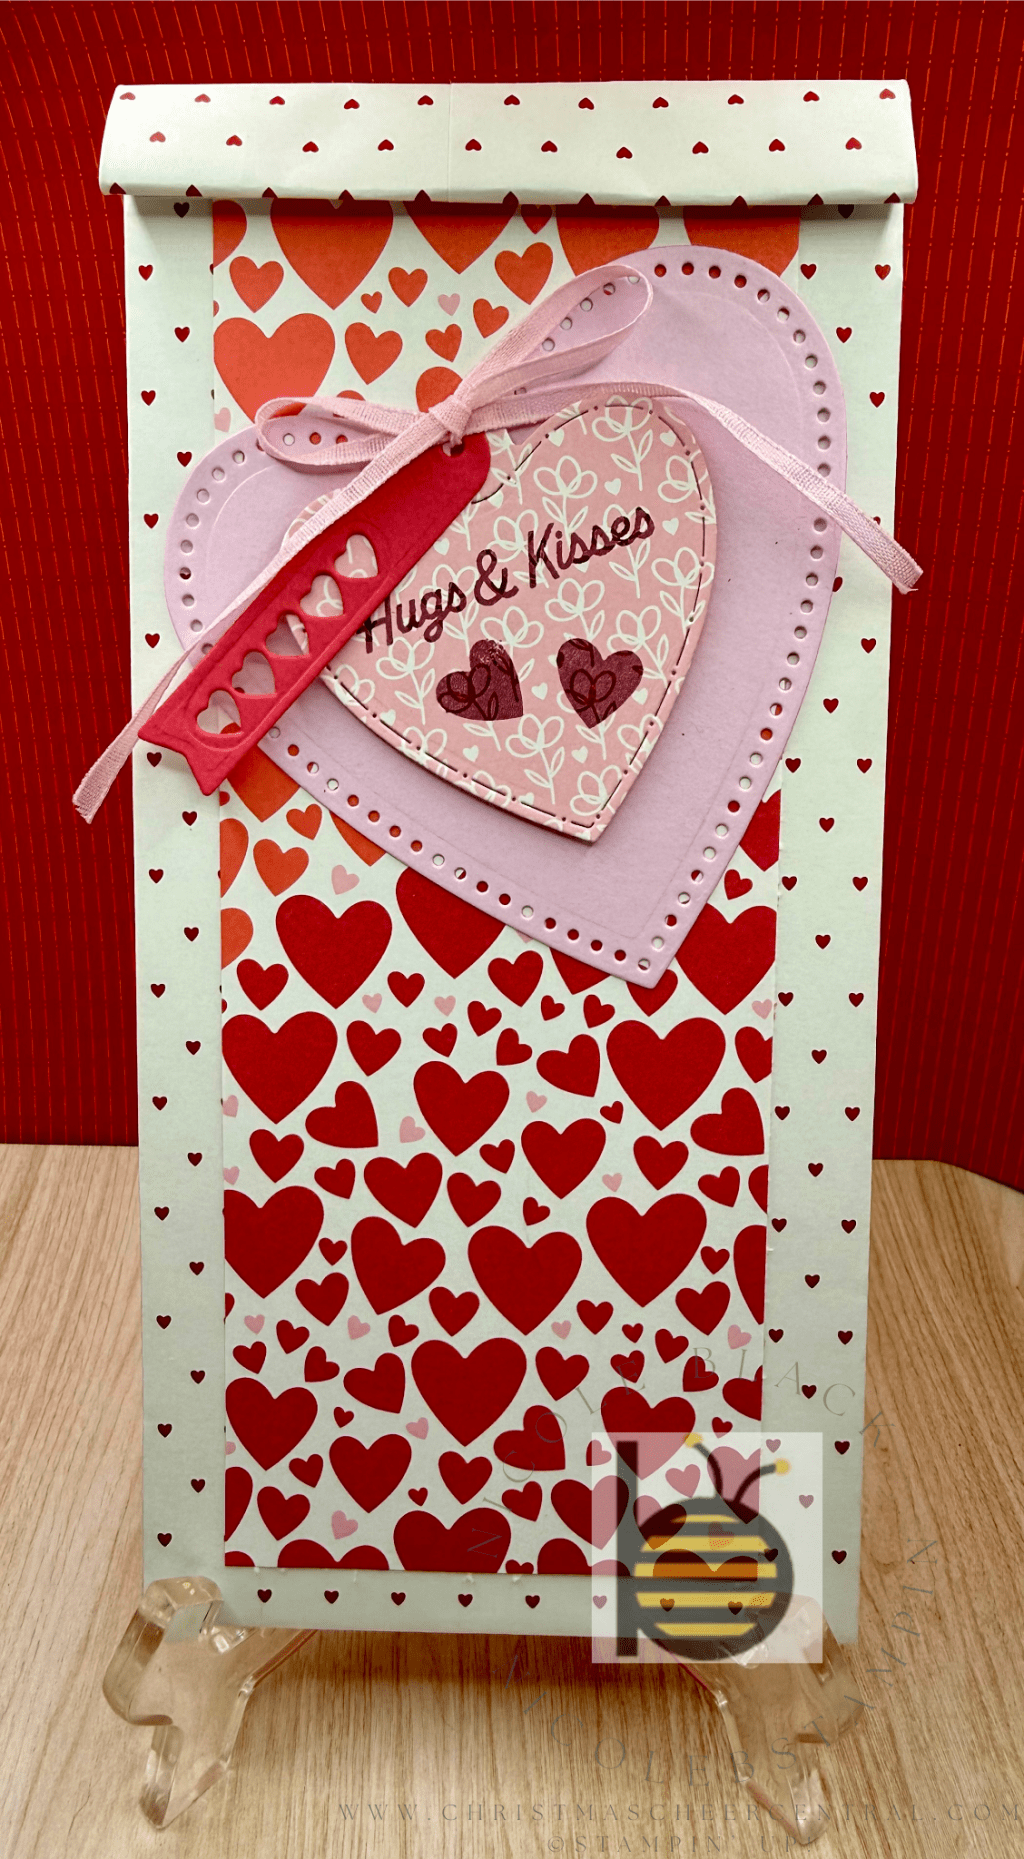
Stampin’ Up!’s Annual Sale-A-Bration event is in full swing through the end of February! When you purchase the supplies needed to create this beautiful card, you’ll earn the Designer Series Paper and Embellishments used—completely FREE!
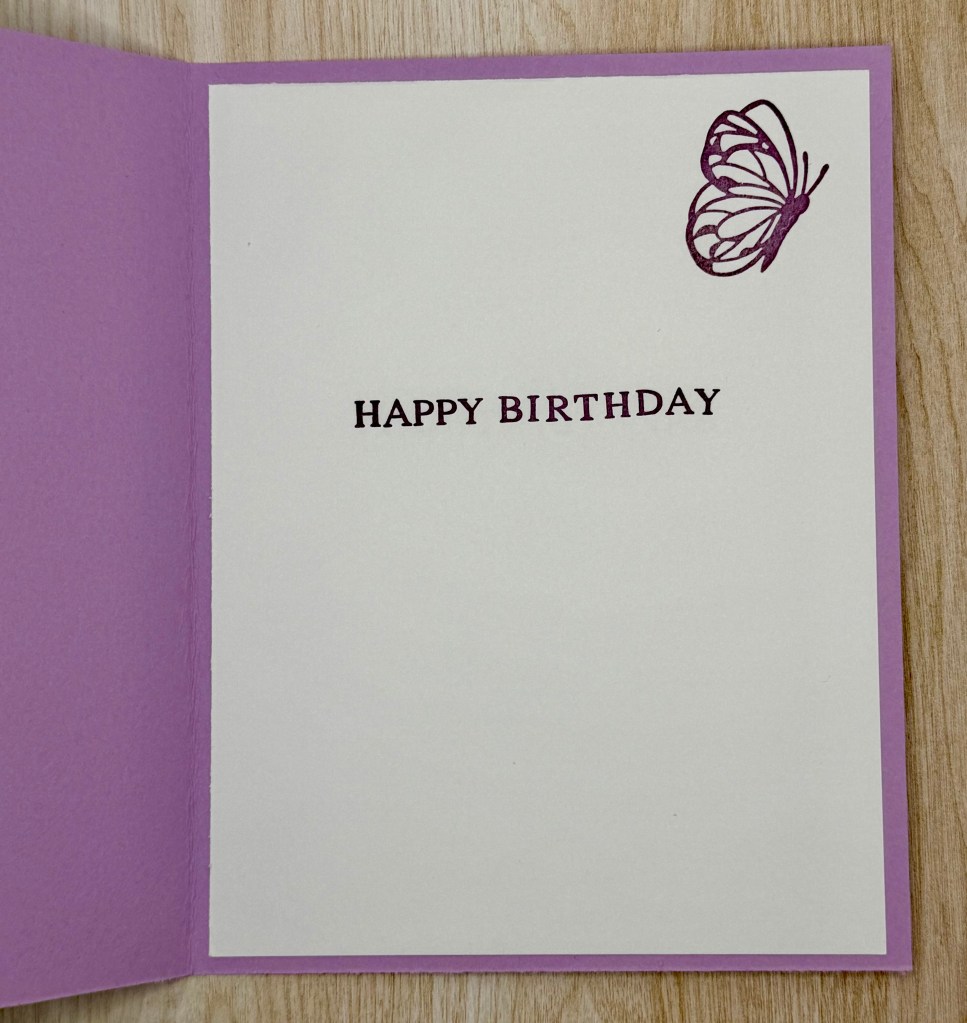
This card features fun and simple layering, making it easy to put together. The painted purple design on one side of the Designer Series Paper perfectly complements the delicate purple flowers on the other, creating a seamless and elegant look. If I were to make this card again, I would opt for Blackberry Bliss instead of Basic Black cardstock for a slightly richer feel—but even as is, it looks stunning!
I absolutely love both the Spring Corners Stamp Set and the Beautiful Butterflies Bundle—expect to see them featured again soon!
Cardstock Cuts for this project:
Fresh Freesia – 8-1/2″ x 5-1/2″ scored at 4-1/4 card base
Basic White – 5-1/4″ x 4″ inside panel, 4″ x 3″ panel
Basic Black – 5-1/4″ x 4″ panel, 4″ x 3″ for Butterfly Die
Bloom Impressions DSP – 4″ x 1″ panel, 2-3/4″ x 1″ panel, 1″ x 1″ panel
Stampin’ Up! products used to create this project:
Apologies for my recent absence! After all the excitement and activity of Christmas, I found it tough to get motivated in January. I let a few things slide, but the good news is—I’m back and ready to create again!
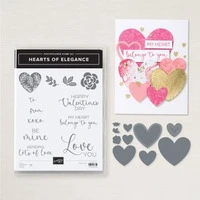
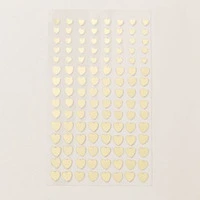
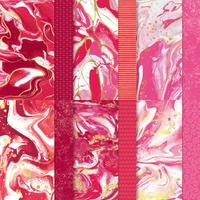
And what better way to dive back in than with Valentine’s Day and the stunning Marbled Elegance Suite?
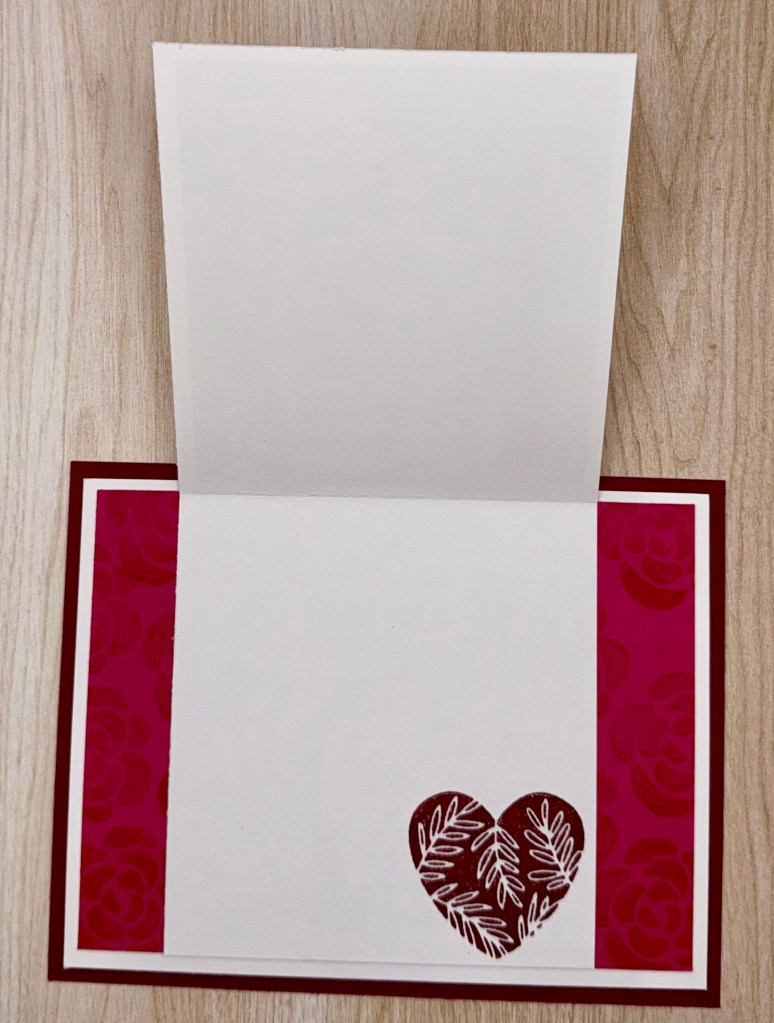
This card is a fun twist on a traditional design! It features a unique fold that adds extra charm while still being super easy to make. The base, in rich Cherry Cobbler, measures 5-1/2″ x 4-1/4″, with layered details on top. The real magic happens with the Basic White piece, which opens in the center for an elegant reveal.
I’ve listed all the cutting dimensions below, but for a step-by-step guide, be sure to check out my video! Not only will I walk you through assembling this card, but I’ll also showcase the entire Marbled Elegance Suite—you won’t want to miss it!
Stay tuned for more creative inspiration, and let’s make something beautiful together! 💕
Creating This Card: Video Tutorial
Cardstock Cuts for this project:
Cherry Cobbler – 5-1/2″ x 4″ card base
Basic White – 5-1/4″ x 4″ panel, 7-1/2 x 3-1/2 panel scored at 3-3/4, 3-3/4 x 1-3/4 for Label Die
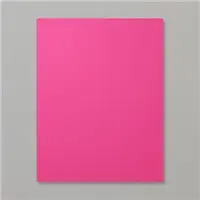
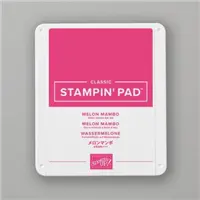
Melon Mambo – 5″ x 3-3/4″ panel
Marbled Elegance DSP – 3-1/2″ x 3/14″ panel
Gold Foil – 2-1/2 x 2-1/4 for Heart Die
Stampin’ Up! products used to create this project:
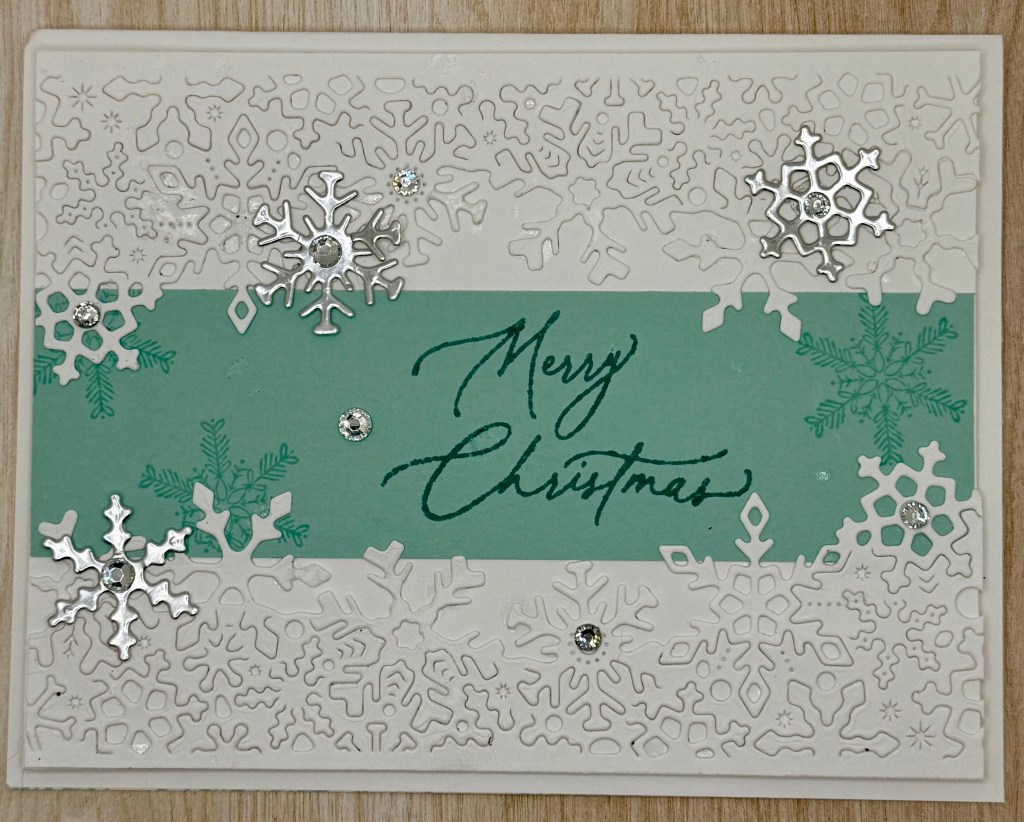
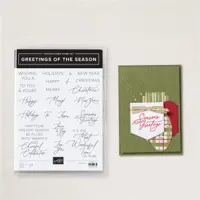
Every year, I create a special Christmas card for my Stampin’ Up! customers. It’s my way of saying thank you and spreading a little holiday cheer. I held off on sharing the design until after Christmas to keep it a delightful surprise for them. Anyone who knows me knows I can’t resist adding a touch of sparkle—and this year was no exception!
Here’s how I brought this year’s card to life, step by step:
Creating This Card: A Step-by-Step Guide
1. Pool Party Band
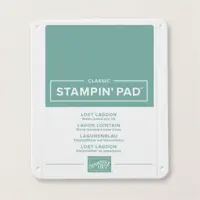
To start, I stamped the sentiment in Lost Lagoon and added snowflakes in Pool Party onto a 1-1/4″ wide strip of cardstock. Once stamped, I adhered this band to the center of my 5-1/4″ x 4″ panel. While I made this as a Christmas card, the design is versatile—it could easily work as a birthday, thank-you, or “Happy Winter” card!
2. Snowflake Borders
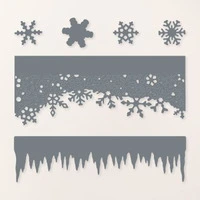
Next, I ran another 5-1/4″ x 4″ panel through the Big Shot twice, cutting out the snowflake border on each side. These delicate borders added an extra layer of wintery charm. I adhered this border panel to the base layer with the band in the center.
3. Layering for Dimension
For a touch of depth, I attached the completed panel to the front of the card base using dimensionals. I adore how a tone-on-tone layer with dimension adds subtle elegance to any card.
4. Adding Snowflakes
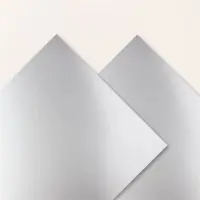
I die-cut several snowflakes from Silver Foil paper and arranged them on the card front. Glue dots made it easy to secure them wherever I thought they looked best.
5. Bling It Up!
Finally, I added sparkle (because it wouldn’t be complete without it!). I used adhesive-backed sparkling gems (retired, but any rhinestones or gems will work) to the centers of the snowflakes. The extra shimmer brought the whole design to life, capturing the magic of a snowy winter day.
And there you have it, a wintery card full of snowy sparkle!
Cardstock Cuts for this project:
Basic White Thick – 8-1/2″ x 5-1/2″ card base scored at 4-1/4″
Basic White – 5-1/4″ x 4″ panel, 5-1/4″ x 4″ Snowflake Border Dies
Pool Party – 5-1/4″ x 1-1/2″ panel
Silver Foil – Snowflake Dies
Stampin’ Up! products used to create this project:
I had such a wonderful Christmas holiday week, and I hope you did too! Here’s a recap of our festive celebrations:
December 23rd: Starting Our Christmas Traditions
Nathan and I kicked off Christmas on December 23rd with our tradition of a nice dinner out. This year, we went to Seventh South Craft Food and Drink, enjoying a delicious meal together. Once we got home, it was time for the babies to open their stockings.
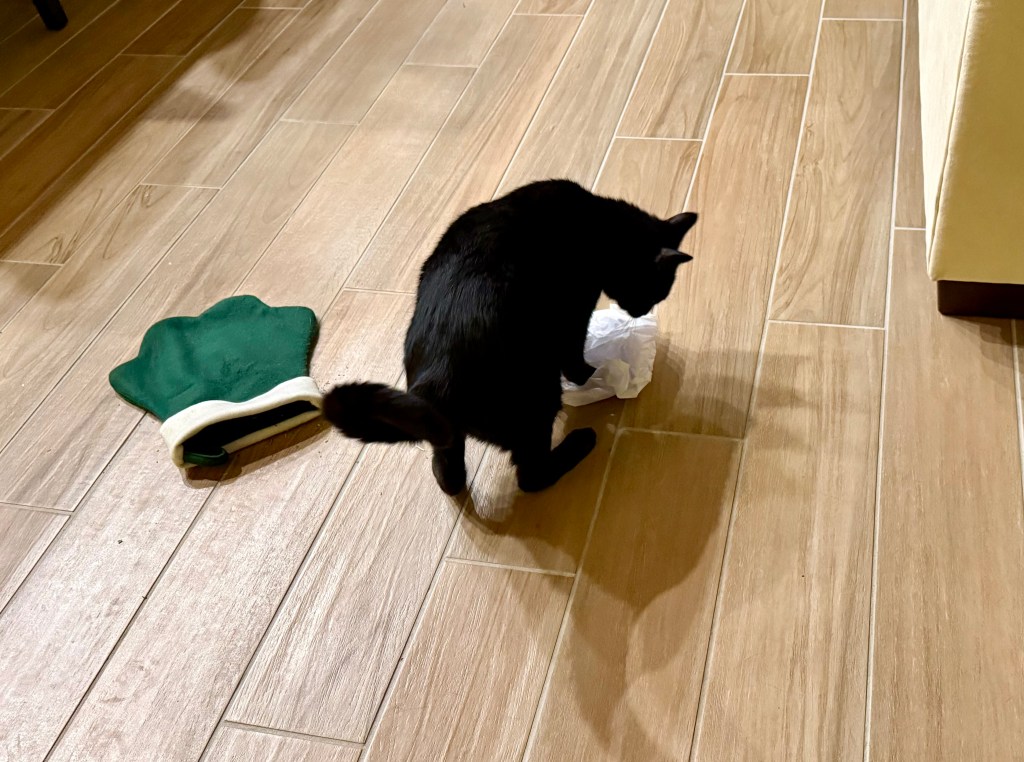
The stockings are simple—just catnip and tissue paper—but our fur babies absolutely love them! Pictured from left to right, clockwise: Berlioz, Ortensia, Calliope (Fuzz), Mochi, and Thalia (Little).
Olivia, who is still a bit shy around the others, did come out to play with her stocking, which was a heartwarming moment.
I couldn’t resist capturing a video of them playing. Watching their excitement always feels like one of the highlights of our holiday season..
After the stockings, Nathan and I exchanged gifts. The standout present this year was tickets to the Tournament of Champions event at the Miami Wine and Food Festival. I’m so excited about this adventure—we’re going to have an amazing time!
Christmas Eve: A French Feast
Christmas Eve is always a big event for us. Nathan and I spent the day preparing a themed dinner for our families. This year’s theme was French, inspired by the elegant tradition of “Le Réveillon.”
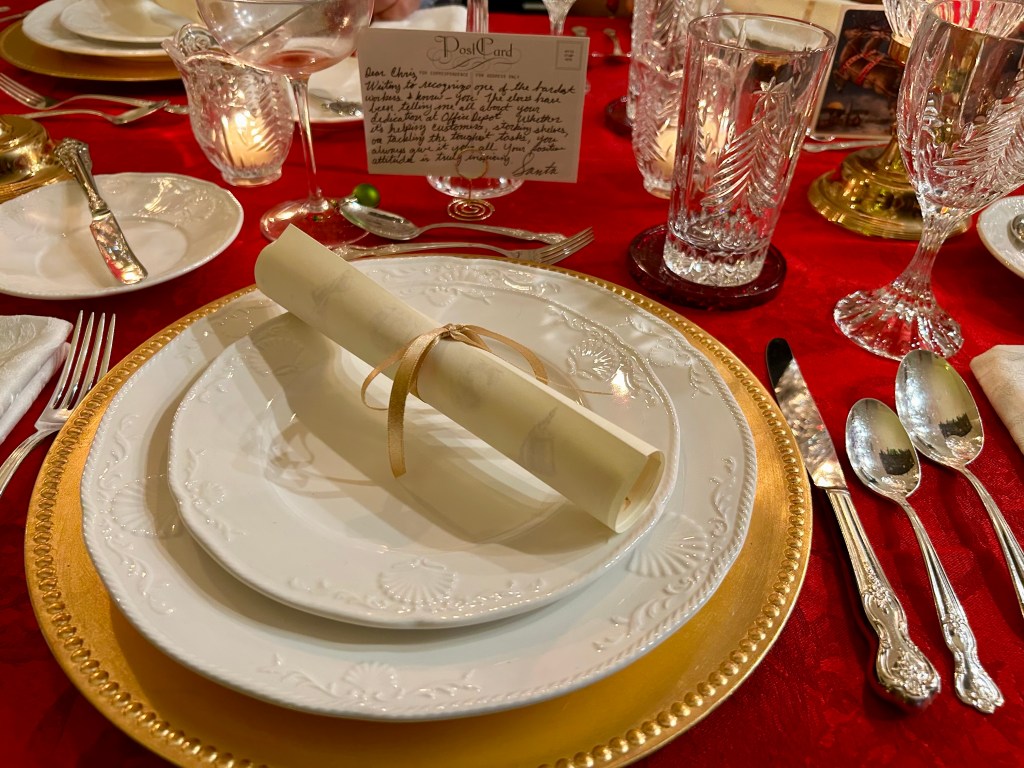
Our family gathered around the table, beautifully set in the French formal style. Each place setting included a printed menu and a postcard from Santa. In France, every letter sent to Santa receives a reply, and I wanted to bring that charming tradition to our dinner.
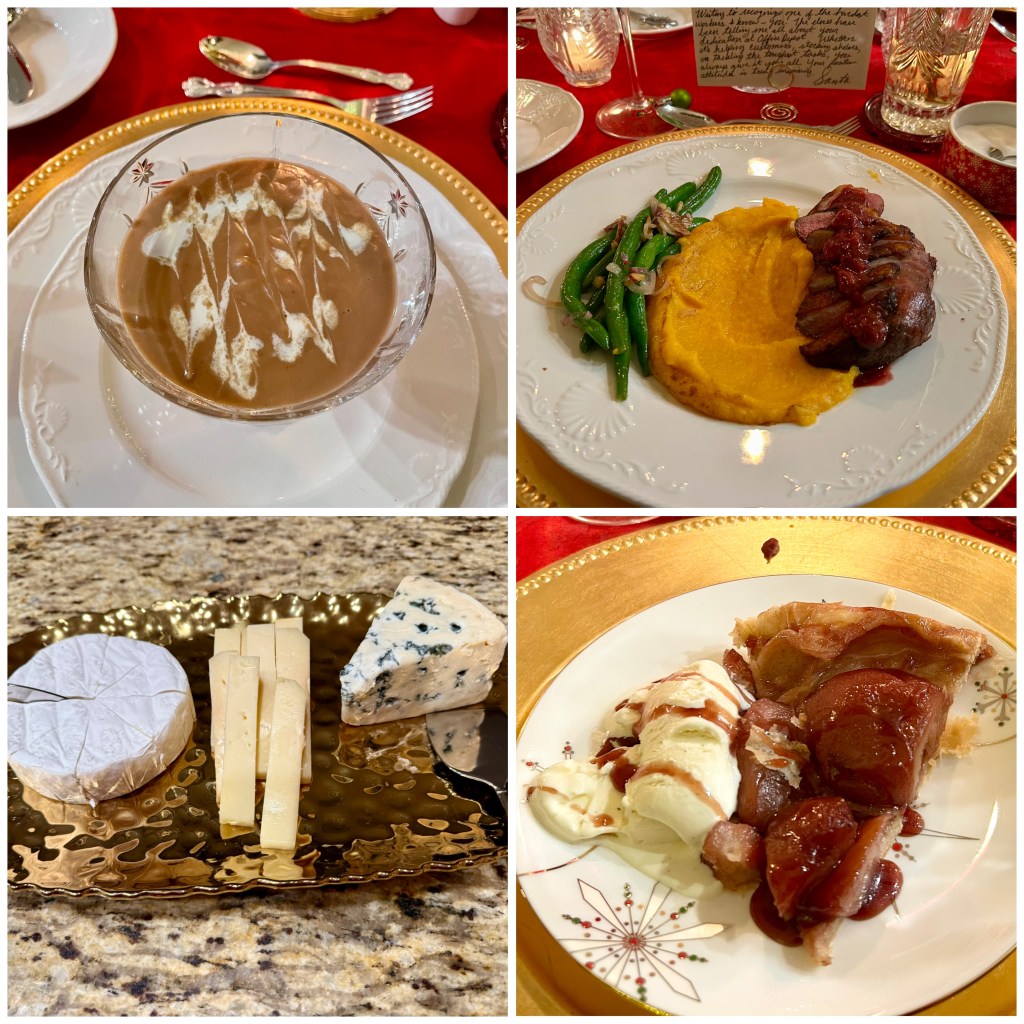
Here’s a look at our menu, featuring five courses with wine pairings:
L’Apéro: Smoked Salmon and Crème Fraîche Blinis, Goat Cheese and Sour Cherry Blinis, served with a Christmas Ruby French 75 cocktail.
Potage: Silky Chestnut Soup.
Le Plat Principal: Duck à l’Orange Airelles, Maple Butternut Squash Purée, and Haricots Verts Amandine.
Fromage: A selection of French cheeses.
Le Dessert: Mulled Wine Pear Tarte Tatin.
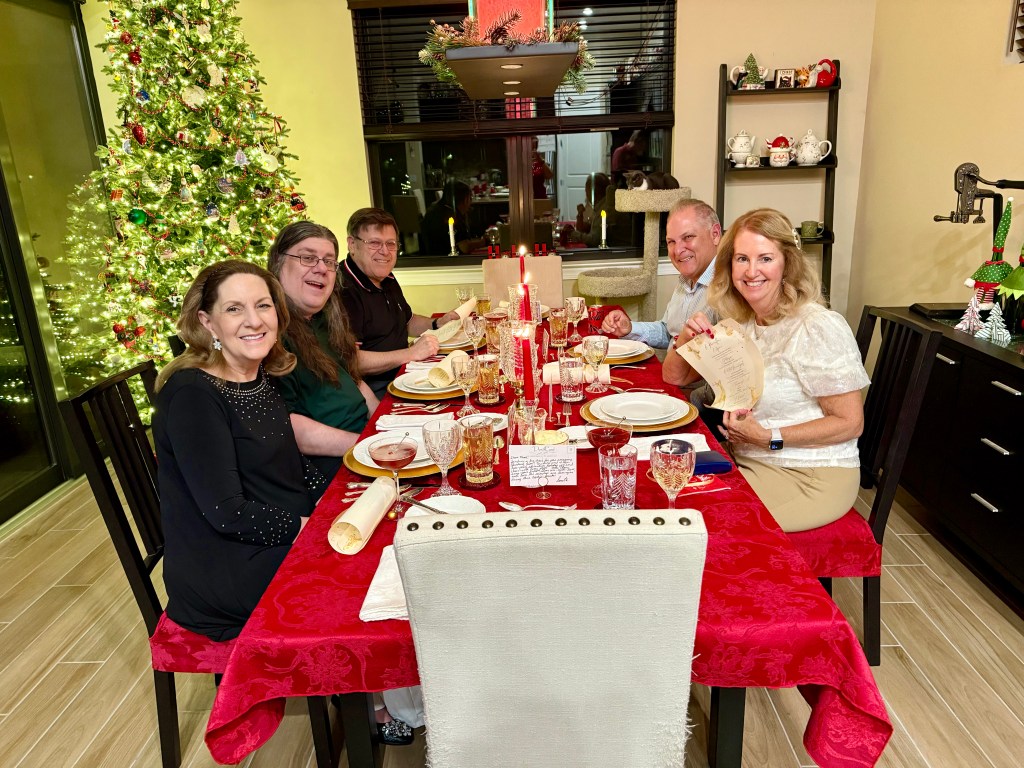
The meal was a huge success—everything was delicious, and it felt so special to share this experience with our loved ones. Pictured at the table, starting on the left and going clockwise: Nathan’s family (Anita, Chris, and Dennis) and my family (Frank and Connie). Nathan, of course, was still hard at work in the kitchen when this photo was taken!
Christmas Day: Family Time
On Christmas day we started with bunch at my parents house and then dinner at Nathan’s parents. It was just a great and relaxing day with family. Pictured is Nathan opening a box if teas from Santa with his dad and brother looking on.
Final Thoughts
This Christmas week was filled with love, laughter, and delicious food. From our cozy traditions at home to the grand French dinner and quiet family moments, it was everything I could have hoped for. I’d love to hear how you celebrated your holidays—what made your week special?
The New Year is here, but Christmas is still in full view around the house. For me, the final task of the season is to pack up Christmas in a way that makes next year’s decorating a breeze. Here’s my tried-and-true checklist for wrapping up the season efficiently and thoughtfully.
Before You Do Anything
Before you even think about taking down decorations, take photos of all your displays. I snap pictures of every room and save them in a dedicated section of my OneNote notebook titled “Decorations.” This helps me keep track of my evolving style while giving me a solid starting point for next year. It’s so much easier to replicate or improve on what you did when you’re not starting from scratch.
Storage Tips
Proper storage is key to a smooth holiday season next year. Start by assessing your storage spaces and containers to ensure you’re making the most of them. I’ve found that packing room by room works best. Keep all the items for each space together in clearly labeled bins. Next year, you can decorate at your own pace, tackling one room at a time.
Efficient storage not only saves space but also simplifies the process of unpacking. It’s worth taking the time now to organize so you can avoid headaches later.
Closing Out the Season
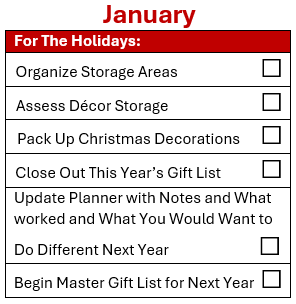
January is a great time to reflect and wrap up the holiday season. Here’s how I close things out:
Gift Lists: Use your gift-tracking app to archive this year’s list. It’s invaluable to have a record of past gifts to avoid repeating ideas and to remind yourself of what worked well.
Next Year’s Gift List: Start a fresh gift list for next year. Why so early? Inspiration can strike at any time, and it’s helpful to capture ideas throughout the year.
Planner Updates: Take notes on how various aspects of the season went. How were the cookies received? Did the parties go smoothly? What traditions did you enjoy most? What could you do differently next year? A quick “lessons learned” session ensures continual improvement and a more enjoyable holiday season.
Final Thoughts
Packing up Christmas doesn’t have to be a chore. With a little planning and organization, you can end the season on a high note and set yourself up for success next year. Take the time to document, organize, and reflect—your future self will thank you!
The New Year is a time for fresh starts, big dreams, and exciting possibilities. I hope it brings you joy, love, and success in all that you pursue. Whether you’re setting resolutions or simply looking forward to the adventures ahead, may 2025 be filled with happiness, growth, and cherished memories.
Thank you for being here—I’m so excited to share more with you in the year to come. Let’s make it the best one yet!
As we celebrate the most magical time of the year, I want to take a moment to thank each of you for being part of this journey with me. Your support, kindness, and shared love for the holiday season mean the world to me.
I hope your Christmas is filled with joy, laughter, and the special moments that make this season so memorable. Whether you’re celebrating with family, friends, or simply savoring the peace of the season, may your heart be full and your days merry and bright.
Here’s to the traditions, the magic, and the love that Christmas brings. Wishing you and your loved ones a very Merry Christmas and a happy, healthy, and wonderful New Year!
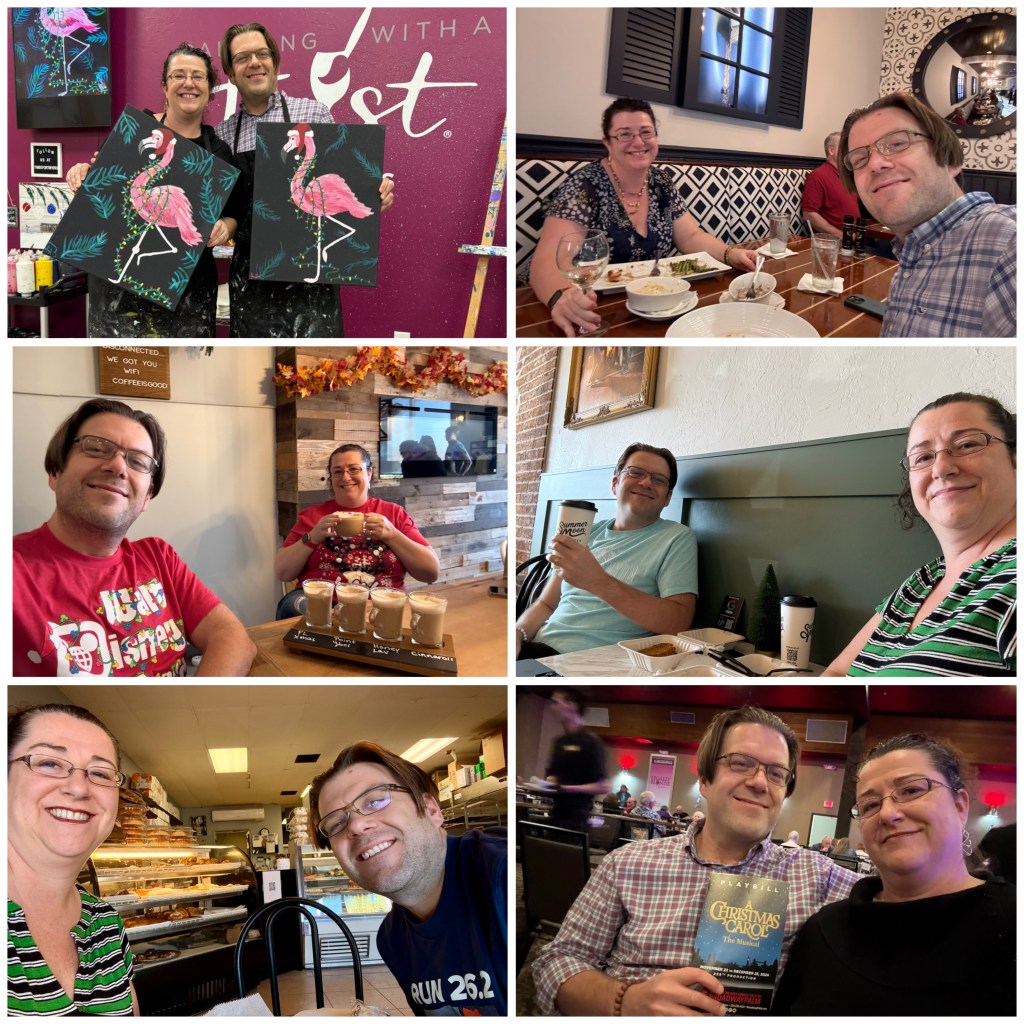
he holiday season is in full swing, and we are having a wonderful time celebrating! I hope your holidays are just as joyful. If you’ve been following along on Facebook, you’ve seen our 12 Dates of Christmas unfolding—it’s been such a fun way to embrace the season together.
One of our favorite traditions is getting a picture with Santa every year. We always try to make it part of a special Christmas trip. This year, we visited St. Augustine and found a wonderful Santa to capture our holiday memory.
Another cherished tradition is selecting our “official” ornament of the year. During our trip to Las Vegas, we picked out this year’s ornament. While it doesn’t have the city’s name on it (we didn’t love those styles), it still brings back memories of our adventure every time we see it on the tree.
In the five days leading up to Christmas, we exchange Little Tree presents. These small, often holiday-themed gifts are a fun way to extend the gift-giving and add an extra layer of excitement to our celebration. It’s always such a treat to unwrap something thoughtful each day!
Of course, no holiday season would be complete without festive parties. We recently hosted my team from work and their significant others for a fun evening filled with games and laughter—it was such a great time!
We also love exploring local holiday markets and events to soak up the Christmas spirit. We have a few more on the calendar before the big day, and we’re so excited to keep the holiday magic alive.
Here’s to a season filled with joy, love, and lasting memories. Merry Christmas! 🎄✨
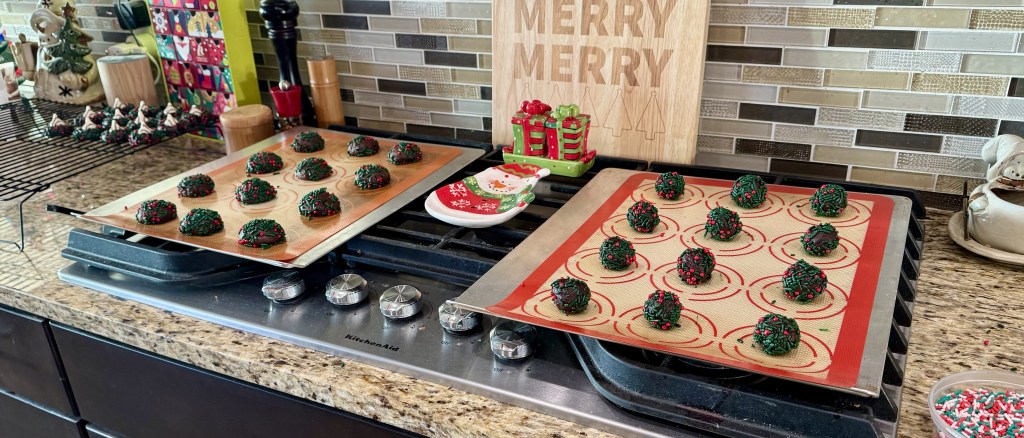
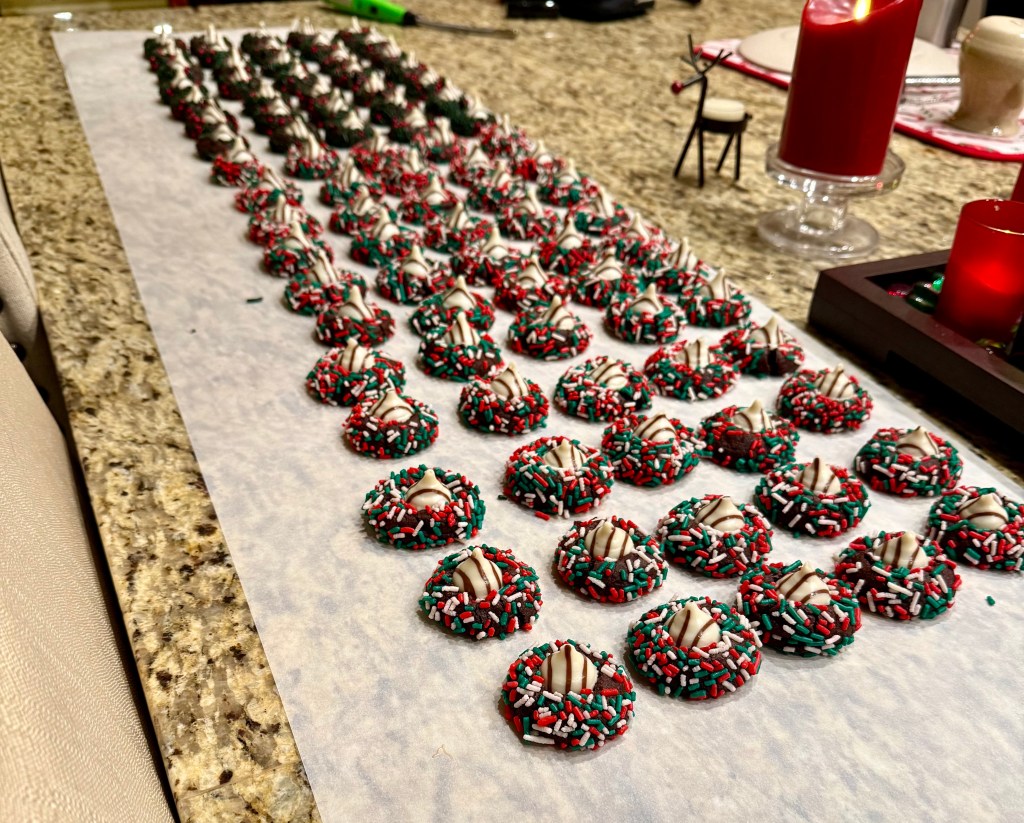
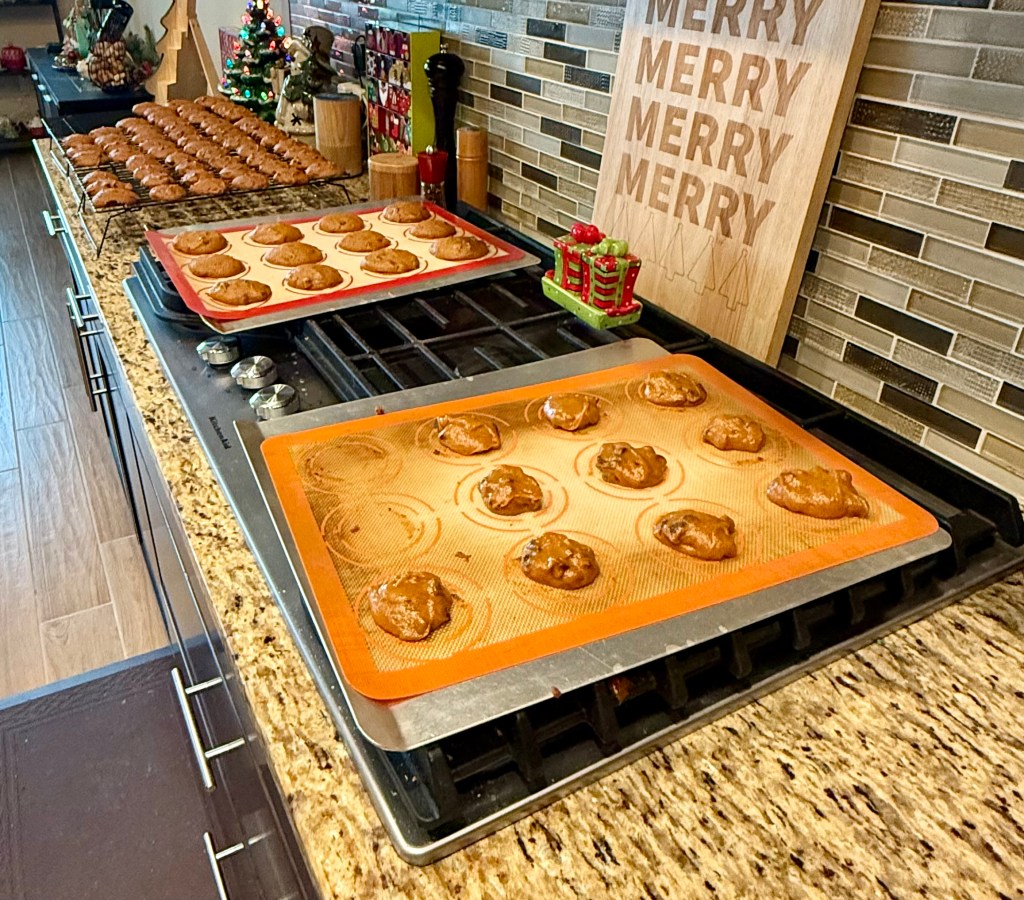
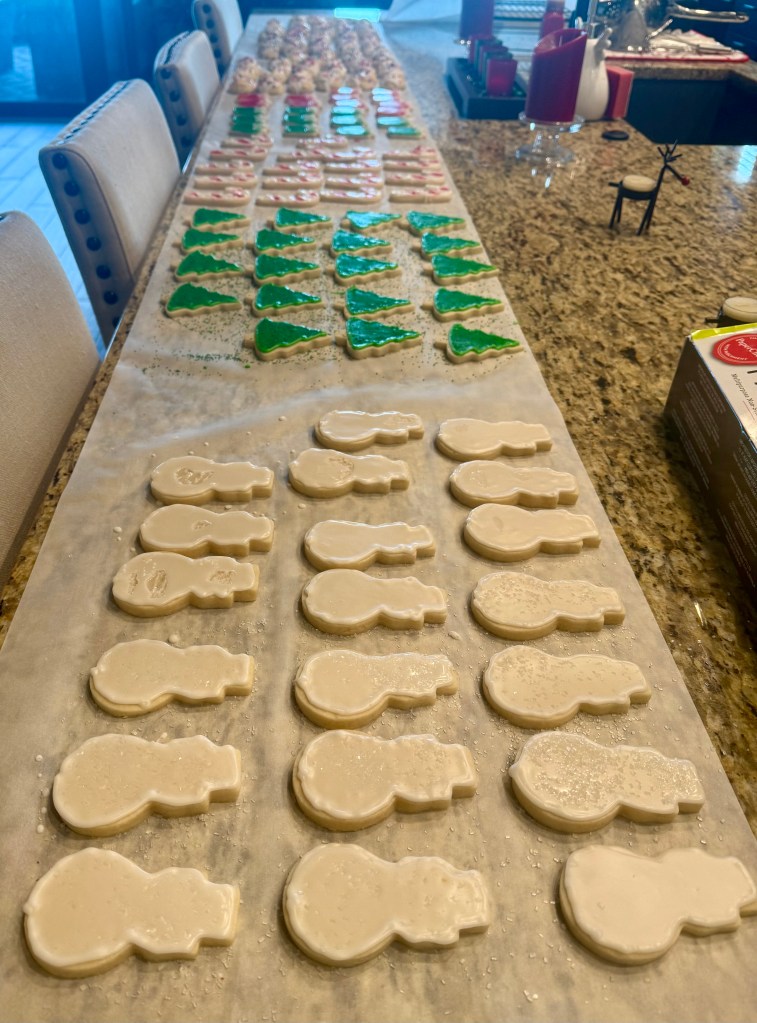
If you have been following along, I have posted several Christmas Cookies I have made ahead: Gingerbread Cookies, Cutout Cookies, Italian Lemon Drop Cookies, and Baklava Sugar Cookies. This past weekend, we wrapped up our holiday baking marathon by completing the final two cookie recipes and assembling our gift plates. It’s one of my favorite traditions of the season!
First up, we made Christmas Kiss Cookies, a recipe from Sprinkle Bakes. These cookies are a chocolate lover’s dream, with rich dark cocoa powder giving them an almost fudge-like texture. Topped with a festive kiss, they’re as delicious as they are beautiful.
For our final batch, we baked Pumpkin Chocolate Chip Cookies, a recipe we adore from Our Best Bites. These cookies are so soft and fluffy, they’re more like mini cakes than traditional cookies. With warm pumpkin spice and melty chocolate chips, it’s no wonder they’ve been a favorite of ours for years.
Once those were done, we pulled out our previously frozen Italian Lemon Drop and Cutout Cookies for decorating. For these, I used the Glace Icing recipe from Our Best Bites—it’s my go-to because it’s the perfect blend of taste and functionality. The icing sets beautifully, which makes packing and gifting so much easier, without sacrificing flavor.
With all the cookies ready, it was time to assemble the gifts. We put together 20 plates of cookies to share with friends and family, plus three larger containers to bring to the office and spread a little holiday cheer. There’s something so special about seeing all the cookies arranged together.
This tradition is such a joyful part of our holiday season. From baking to decorating to sharing, it’s a labor of love that brings smiles to everyone involved—including us! It’s so rewarding to know that the cookies are as appreciated as the memories we make creating them.
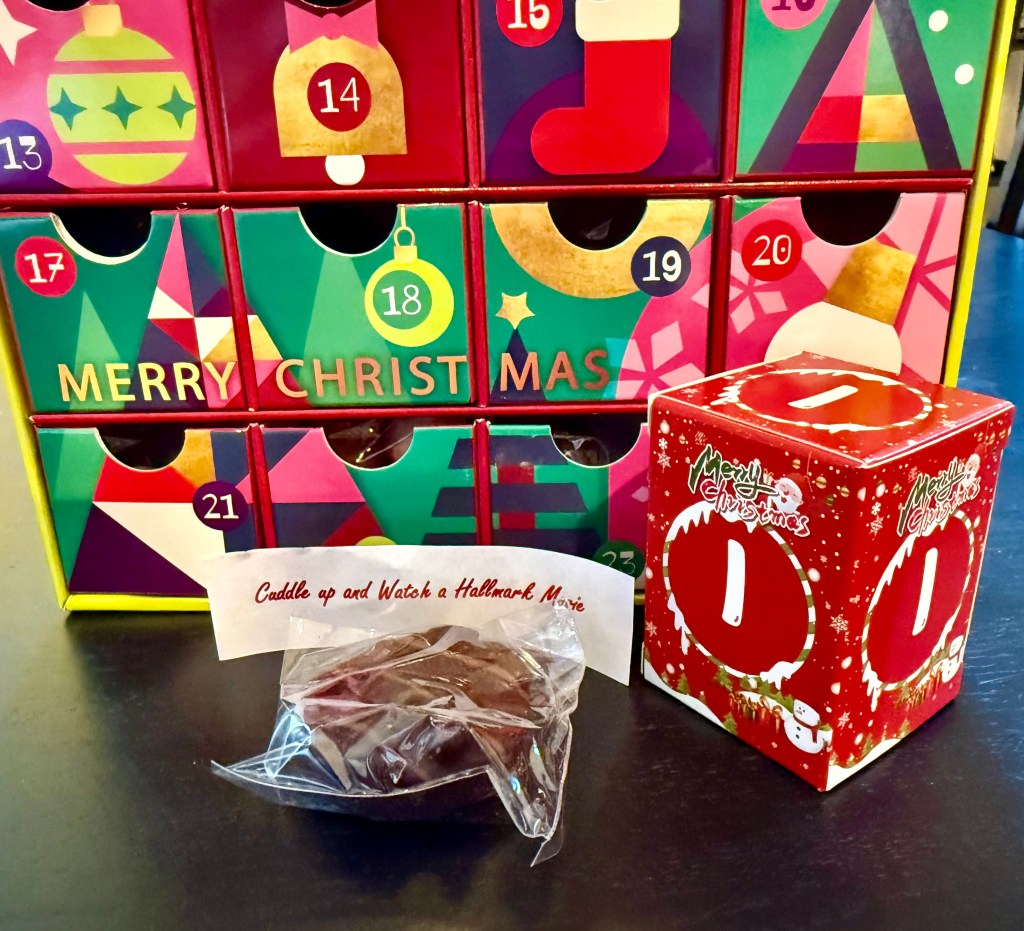
December is here, and with it comes the magic of Advent Calendars! In our home, we love marking the days with an Activity Advent—a cherished tradition that helps us slow down, savor the season, and create a little celebration every day. You can check out some of our favorite activities here.
This year, we couldn’t resist adding two more Advent Countdowns (yes, we may have gone a bit overboard—but it’s the holidays!).
First, we discovered a puzzle Advent calendar. Each day, we complete a small section of a 1008-piece Christmas scene, finishing the month with a beautiful masterpiece. With 42 pieces a day, it’s been a relaxing and festive way to spend time together. Though we turned it into a completion of who can assemble it the fastest…
Our second addition is a decadent Norman Love Advent Calendar, featuring their delicious chocolates. There’s nothing quite like unwrapping a piece of gourmet chocolate each day—it’s pure holiday indulgence!
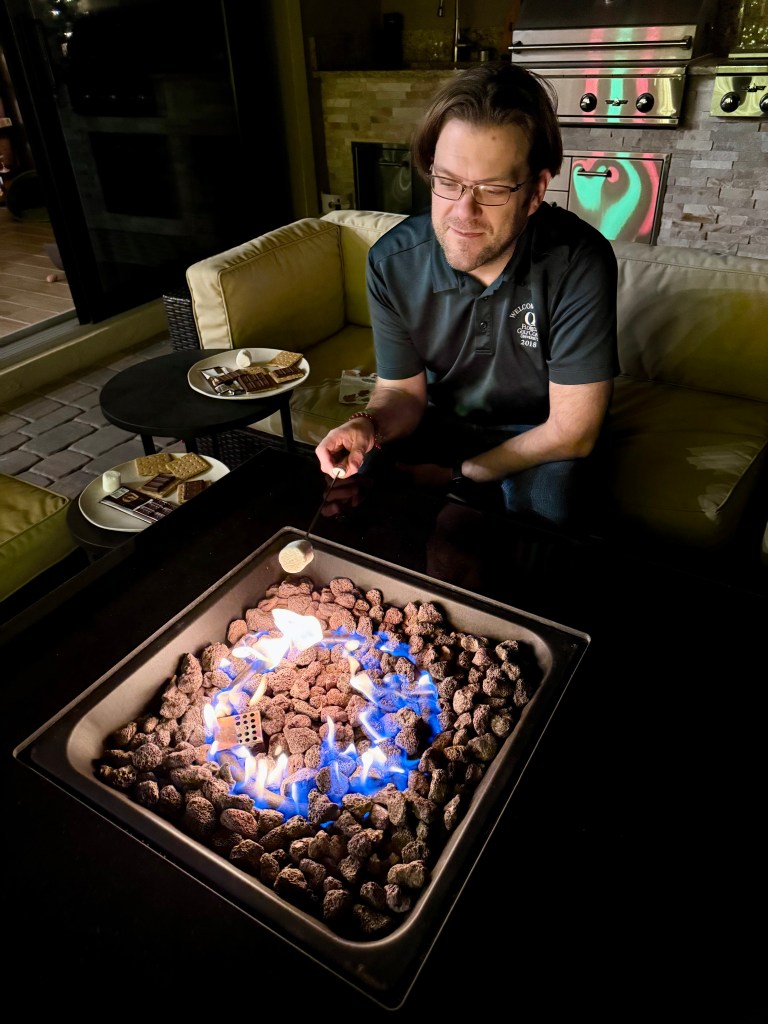
Of course, our Activity Advent continues to bring the fun. From belting out Christmas carols and stealing kisses under the mistletoe to sipping from Christmas mugs and competing to see who could make a candy cane last the longest (Nathan claimed victory this year!), these simple moments make the season so special.
Making S’mores
I hope you’re finding ways to enjoy the holidays every day, too! What are your favorite festive traditions or Advent activities? I’d love to hear about them—share in the comments below!
I am a project manager by day and a crafter by night. I love Christmas and want to do it all every year. I will share with you how I do it and enjoy it too!