As soon as I flipped through the catalog, I was instantly drawn to the rich colors and natural feel of the Greenery Lane Washi Tape. This card was the perfect opportunity to play with those colors and experiment with a few fun techniques to make something truly unique.

For the background, I combined two simple techniques that add beautiful depth and interest. First, I used a tone-on-tone stamping method by stamping Pretty Peacock ink directly onto Pretty Peacock cardstock. This creates a subtle, textured look that adds dimension without overwhelming the design.
The second technique features the Greenery Lane Washi Tape applied to Basic White cardstock. Layering the Washi Tape this way transforms it into a custom designer paper panel! It’s such an easy way to create a bold focal point with minimal effort. Be sure to check out the video linked below to see exactly how this technique comes together.
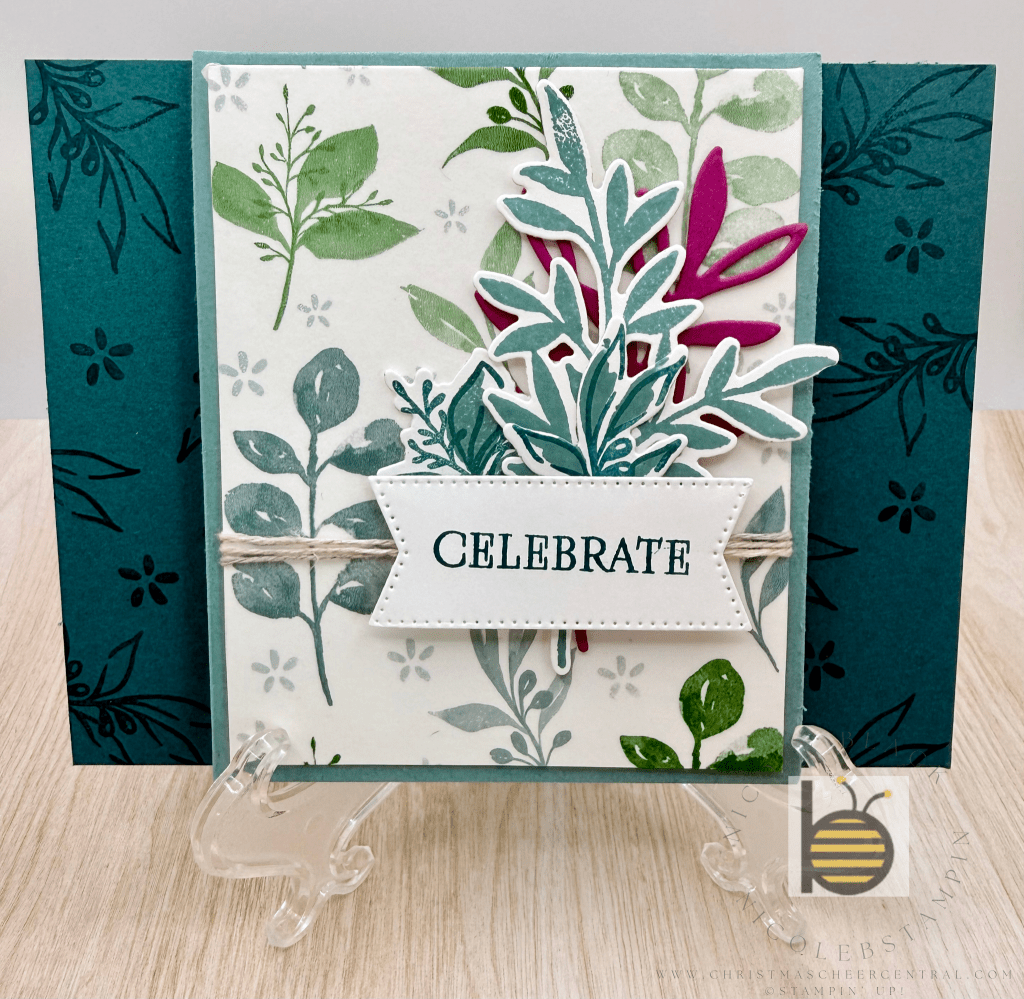
I also switched things up with the card layout. Instead of using a traditional folded card base, I started with a 5-1/2″ x 4-1/4″ Pretty Peacock panel as the foundation. The folded element is adhered directly to this base, creating a fresh twist on a fun fold design. I love experimenting with different structures—it’s an easy way to make a card feel extra special!
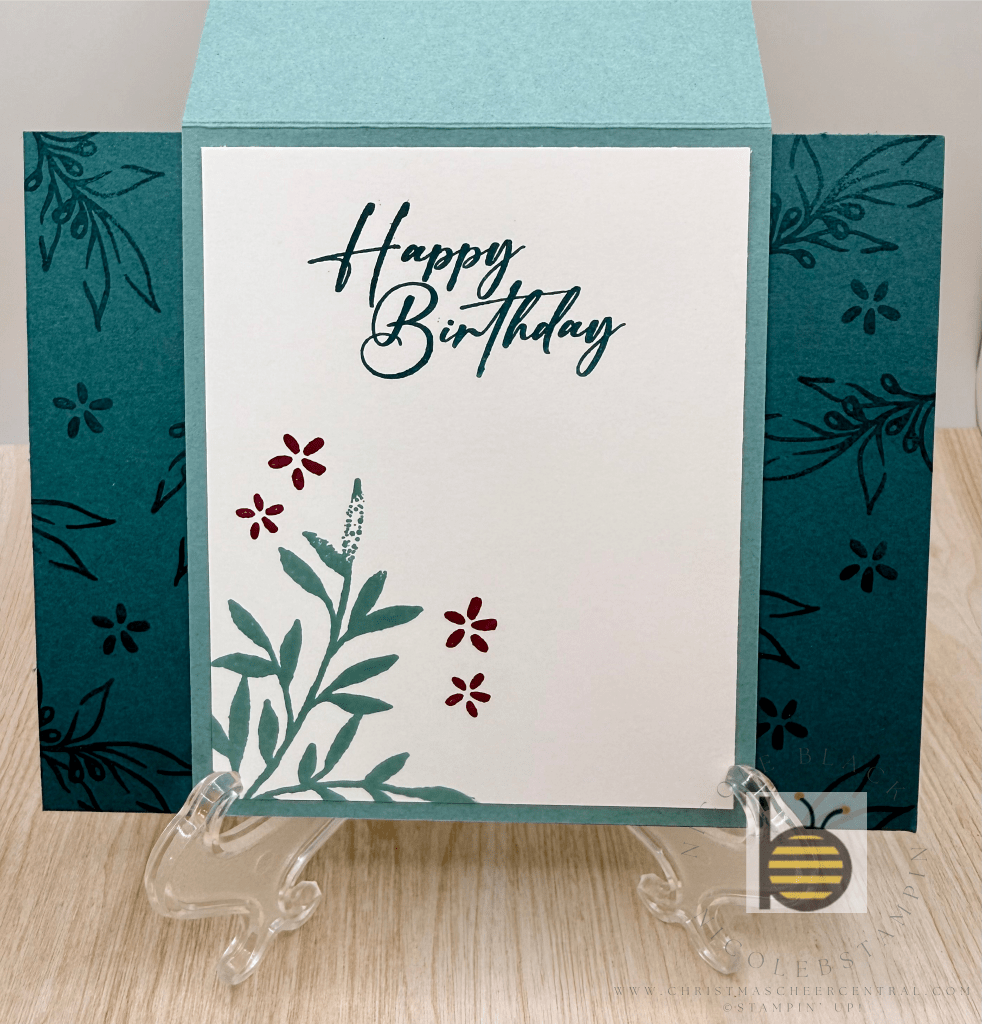
This project is a wonderful reminder that a few simple techniques—tone-on-tone stamping, Washi Tape layering, and a creative fold—can turn one set of products into something completely unexpected and fun.
Technique Video:
Learn how to use Washi Tape as a Background.
Cardstock Cuts for this project:
- Pretty Peacock – 5-1/2″ x 4-1/4″ base panel
- Lost Lagoon – 8-1/2″ x 3-1/2″ (scored at 4-1/4)
- Berry Burst – 3-1/4″ x 2″ for Leaf Die
- Basic White – 4″ x 3-1/4″ inside panel, 4″ x 3-1/4″ panel, 3-1/4″ x 3-1/2″ for leaves Dies, 1″ scrap for Label Die