We’re in the home stretch, friends! Just two weeks until Christmas, and now it’s all about the fun stuff: celebrating, adding those final touches, and soaking up every magical moment.
By now, the major tasks are (hopefully) behind you, and you can shift your focus to enjoying the season. Whether it’s wrapping gifts with festive music playing, baking cookies with loved ones, or sneaking in a quiet evening to watch your favorite Christmas movie, this is your time to celebrate.
Remember, you’ve done so much to make this holiday special—don’t let perfection steal your joy. The little things, like tying the last bows or hanging an extra strand of lights, are what make the season feel magical.
You’ve got this! Take a deep breath, embrace the moment, and have a very merry Christmas!
Last weekend, we took our annual Christmas trip, and this year’s destination was truly magical—St. Augustine, the oldest city in the United States. Renowned for its charm and rich history, St. Augustine transforms into a holiday wonderland during the Night of Lights, an event celebrated for 30 years and ranked among the top 10 holiday light displays in the world by National Geographic.
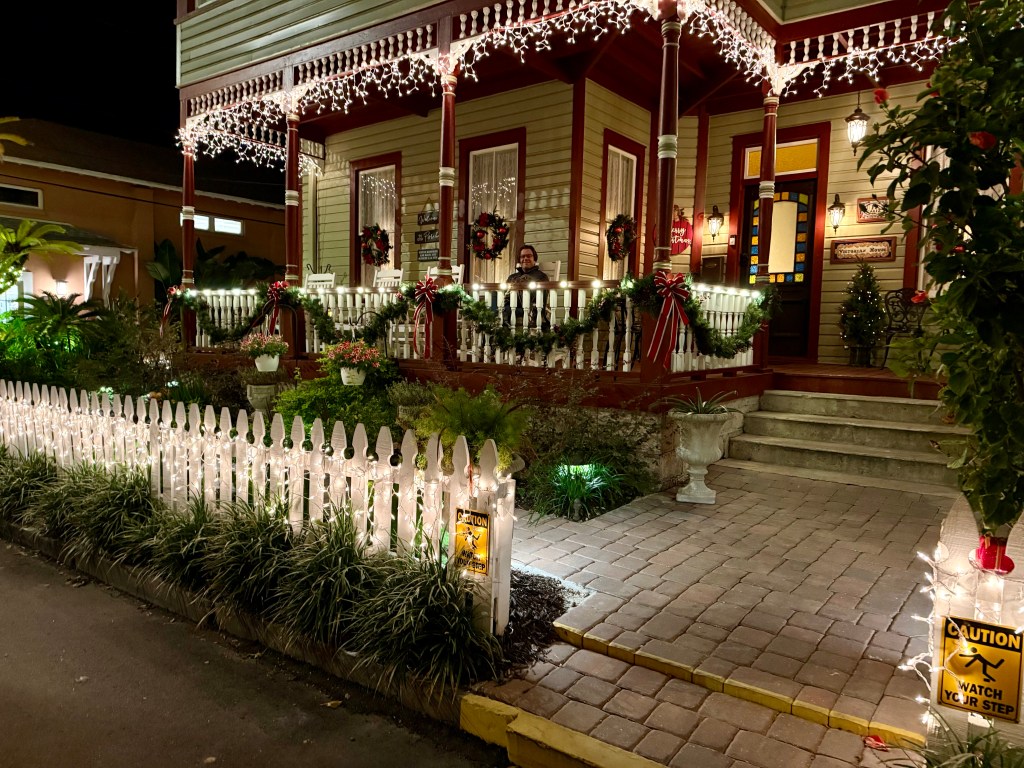
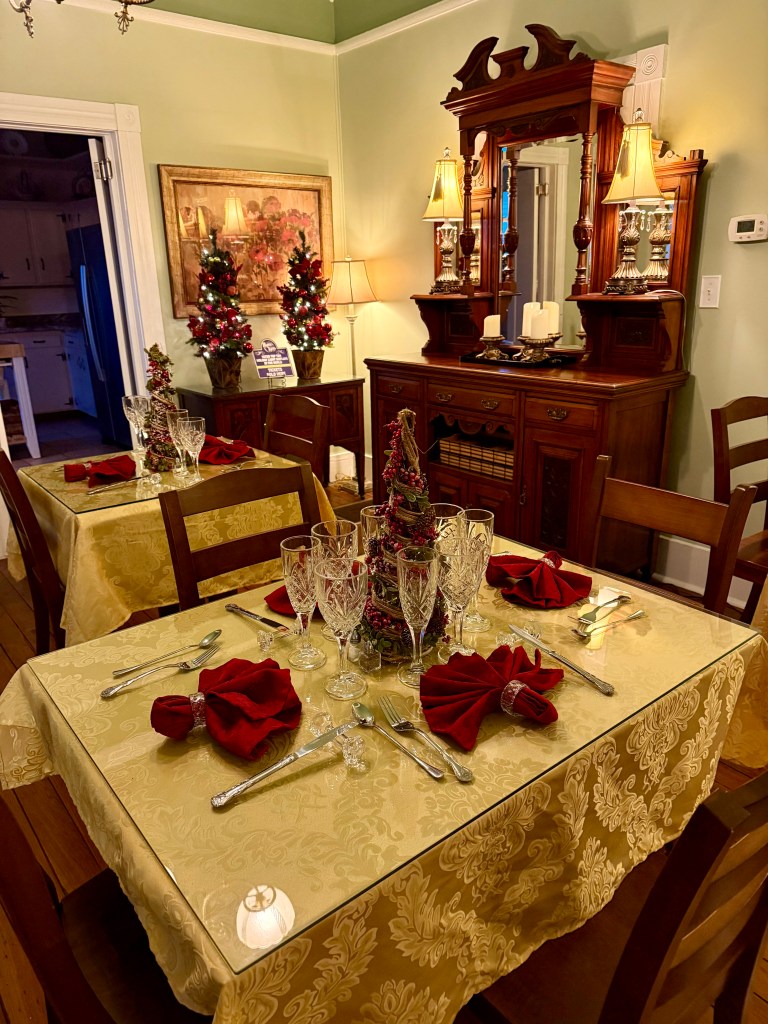
From the moment we arrived, the Christmas spirit was everywhere. We stayed at the Victorian House Bed and Breakfast, a cozy and beautifully decorated retreat right in the heart of town. Every detail, from the twinkling garlands to the charming porch where we sipped wine while watching horse-drawn carriage tours pass by, felt like stepping into a Hallmark Movie.
One of the best parts of our stay was how convenient everything was. The B&B’s central location meant we could walk to all the attractions, restaurants, and holiday events. And there was plenty to see and do!
We explored the San Sebastian Winery and St. AugustineDistillery, both offering a fun mix of history, tastings, and festive flair.
We also browsed the Holiday Market at the Lightner Museum, cheered on the Christmas Parade, and marveled at the dazzling lights during a Night of Lights Carriage Ride Tour through Old Town. The carriage ride was a highlight—a perfect evening made even better by a fantastic guide who shared stories and pointed out hidden gems along the way.
St. Augustine’s dining scene didn’t disappoint either. We discovered countless excellent restaurants, each offering their own twist on holiday-themed cocktails and dishes. From festive drinks to cozy atmospheres, every meal added to the holiday magic.
If you’re looking for a Christmas town experience, I can’t recommend St. Augustine enough. Between the sparkling lights, lively events, and warm hospitality, it’s the perfect destination to embrace the holiday season.
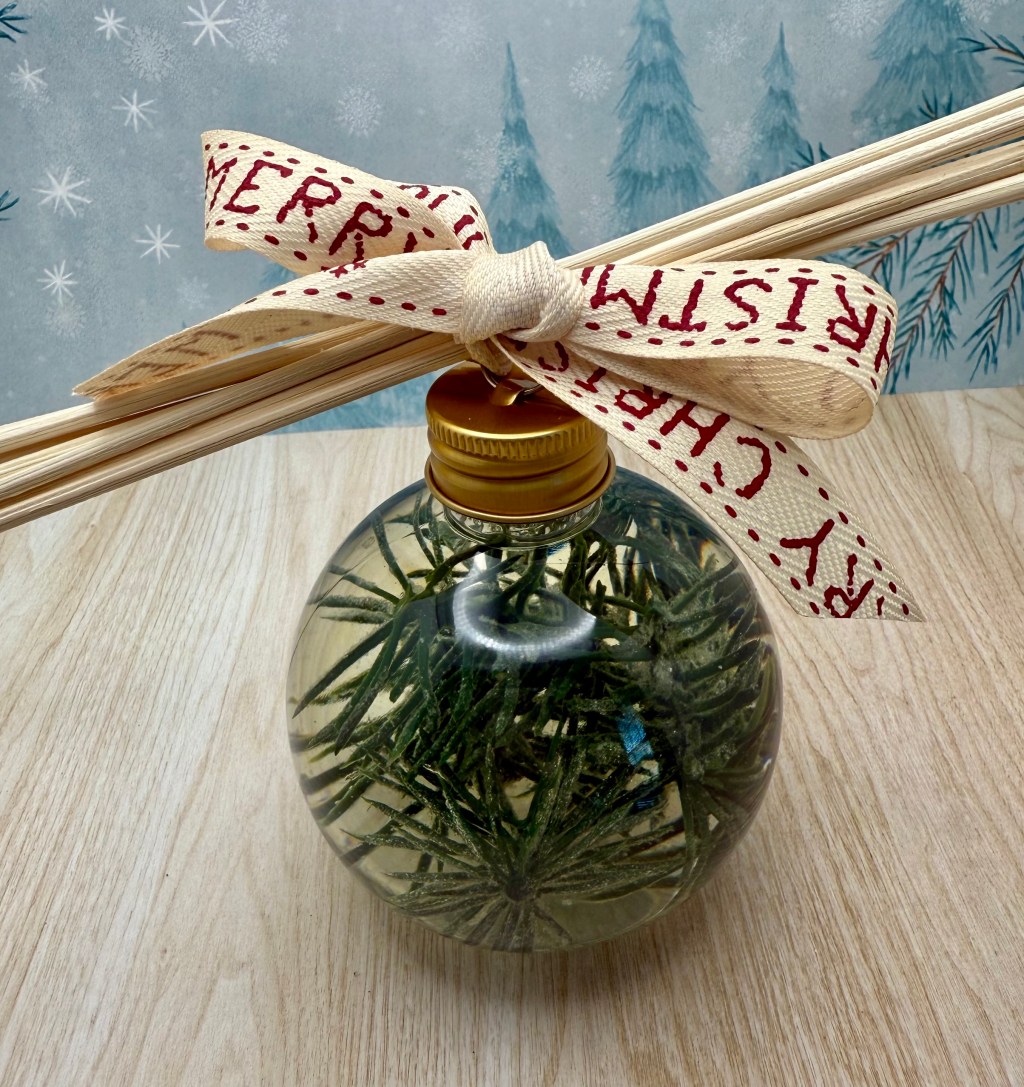
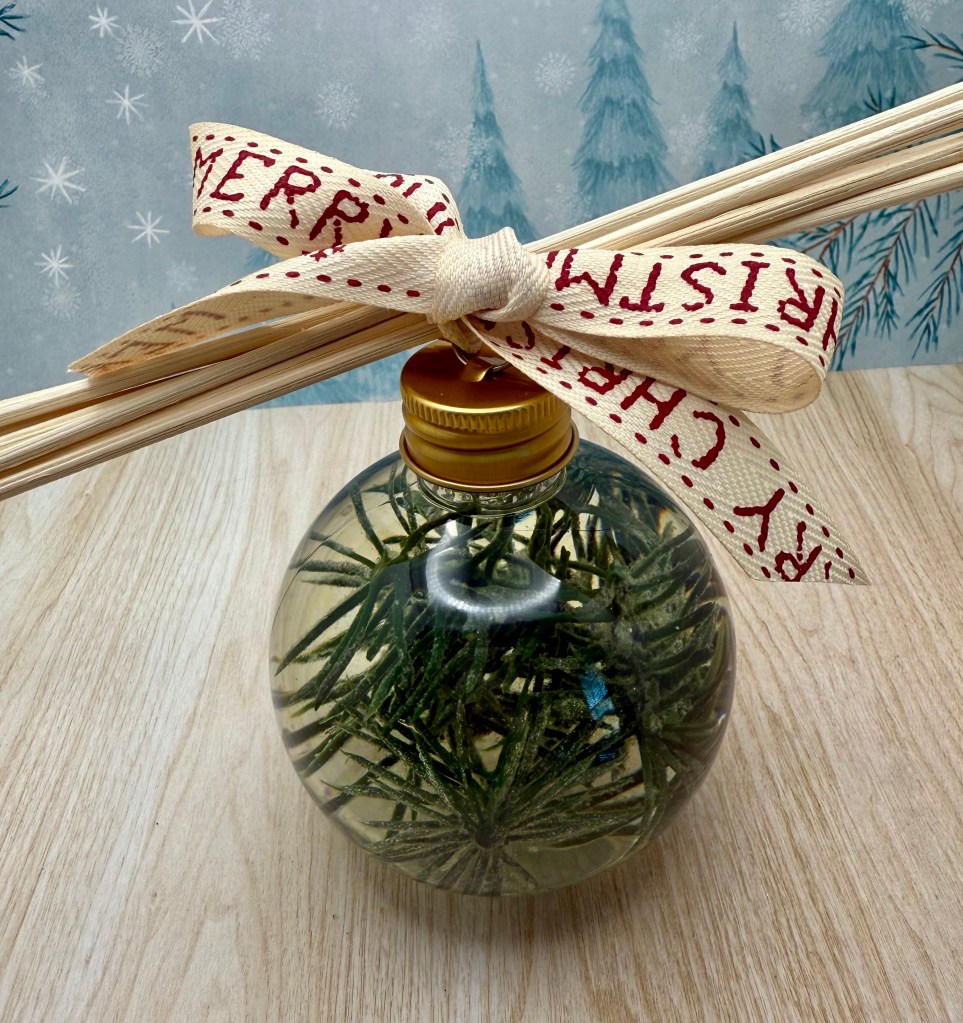
This holiday season, I’ve been crafting these beautiful and fragrant DIY Oil Diffusers—a simple yet thoughtful gift that will fill any home with the cozy scents of Christmas. They’re easy to make, fun to customize, and a wonderful way to spread holiday cheer.
Here’s how you can create your own!
Materials You’ll Need:
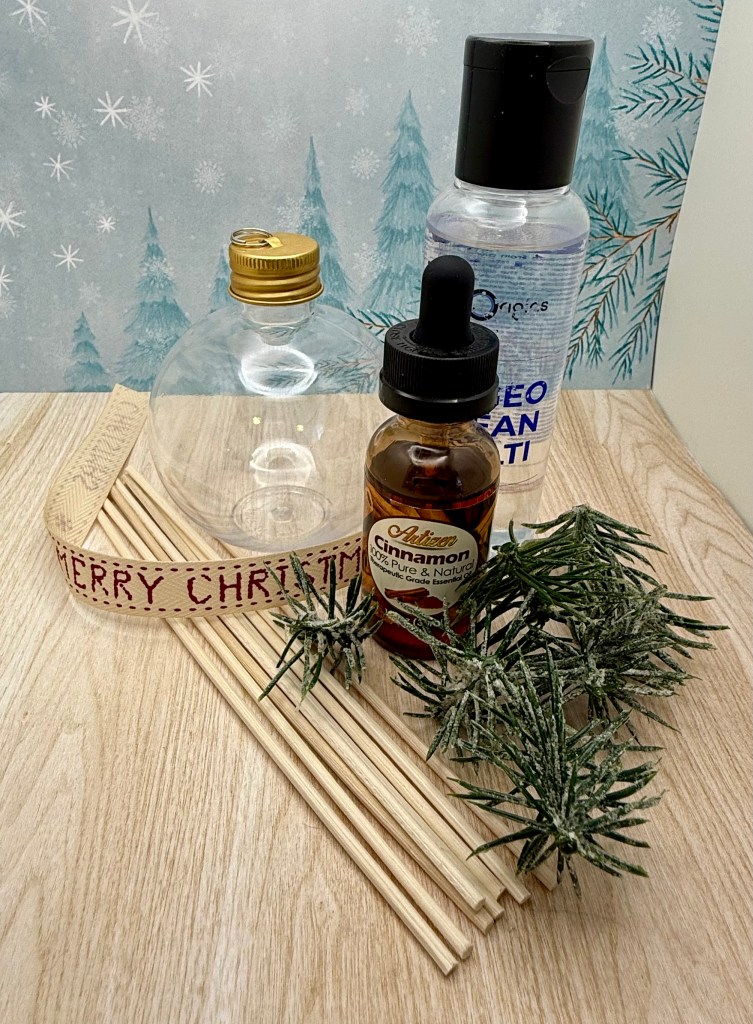
Fillable Christmas Baubles (make sure they can hold liquid; I used these)
Augeo Clean Multi (a great base for diffuser oils; I used this)
Christmas Essential Oil Blends (choose your favorite holiday scents!)
Rattan Reeds (these help diffuse the scent; I used these)
Christmas Ribbon
Evergreen Foliage or Holly (I used faux pine branches)
Step-by-Step Instructions:
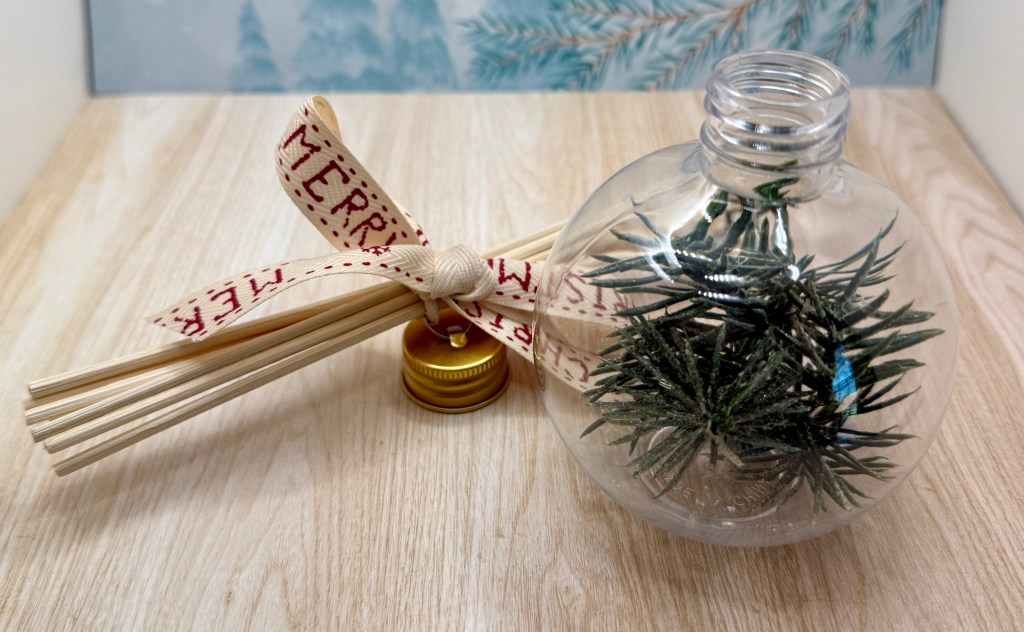
Prepare the Reeds and Foliage: Attach the rattan reeds to the bauble cap, ensuring they’re tied securely with your festive Christmas ribbon. The reeds will absorb the oil and diffuse the holiday aroma throughout the room. Add your foliage—like faux pine or holly—inside the fillable bauble for a touch of seasonal charm.
Mix Your Diffuser Oil: Measure enough Augeo Clean Multi to almost fill your bauble. Add drops of your favorite Christmas essential oil blend until you’re happy with the strength of the scent. (Tip: Start small and build up—you can always add more!)
Fill the Bauble: Use a funnel to pour your diffuser oil mixture into the bauble carefully, then secure the cap.
Why These Make Great Gifts:
These DIY diffusers are not only functional but also decorative! They’re perfect for gifting to friends, family, or coworkers who love to keep their homes smelling festive during the holidays. Plus, each one can be customized to match the recipient’s favorite scents or holiday décor.
🎁 Pro Tip: Pair this diffuser with a matching candleholder like the one I posted here for an extra-special gift set!
I’d love to hear if you try this craft or if you have any tips for making it your own. Share your thoughts in the comments below!
Some gifts deserve a little extra flair, whether they’re extra special or just extra large. A beautifully wrapped package can make your gift feel even more thoughtful—and nothing says “wow” like a handmade gift bow!
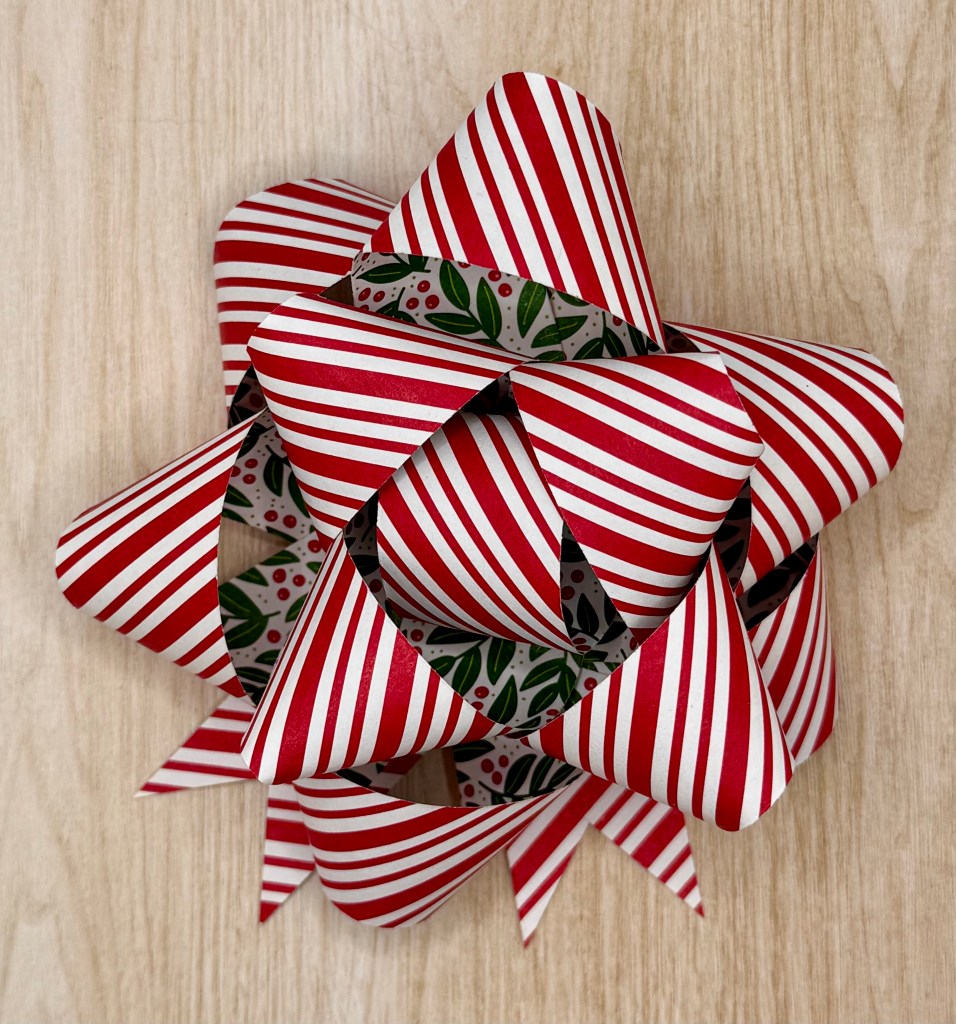
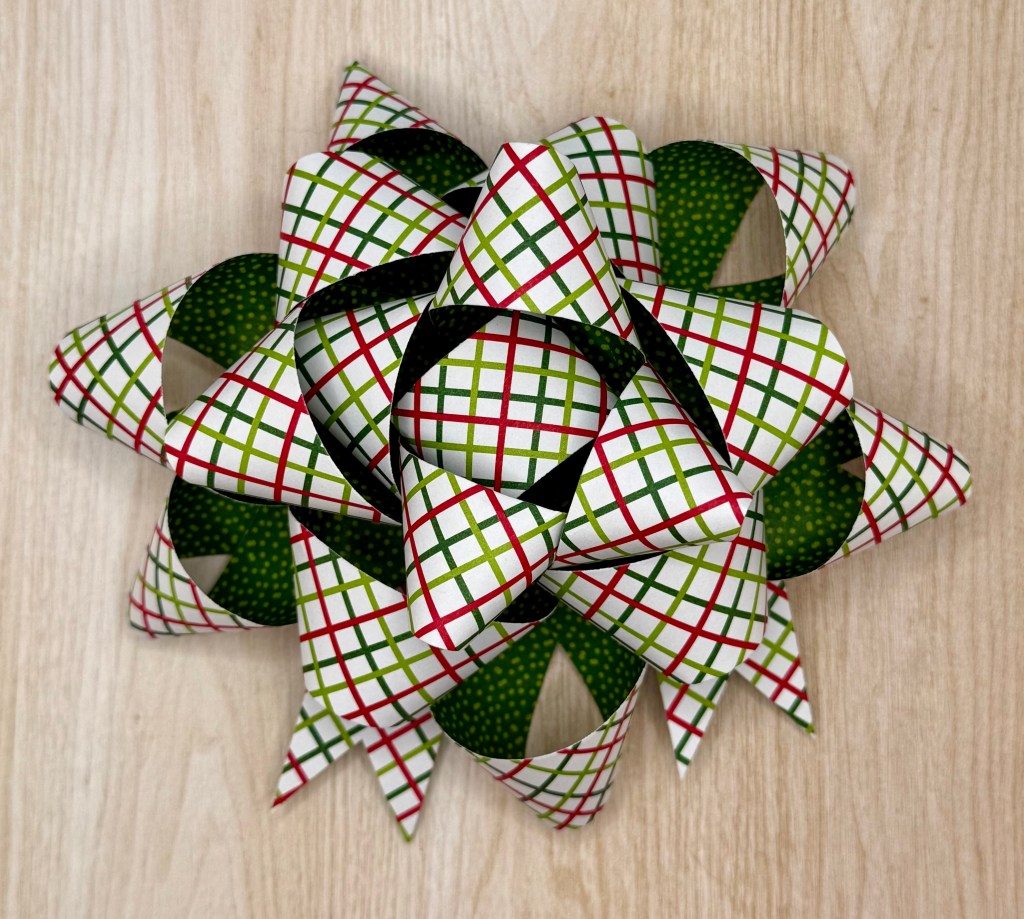
In today’s video tutorial, I’ll show you how to create your own stunning gift bows. These bows are easy to make and add that perfect finishing touch to any package.
🎥 Watch the video below to learn step-by-step:
Here are some variations shown in the video.
Making your own gift bows is not only fun but also a great way to personalize your wrapping. Whether it’s for a big, impressive gift or something uniquely sentimental, these bows will make your presents stand out under the tree.
Let me know in the comments if you try this tutorial—I’d love to see your creations!
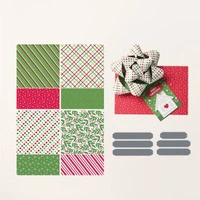
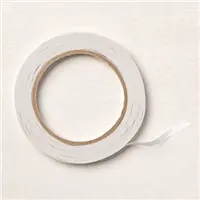
Stampin’ Up! products used to create this project:
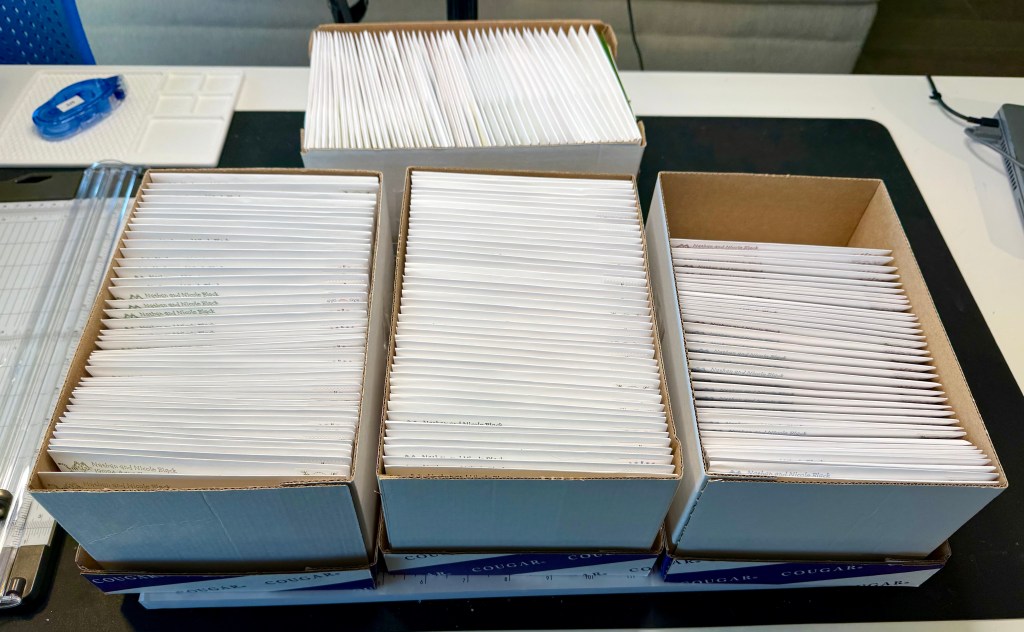
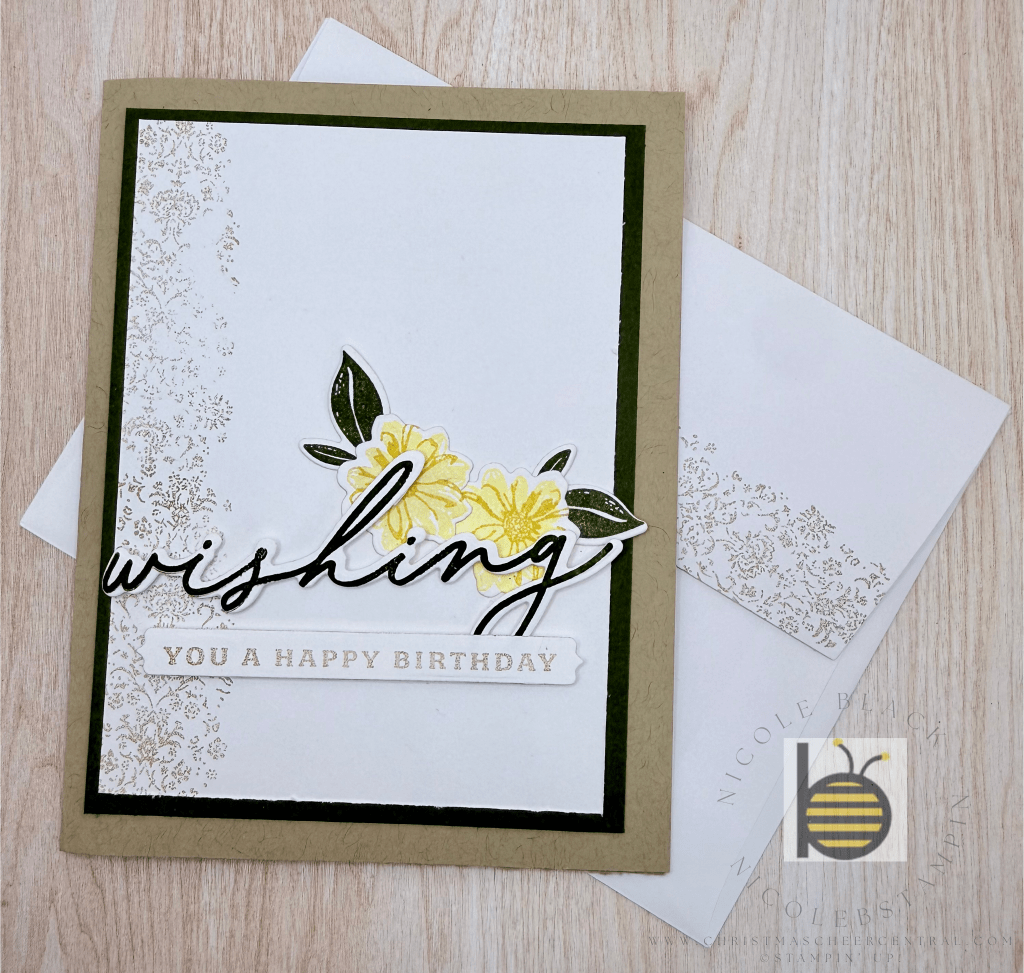
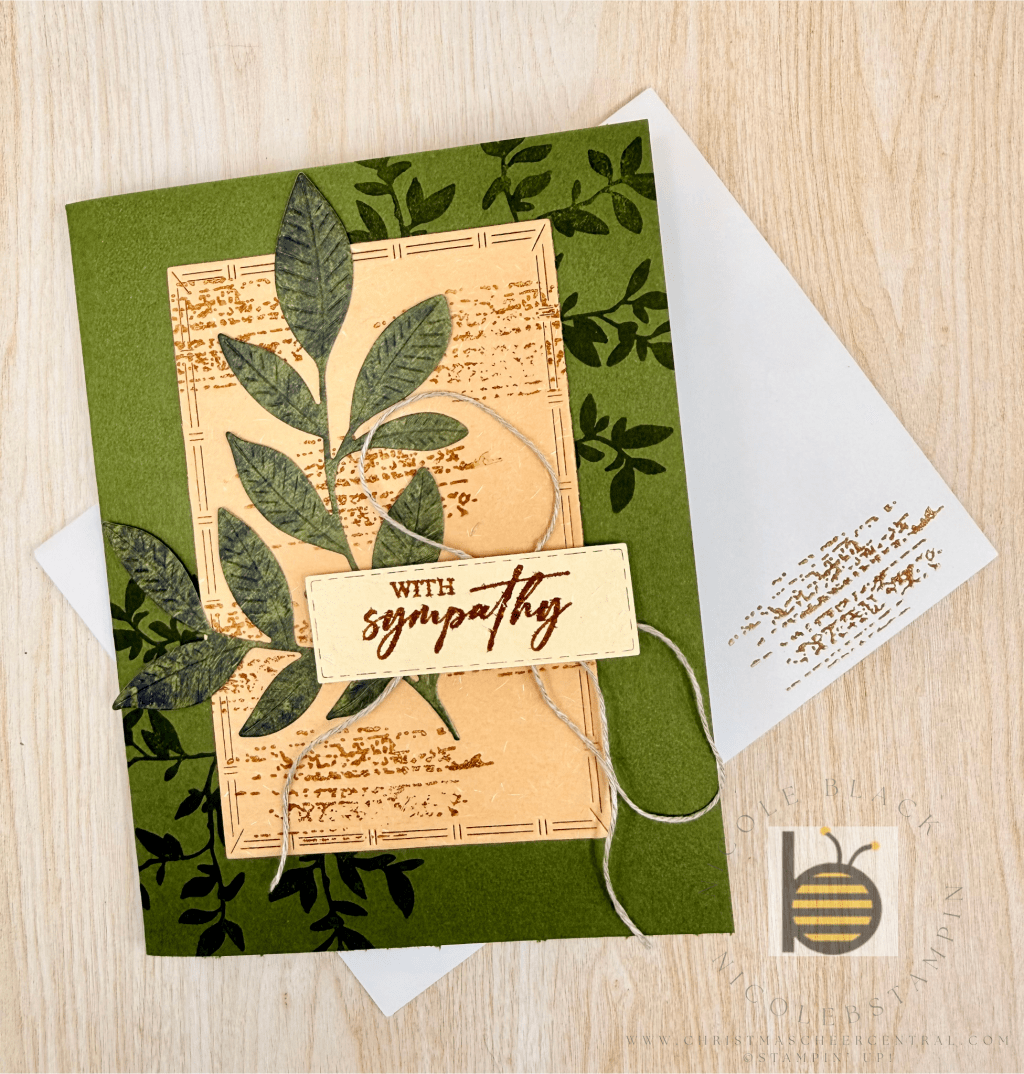
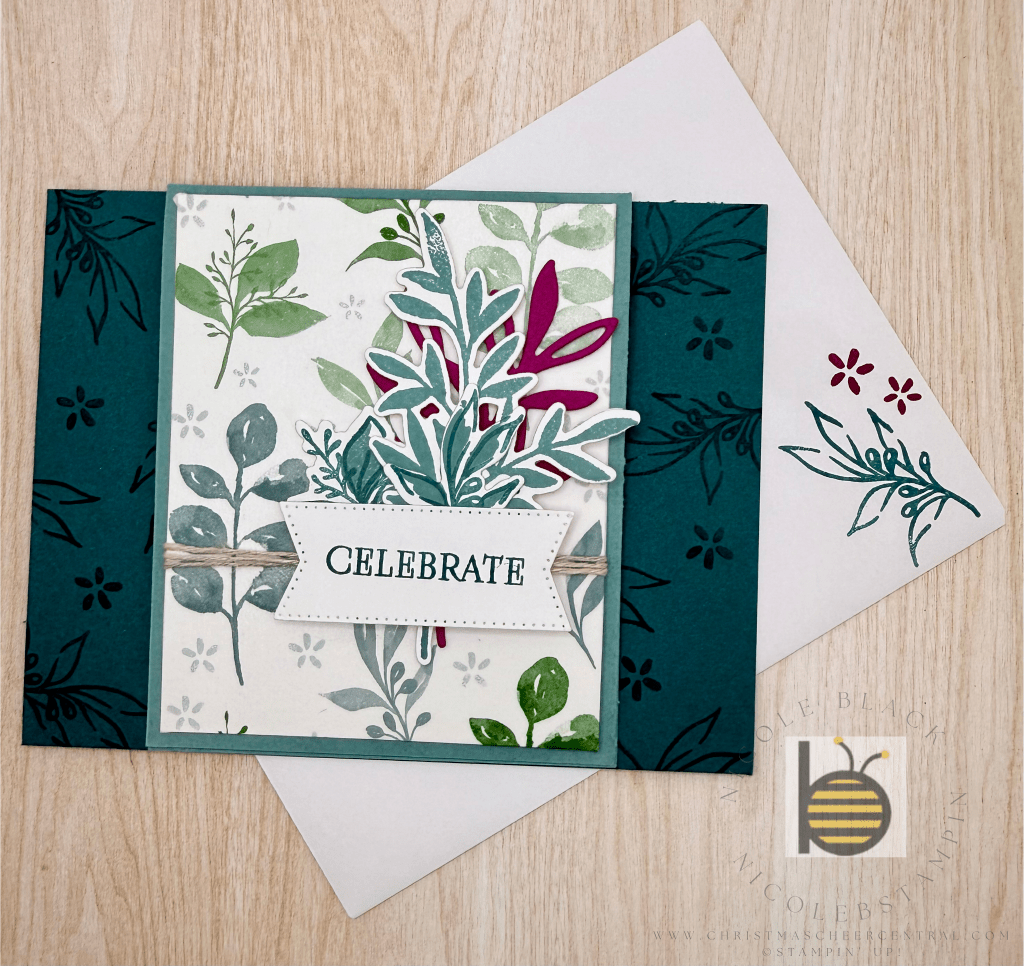
The Christmas season is in full swing, and my cards are prepped and ready to spread holiday cheer! This year, I’ve prepared nearly 200 cards, each one crafted with love and care.
In a world where digital messages often replace traditional mail, I still believe there’s something magical about receiving a card in the mailbox. While many have stopped mailing cards due to the cost of postage, I see it differently. For less than $1, I can deliver a moment of joy—a little piece of Christmas magic.
Each handmade card represents more than just a holiday greeting; it’s a way of saying, I’m thinking of you. It’s a small gesture that carries a big message of connection, love, and tradition.
What about you? Are you sending holiday cards this year? Let’s keep this heartwarming tradition alive!
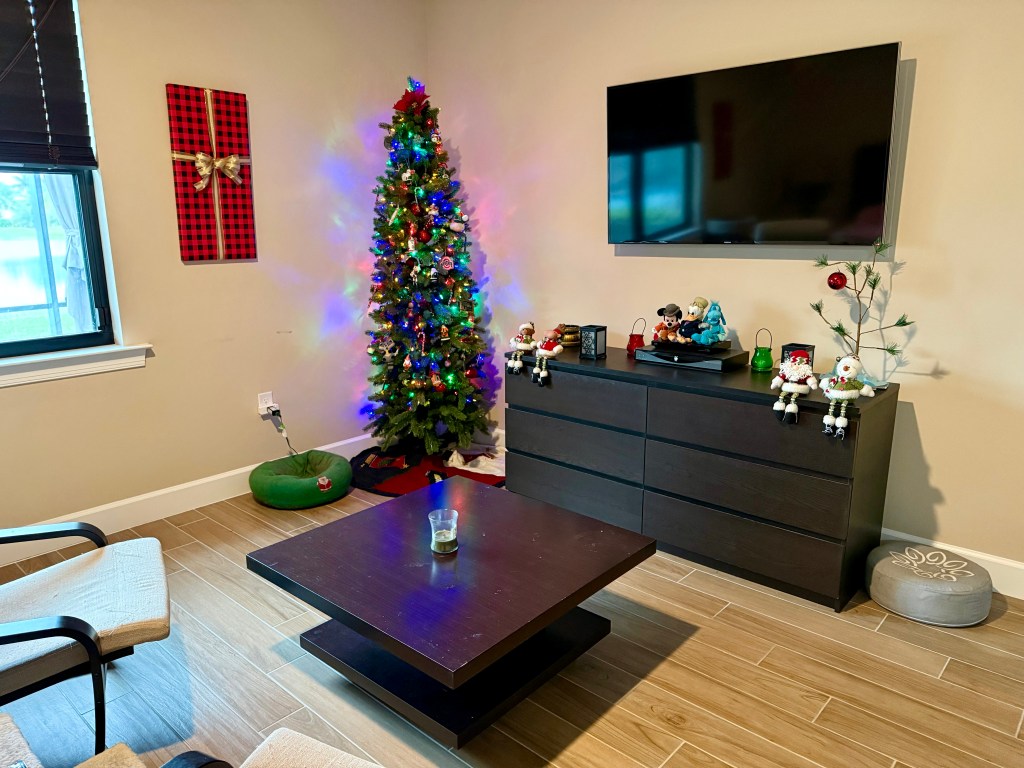
Christmas is truly magical in our home, and one of our favorite traditions is decorating trees—lots of trees! We have eight trees that are fully decorated and another six trees that are adorned with just lights. Every room gets its own tree, and each one has a unique theme.
This year, you might notice some of our trees are missing garland or ornaments on the bottom foot. That’s thanks to our young and energetic cats, who think our trees are their new playgrounds! But even with these adjustments, our trees bring the same festive joy.
Let me take you on a tour of our tree collection!
The Main Tree: A collection of Memories
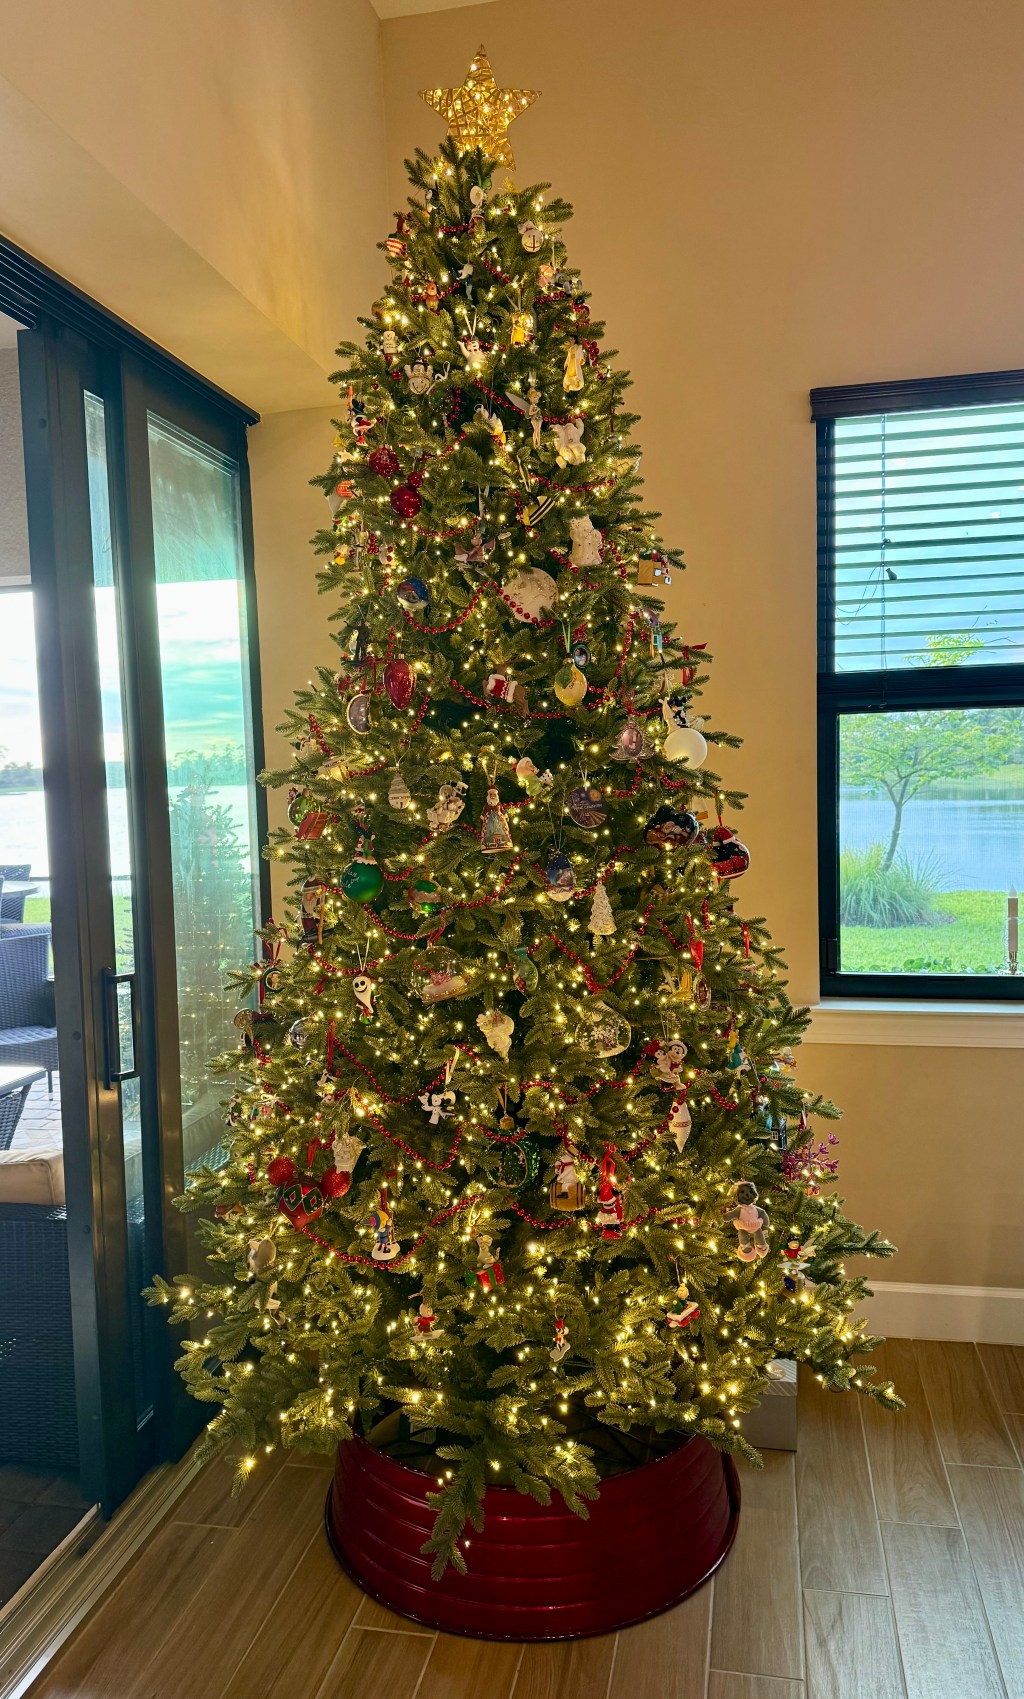
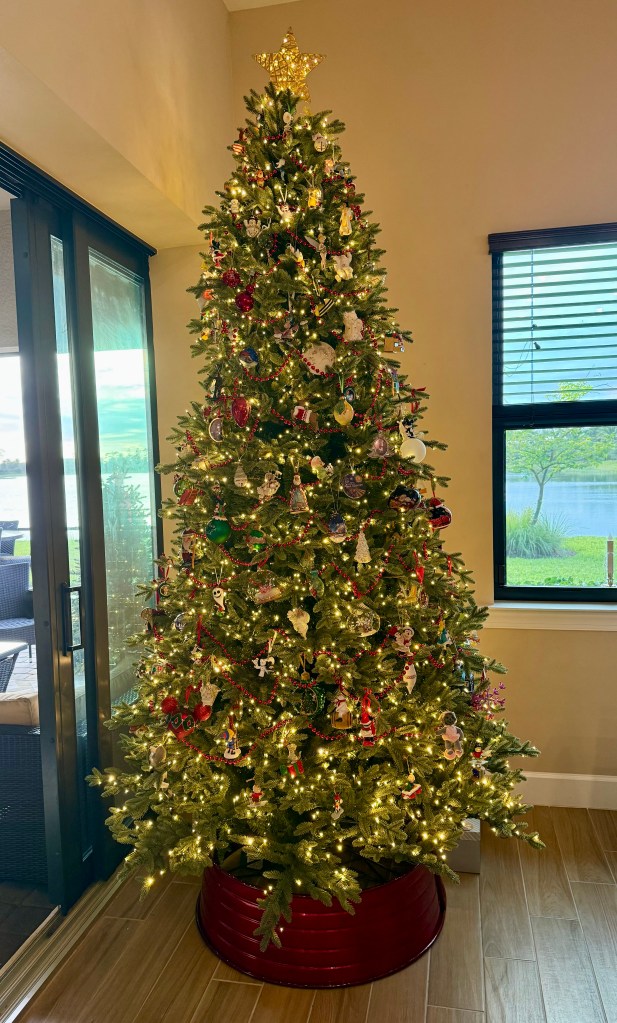
At the heart of our Christmas décor is our main tree, a majestic 9-foot beauty in the dining room. This tree is special because it holds all the ornaments we’ve collected over the years. Every ornament tells a story—from our annual tradition of buying an ornament to represent a significant event, to sentimental pieces passed down through the family. It’s a timeline of our life together, and it’s always the most meaningful tree to decorate.
Themed Trees Across Our Home
Origami Tree (Foyer, 5′)
The first stop is our foyer, where a 5-foot tree greets visitors. This tree is adorned with delicate origami ornaments, a nod to one of the most important moments in our lives. When Nathan proposed, he presented me with 1,000 origami cranes—a Japanese tradition that grants a wish to the recipient. This tree celebrates that cherished memory and the love it represents.
Race Tree (Workout Room, 7′)
Our workout room features a 7-foot tree celebrating our love for running. This tree is decorated with ornaments we’ve collected from the races we’ve completed, many of them Disney-themed sneaker ornaments. It’s a fun reminder of the miles we’ve run and the memories we’ve made crossing finish lines together.
Craft Tree (Craft Room, 5′)
In my craft room, a 5-foot tree sits on shelving in the bay window. This tree is decorated with hand-crafted ornaments and past year’s package toppers. It’s a creative and colorful display that makes the space feel festive and personal.
Cat Tree (Living Room, End Table Tree)
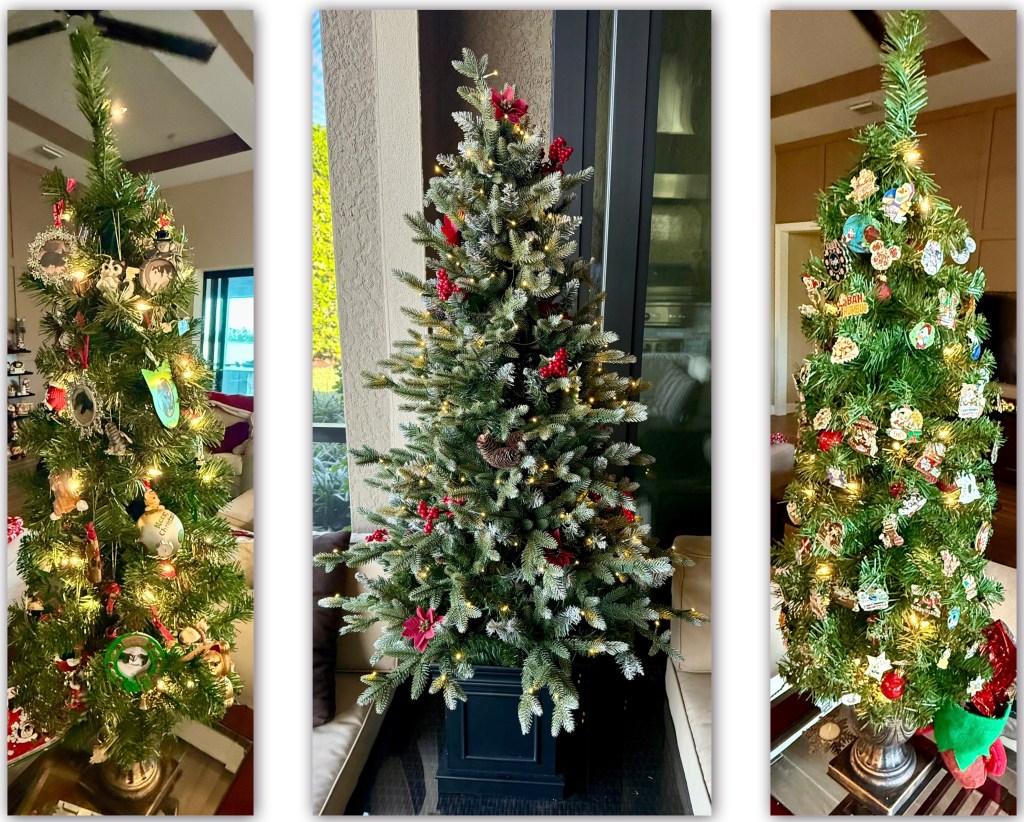
One of my favorite trees is our cat tree. This end table tree holds photo ornaments of every cat we’ve owned—18 in total! It’s a touching tribute to all the furry friends we’ve loved over the years. We fill it out with other cat-themed ornaments that capture the personalities of our current and past kitties.
Lanai Tree (5′)
Out on the lanai, we have a tree with a natural, outdoorsy theme. It’s decorated with items like berries, pinecones, and poinsettias, blending perfectly with the surrounding greenery.
Disney Pin Tree (Living Room, End Table Tree)
Another end table tree in our living room is dedicated to Disney Christmas pins. Over the years, we’ve collected a variety of festive Disney trading pins, and this tree is the perfect way to display them. It’s small but bursting with character and nostalgia.
Sports Tree (Master Bedroom, 7′)
Our bedroom has a 7-foot pencil tree that reflects our shared love of sports. Nathan is a University of Miami fan (green), and I cheer for Ohio State (red), creating a perfectly balanced tree. We’ve also included ornaments representing Florida Gulf Coast University, where we both work.
Chef’s Tree (Nathan’s Office, 7′)
Finally, in Nathan’s office, a 7-foot pencil tree pays tribute to his love of cooking. This tree, which used to be in our old house’s kitchen, is now right at home in his office. It’s adorned with ornaments featuring food and cooking themes—a playful celebration of his hobby.
A Home Full of Christmas Cheer
Each of our trees tells a story, representing pieces of our life, hobbies, and memories. From the meaningful main tree to the whimsical themed ones, decorating them all is a labor of love that fills our home with holiday spirit.
How do you decorate for the holidays? Do you have themed trees or special ornaments that hold sentimental value? I’d love to hear about your traditions in the comments below!
We’re right in the heart of my favorite time of year! If you’ve been following along, you know I’ve been prepping like crazy, and now it’s time to sit back and enjoy all the festivities. (Okay, maybe not completely sitting back—I’ve definitely been celebrating already!)
As we dive into the season, remember: when the busyness starts to feel overwhelming, try shifting your mindset. Tell yourself, I GET to do this, instead of, I HAVE to do this. It’s a simple perspective shift, but it can turn even the most stressful tasks into moments of joy.
Here’s how I’m breaking things down for the next few weeks to keep everything manageable and merry:
4 Weeks Out – “Wrap” Things Up
If you’re anything like me, you’ll still find great deals and perfect gifts right up until Christmas—but it’s so much easier when the big-ticket items and anything that needs shipping are purchased by early December. Trust me, you don’t want to be stressing about shipping deadlines! Plus, tackling the bigger purchases early helps you stay on budget.
This is also the perfect time to get your Christmas cards done and in the mail. It’s such a satisfying item to check off your to-do list! I like to have mine sent out by the first week of December. Since I hand-make my cards, it feels extra good to finish this creative project early—and as a bonus, it gets my craft room all tidied up for the next round of holiday fun!
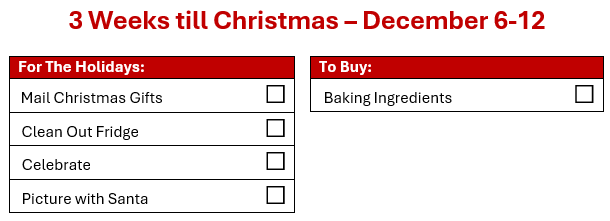
3 Weeks Out – Celebrate!
By this week, aim to have all your packages and cards in the mail to ensure they arrive on time. Shipping delays are no joke, and being proactive means one less thing to worry about. (Pro tip: If you’re short on time, let companies wrap and ship gifts directly for you. It’s not cheating—it’s smart!)
This is also the ideal time to give your fridge a deep clean before all the cooking, baking, and party prep begins. Freeing up space now will save you so much time and hassle later. Once my fridge is spotless, I like to stock up on baking essentials so I’m ready for my big cookie-baking weekend. That’s when I finish all my Christmas treats and assemble my cookie plates for gifting—it’s such a fun and festive tradition!
Remember, this season is about joy, connection, and love—not perfection. Let’s embrace the little moments and make this December one to remember!
I want to take a moment to send my warmest wishes to you and your family. This holiday reminds us to reflect on the blessings in our lives, and I am especially grateful for each and every one of you. Your support and connection mean so much to me.
May your Thanksgiving be filled with love, laughter, and cherished moments with those who matter most. Thank you for being a part of my life—I’m truly thankful for you!
Thanks to a long weekend for Veteran’s day and some away University of Miami football games, I managed to finish most of my Christmas decorating before Thanksgiving. All that’s left are the main Christmas tree and outside decorations! I thought I’d share a glimpse of how I’ve transformed my home for the holidays.
Living Room
In the living room, I swap out all the everyday knickknacks for festive ones and decorate two charming 4-foot Christmas trees. Behind them, you’ll notice the fireplace mantle—a unique holiday decoration! It’s actually a five-piece setup that I assemble each year for Christmas. To make it look more realistic, I hang a piece of black cloth behind it.
This faux mantle is the perfect spot for hanging our stockings and setting up the Christmas village.
Ortensia, our spirited 1-year-old blind baby, had her own ideas about holiday decor this year. She decided her stocking belonged in her cozy “nest” rather than hanging on the mantle with the others. As much as I admired her creative placement, I ultimately had to overrule her. (Sorry, Ortensia!)
Dining Room
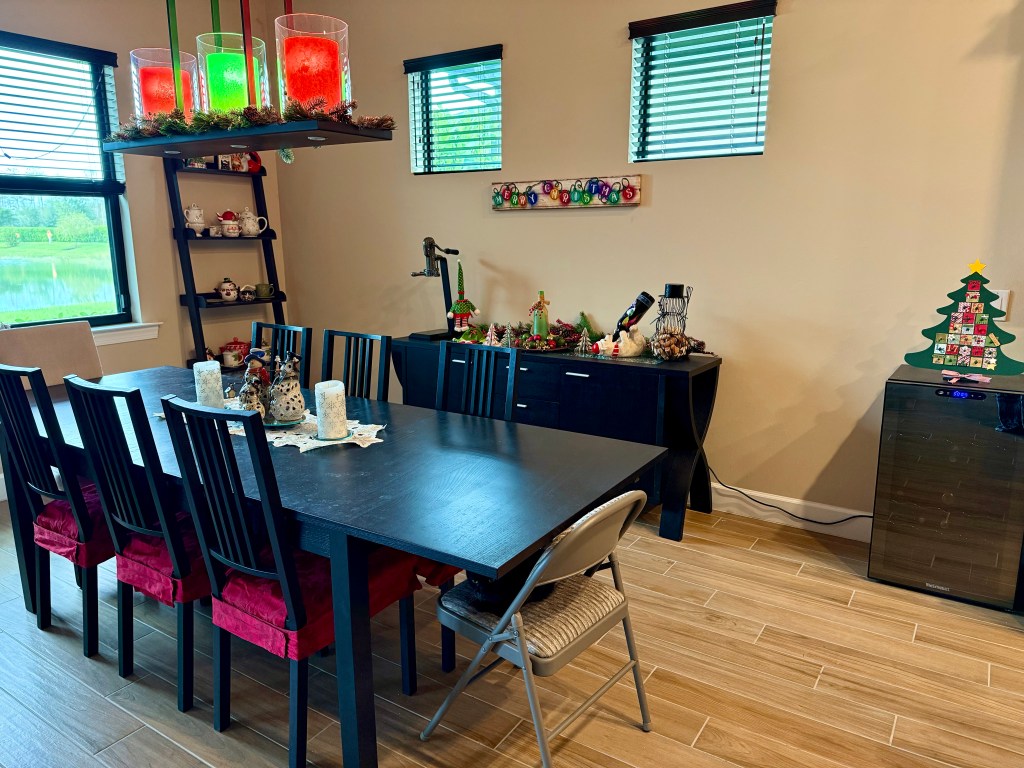
The dining room gets a playful holiday makeover with chair covers and smart lightbulbs, which we switch to festive colors for the season. On the right, you’ll see our advent countdown calendar that I made. This is where we start our Advent activities on December 1st. If you’re curious about those fun traditions, follow along on my Facebook page—I’ll be sharing them there!
Kitchen
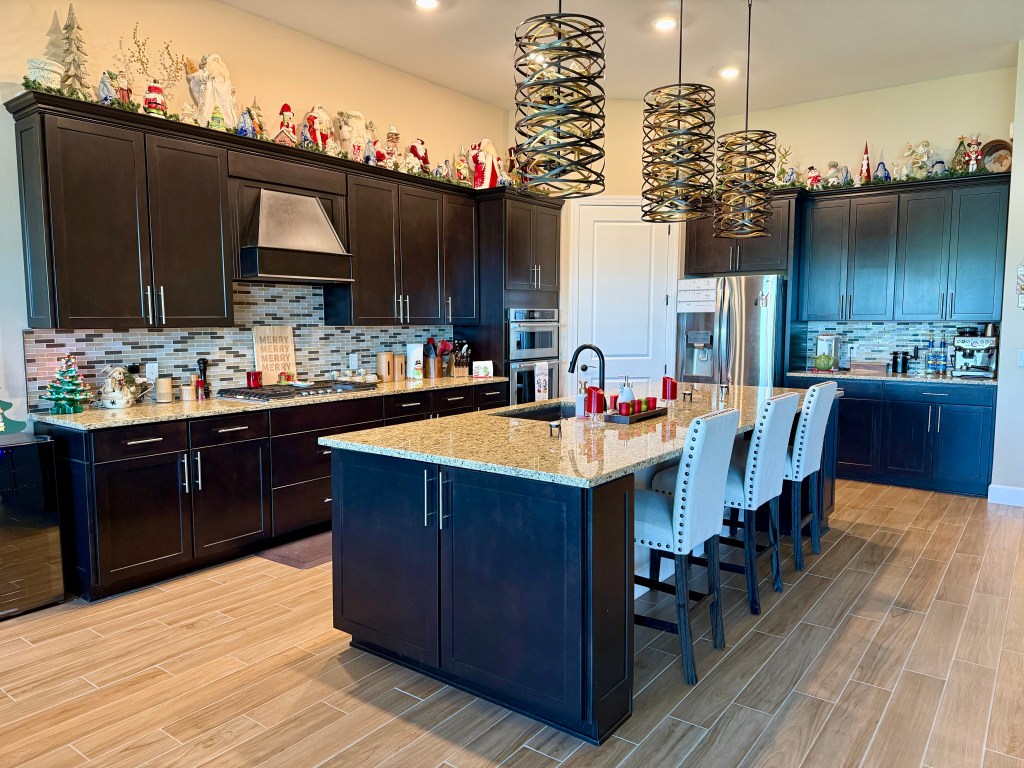
The kitchen is one of my favorite rooms to decorate. Years ago, my dear friend Barb Silcox began gifting me handmade Amish Santas every Christmas. Her thoughtful tradition inspired me to start collecting Santas from all over, and now I proudly display them above my cabinets. Each one holds special memories, and they bring so much joy to this space.
Master Bedroom
Even the master bedroom gets a festive makeover! Although it’s not pictured here, I swap out our bedding for Christmas-themed linens. I also replace or wrap all the framed pictures in the house as “presents,” which adds a whimsical holiday touch.
Foyer
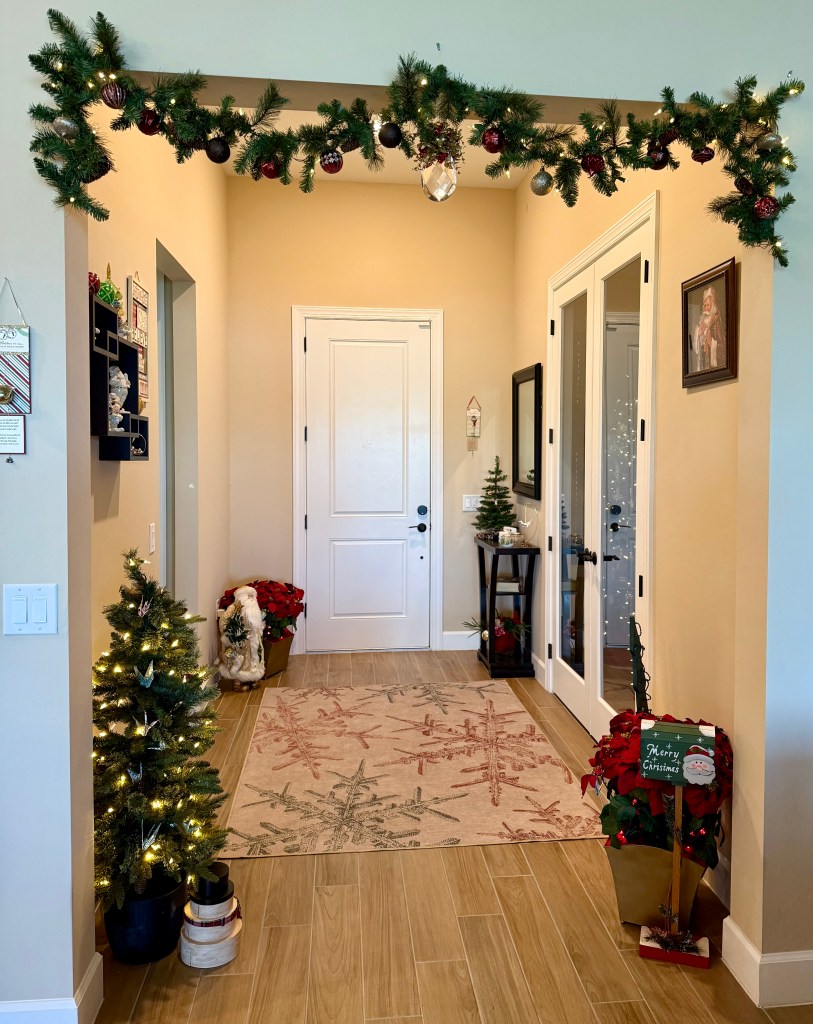
The foyer welcomes guests with a cheerful holiday rug and plenty of festive decor. It’s the first room you see when entering the house, so I love making it extra special.
The Final Touches
Every room gets its own Christmas tree, and even the bathrooms aren’t left out—they’re adorned with Christmas towels and shower curtains. It’s all about the little details that make the whole house feel like a magical winter wonderland.
Decorating for Christmas brings me so much joy, and I love going all out to make every corner of my home festive. I can’t wait to share more about our Christmas trees soon!
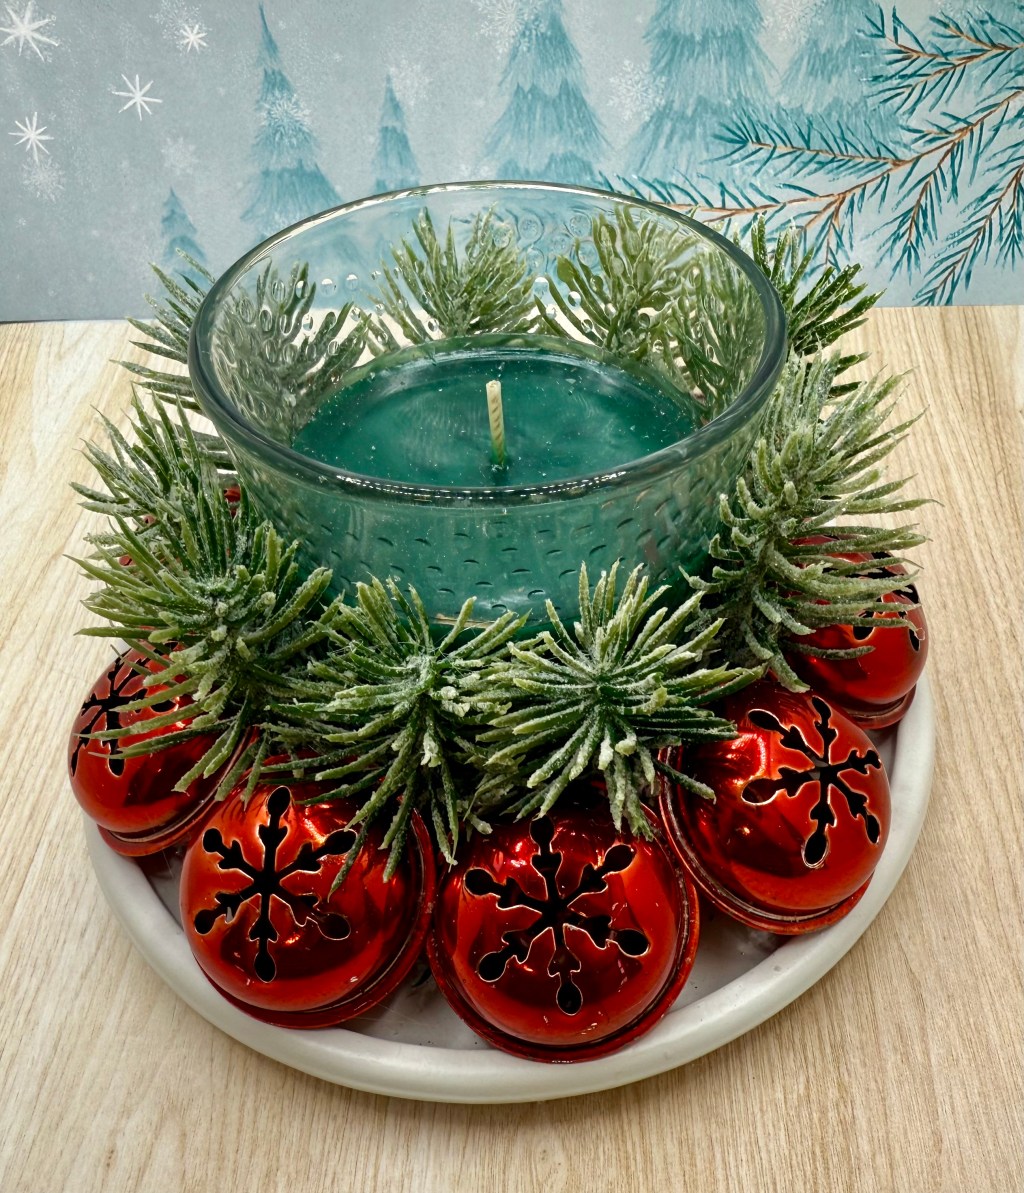
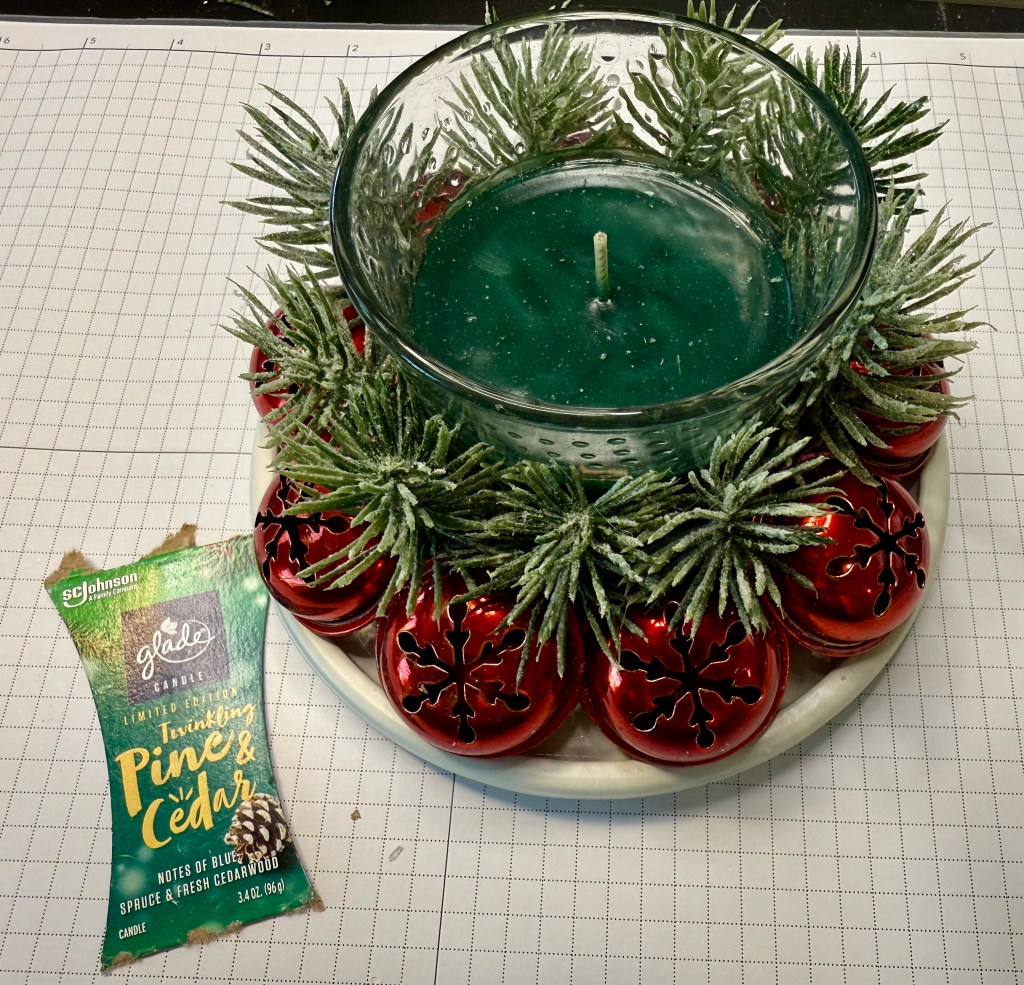
The holiday season is the perfect time to share heartfelt, handmade gifts with loved ones. This year, one of my favorite DIY projects is a festive candle holder made with bells and pine—a charming addition to any Christmas décor!
Materials You’ll Need:
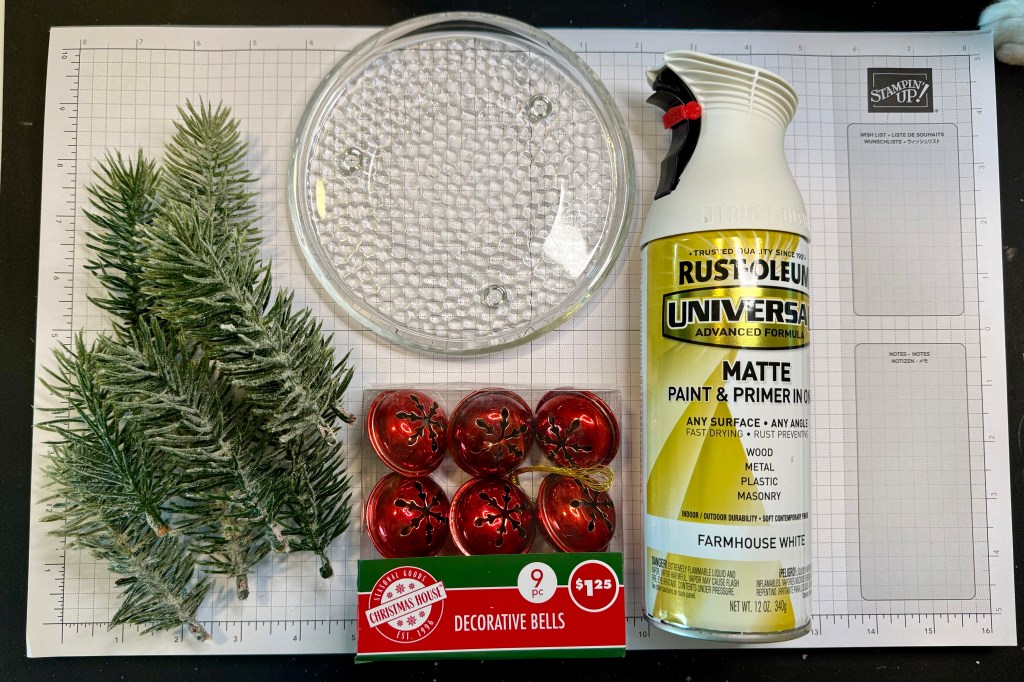
Glass candle plate: Mine is XX” in diameter, purchased from the Dollar Store.
Bells: Also from the Dollar Store.
Pine branches: Snipped from a discounted swag I found at a craft store (trimmed for a shorter, more balanced look).
Spray paint: I used Farmhouse White in matte—it was the only matte white I could find, but any color that matches your holiday theme will work.
Hot glue gun and glue sticks.
Optional holiday candle: Glade candles fit perfectly and come in a variety of festive scents!
Step-by-Step Instructions:
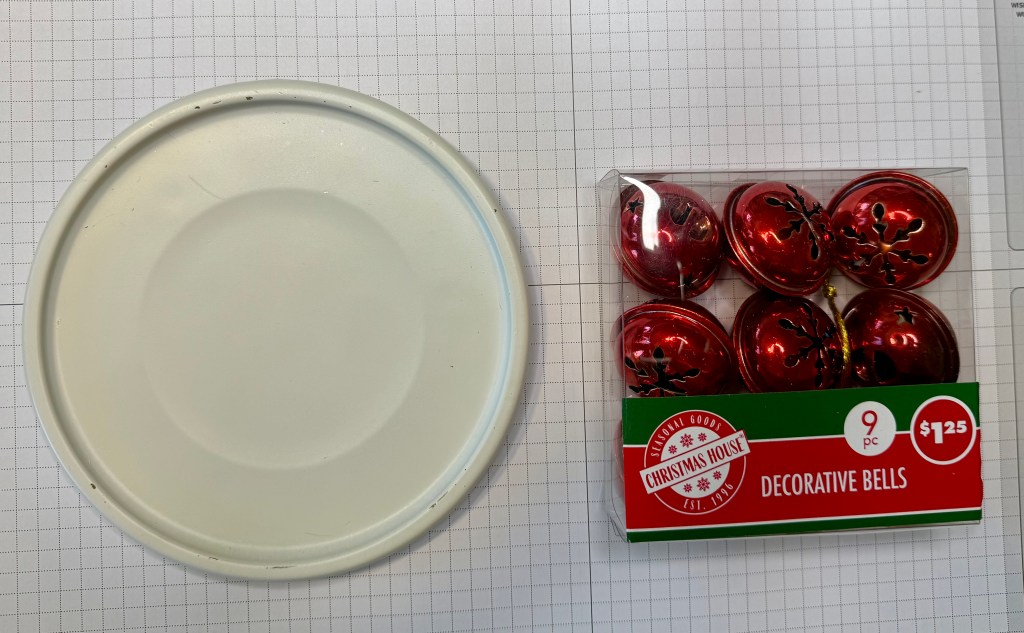
Spray Paint the Candle Plate Start by spray-painting the glass candle plate. I chose a matte white to give it a cozy, farmhouse-inspired look. Allow the paint to dry completely before moving on to the next step.
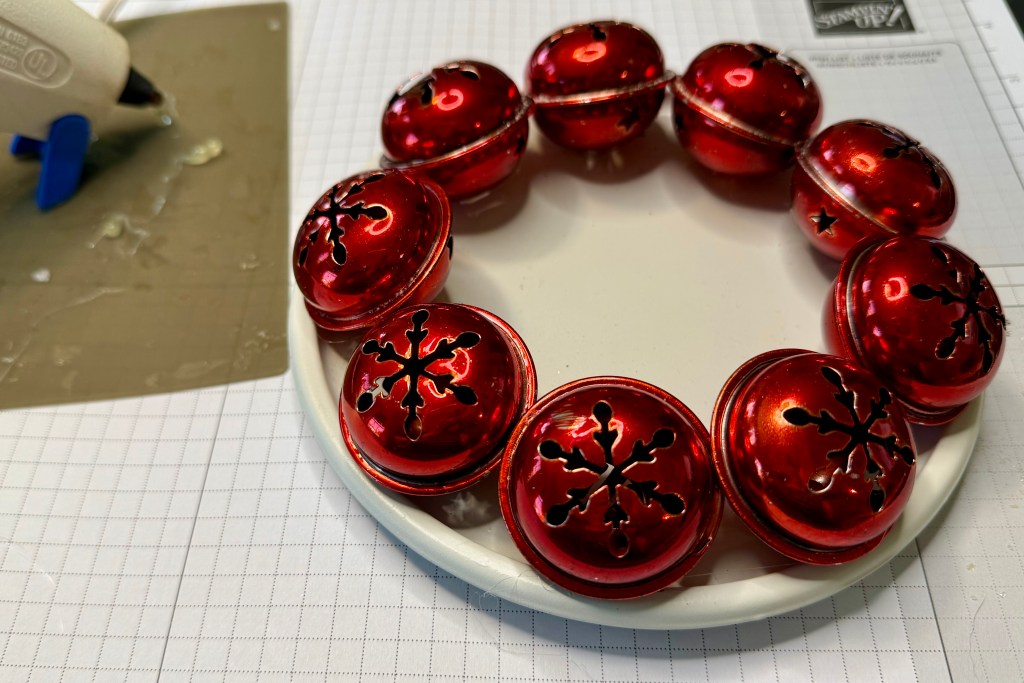
Attach the Bells Using a hot glue gun, attach nine bells evenly around the edge of the plate. Press firmly and hold each bell in place for a few seconds to ensure a strong bond.
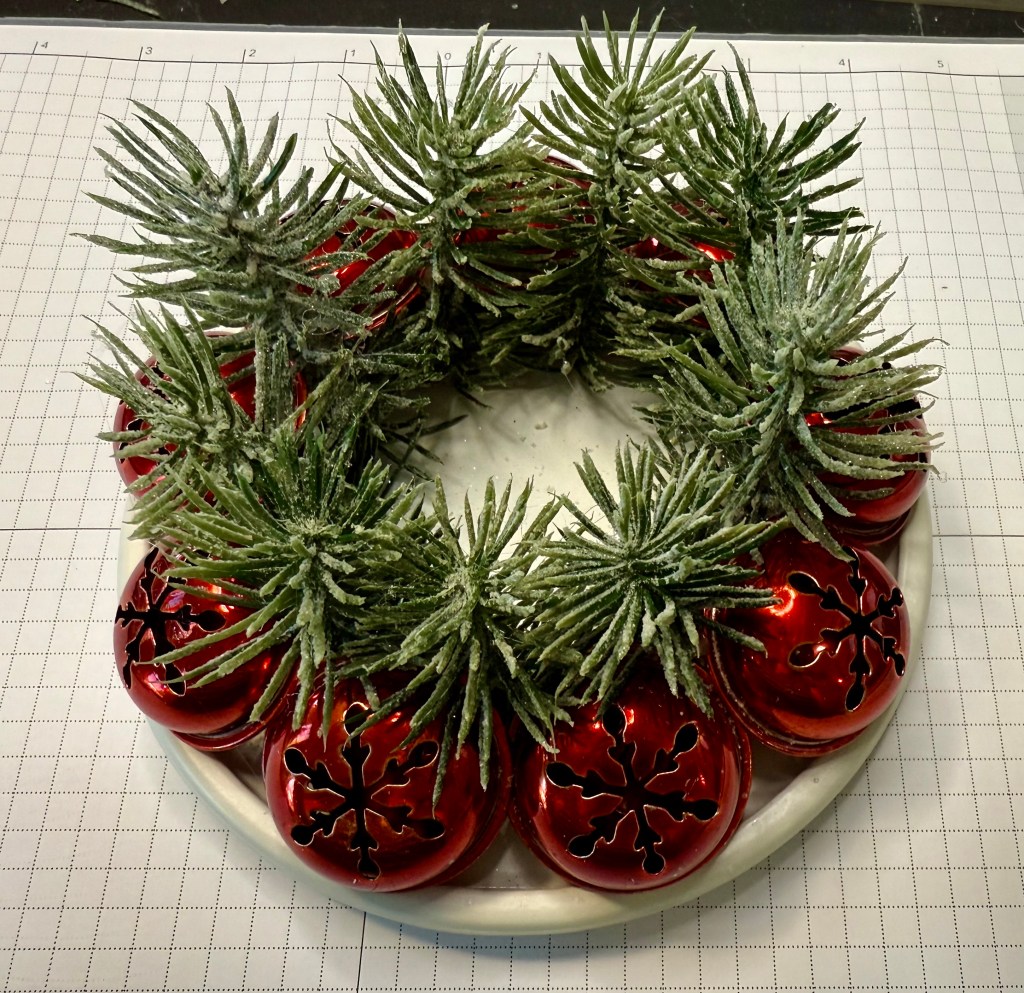
Add the Pine Accents Next, hot glue a piece of pine between each of the bells. This adds texture and a festive, natural touch to your candle holder.
Finishing Touches And that’s it! You now have a beautiful, festive candle holder that’s ready to gift or use as part of your own holiday decor.
To complete the gift, I paired my candle holder with a Glade candle—perfectly sized and available in a variety of holiday scents to suit any preference.
Why I Love This Gift:
This project is simple, budget-friendly, and customizable. You can experiment with different spray paint colors, add ribbon or other embellishments, or even swap the pine for holly or faux berries. It’s a thoughtful, handmade gift that’s sure to bring holiday cheer!
Let me know if you try this DIY! What scents or styles would you choose to make it your own? 🎄✨
I am a project manager by day and a crafter by night. I love Christmas and want to do it all every year. I will share with you how I do it and enjoy it too!