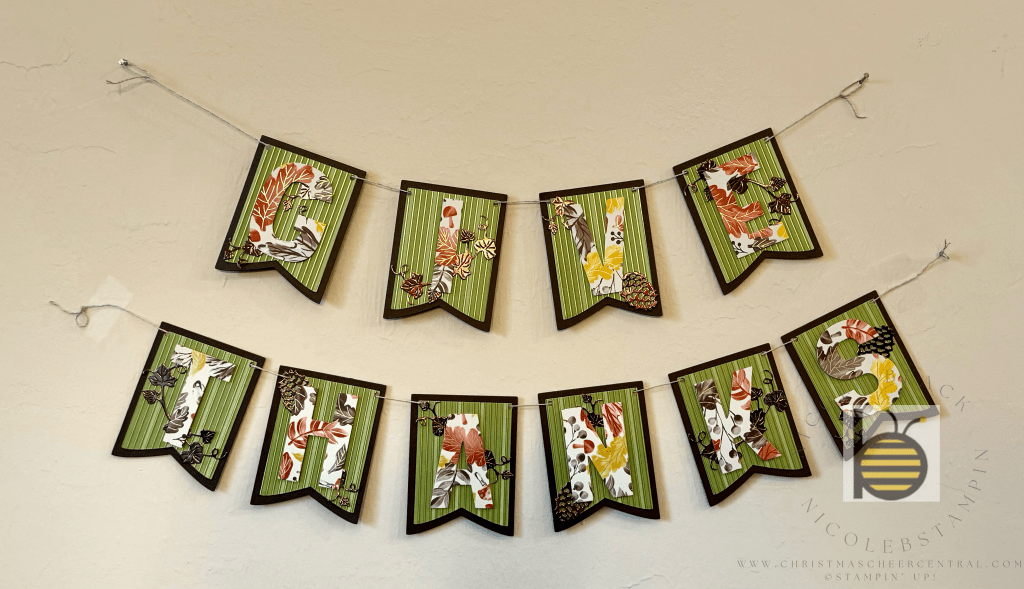
I loved my Halloween banner so much that I just had to make one for Thanksgiving!
For this version, I used the Gathering Together Designer Series Paper for both the background and the letters. The warm, rustic tones are perfect for the season. If I were to make it again, I’d probably add shadow letters in a solid color to help them pop a bit more—just like I did on my Halloween banner here.
To bring in a touch of autumn texture, I die-cut leaves, vines, and pinecones from Earth Toned Metallic cardstock using the Beautiful Pumpkins Dies. I had so much fun layering and embellishing each pendant—it really gave the banner that cozy, harvest-inspired look I was going for.
Now I can hanging proudly as part of my fall décor, and I love how it ties the season together!
Cardstock Cuts for this project:
Banner
Early Espresso – 3-1/2″ x 2-3/4″ per banner piece
Earth Toned Metallic – For Leaf, Vine, and Pinecone die cuts
Gathering Together DSP – 3-1/4″ x 2-1/2″ per banner piece, 2-3/4″ x 2-1/4″ per letter
Stampin’ Up! products used to create this project:
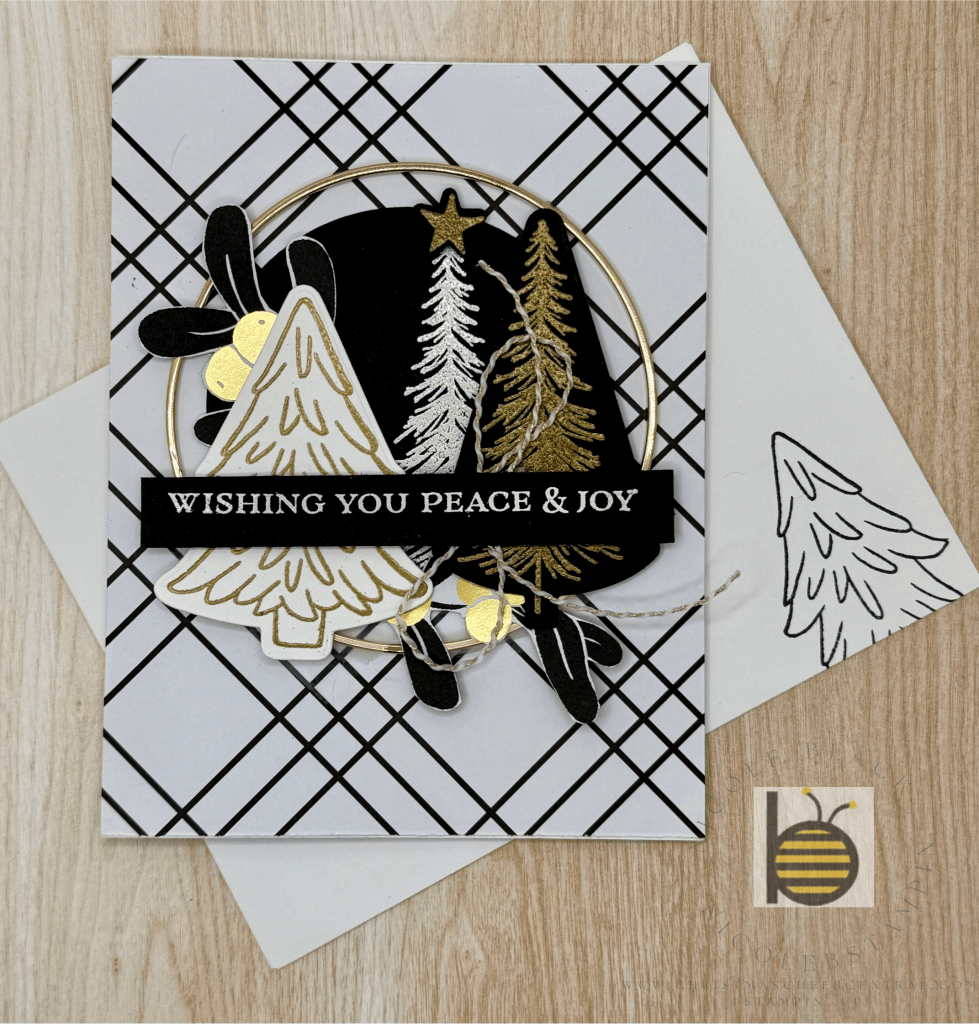
The Modern Christmas Suite instantly caught my eye with its stunning black and gold color palette. This suite blends timeless holiday charm with sleek, contemporary style. From the elegant black and gold color scheme to the versatile designs, it’s perfect for creating cards, gifts, and décor that feel both classic and modern.
The Checkered Card
I absolutely love how this checkered look came together!
For the center panel, I started with a 5″ x 2-1/2″ piece of Basic White cardstock. On top of that, I adhered a 5″ x 1-1/4″ strip of Basic Black and another 5″ x 1-1/4″ strip of Basic White. I chose to layer them onto a single panel so the surface stayed flat when stamping and embossing—no raised edges or shifting pieces. This also made it much easier to pop the panel onto the front of the card with Dimensionals.
To carry the elegance throughout the design, I kept the inside simple, with just a clean stamped sentiment. For the envelope, instead of stamping, I covered the flap with a piece of the beautiful Designer Series Paper (DSP) for a coordinated, polished finish.
More with the Suite
I had so much fun recreating several of the projects Stampin’ Up! shared as inspiration.
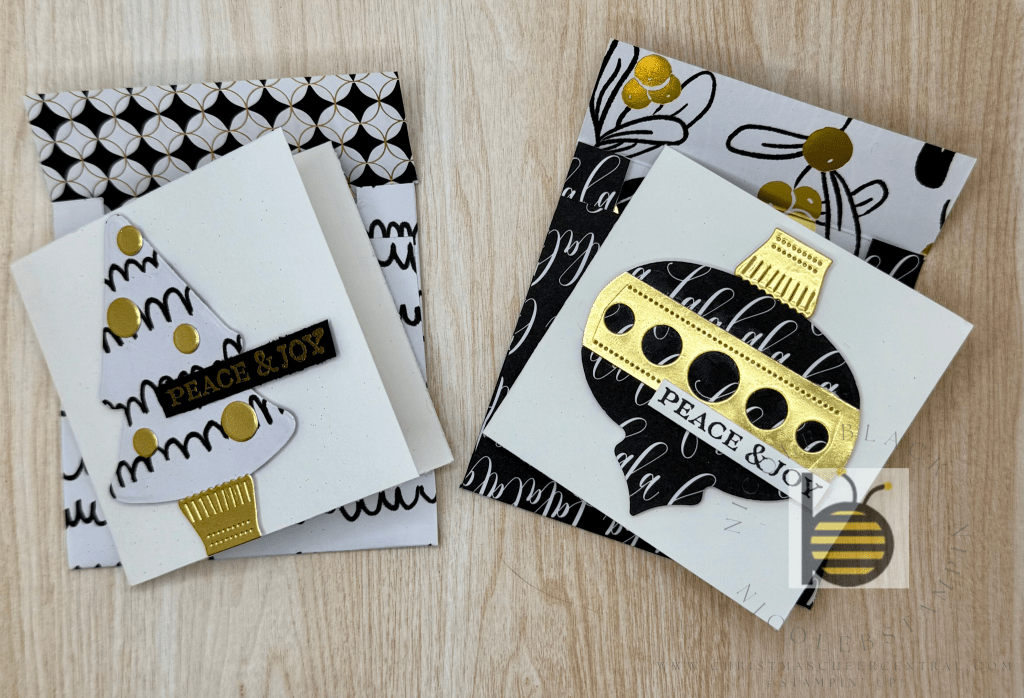
One of my favorites are these adorable 3″ x 3″ note cards—perfect to tuck onto gifts or treat boxes. I didn’t have envelopes that size, so I made my own using the DSP, and they turned out so cute!
Here’s how I made my 3″ x 3″ envelopes:
Cut DSP to 7″ x 4-1/4″.
Score at 1″ and 4-1/4″ across the short side.
Score at 1/2″ on both long sides.
Cut away the bottom side pieces up to the score line (these strips are about 3-3/4″ long).
Cut away the top side strips up to the score line (these are 1″ long).
Fold and unfold along all score lines to make sure everything folds smoothly.
Add Tear-n-Tape to the bottom side flaps (not the middle ones—those are longer).
Fold the side edges inward, then bring up the bottom flap and adhere it to the sides.
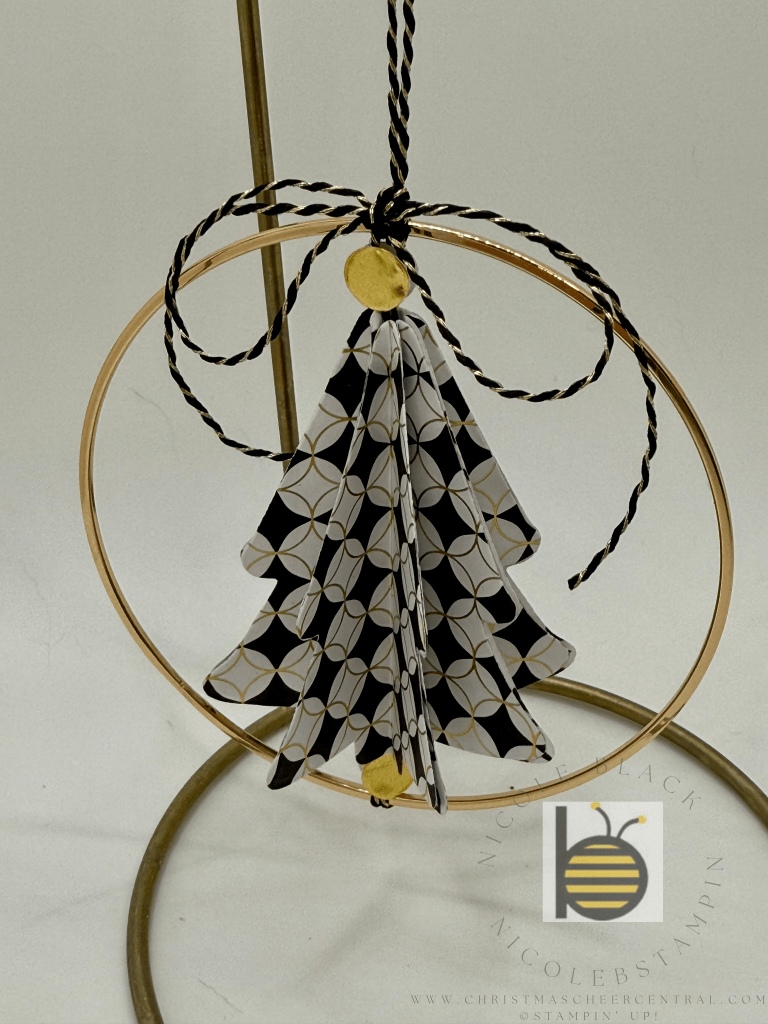
I also couldn’t resist making an ornament using the gold hoops included in the suite. I’ve created different versions of these over the past few years, and they’re always such a hit! For this one, I die cut eight trees, scored and folded each in half, and adhered them together. Before gluing the last two edges, I wrapped the ornament around the Baker’s Twine on the hoop for a dimensional, finished look.
A Traditional Twist
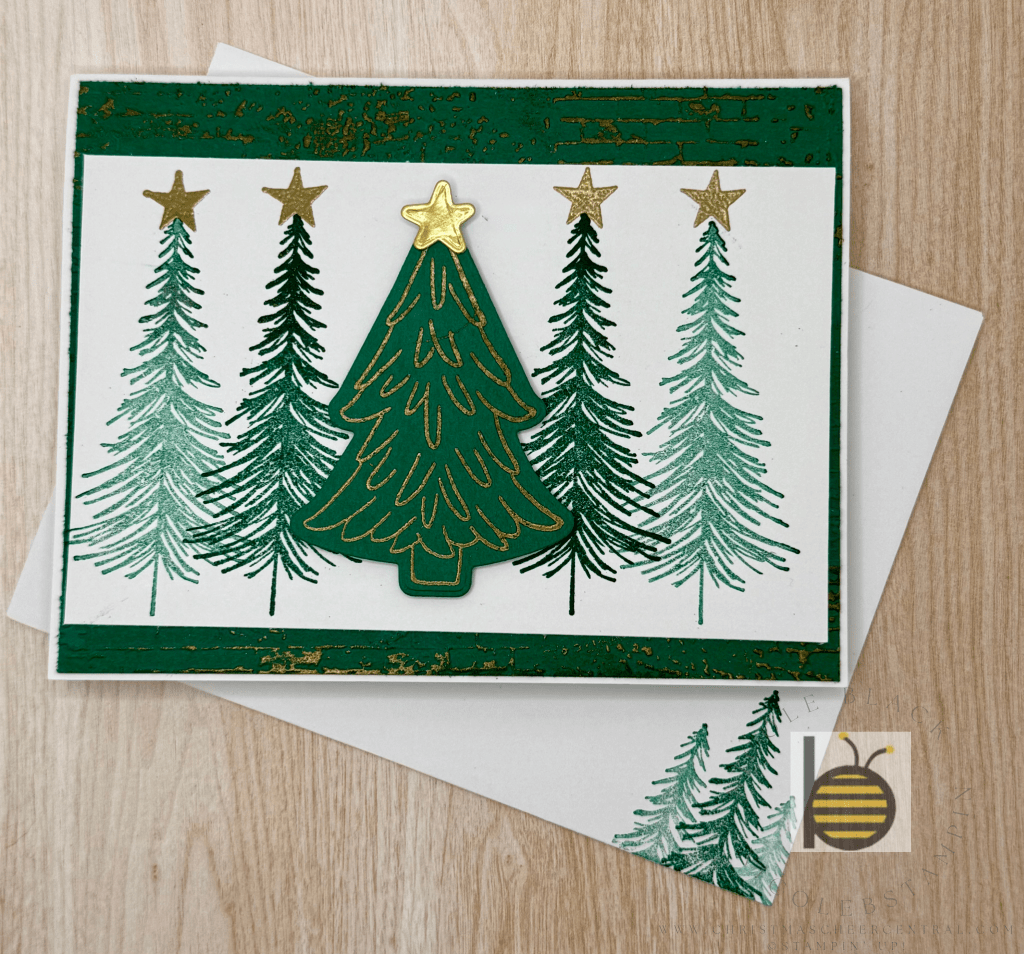
I stepped away from the modern black-and-gold theme to make a more traditional Christmas card using the same set. My favorite part of this design is the background technique—I embossed a Shaded Spruce layer with the Exposed Brick Embossing Folder, then lightly brushed a VersaMark pad across the raised texture. A sprinkle of Gold Embossing Powder and a quick heat set gave it the most beautiful gilded finish.
Cardstock Cuts for this project:
Basic White Thick – 8-1/2″ x 5-1/2″ scored at 4-1/4
Basic White – 5″ x 2-1/2″ panel, 5″ x 1-1/4″ panel
Basic Black – 5″ x 1-1/4″ panel
Modern Christmas DSP – 5-1/2″ x 2″ panel, 2-1/4″ x 5-3/4″ for envelope
Stampin’ Up! products used to create this project:
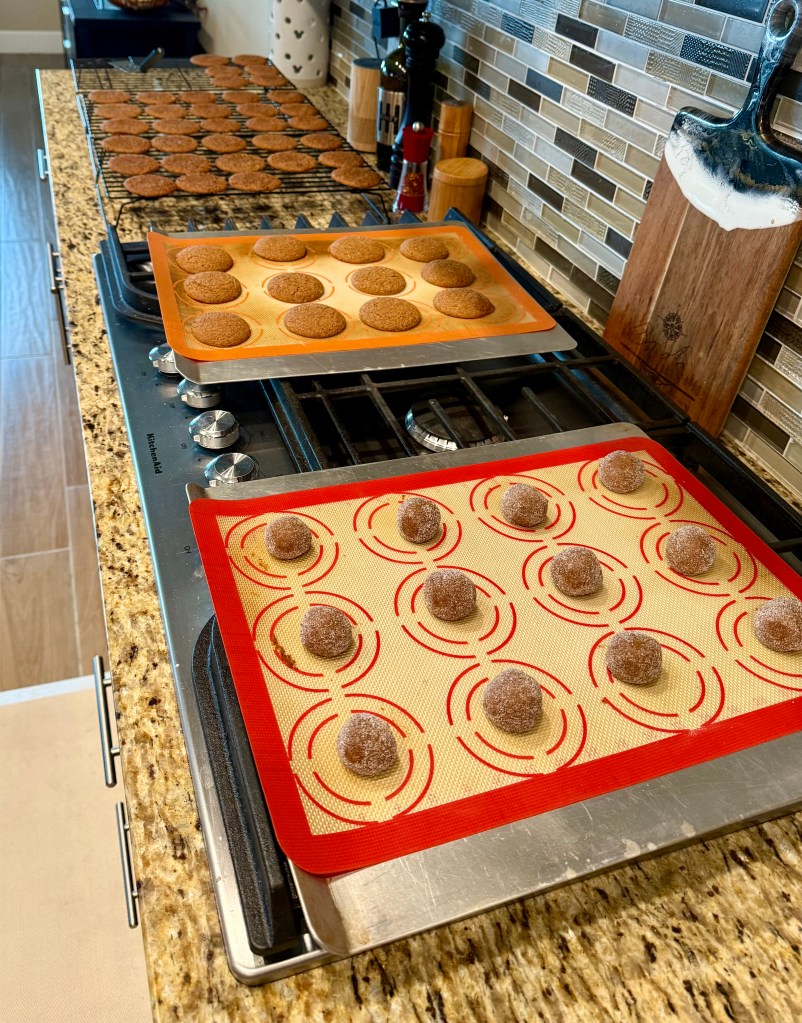
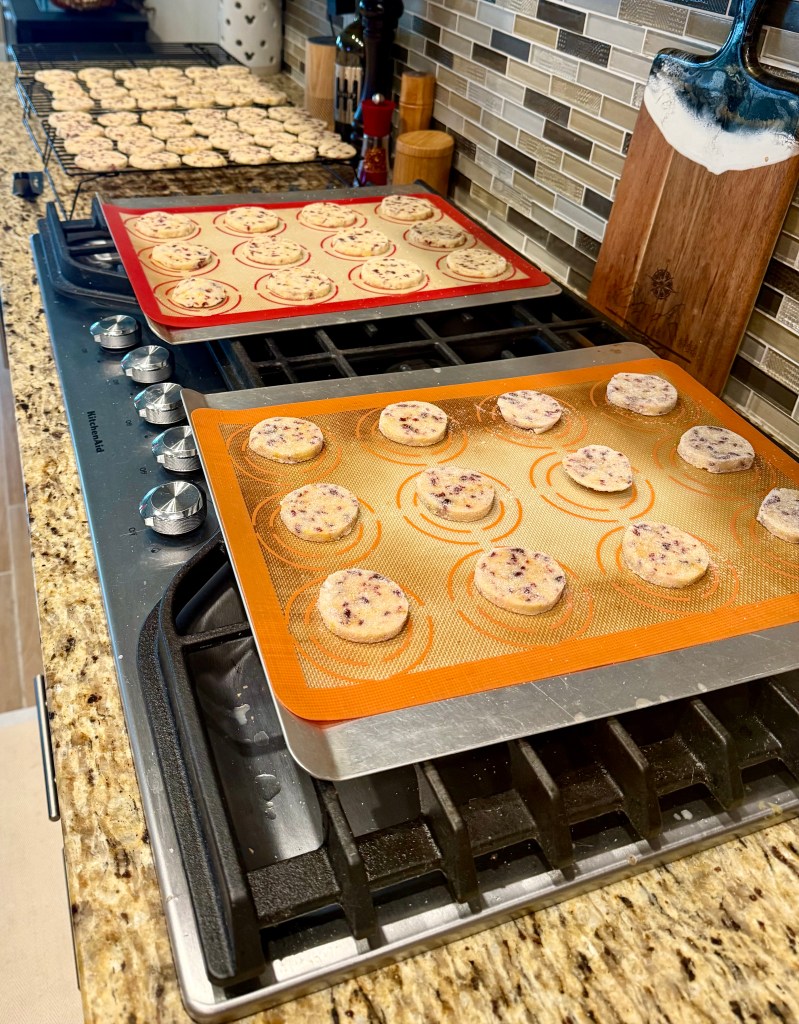
This past weekend was exactly how I love to spend a fall weekend—college football on TV, a little crafting, and plenty of baking! Nathan and I added two more types of Christmas cookies to our growing freezer stash, and the house smelled amazing all weekend long.
Gingerbread Latte Cookies ☕️
First up were the Gingerbread Latte Cookies. These are not your average gingerbread treats—they have a little espresso powder mixed in, so you get that cozy coffeehouse flavor in every bite. My favorite part is the fresh ginger, which gives them a gentle “heat” that really does make them taste like a warm latte!
We baked up 109 cookies (yes, I counted!), though somehow only 100 made it to the freezer… I’ll let you guess what happened to the rest.
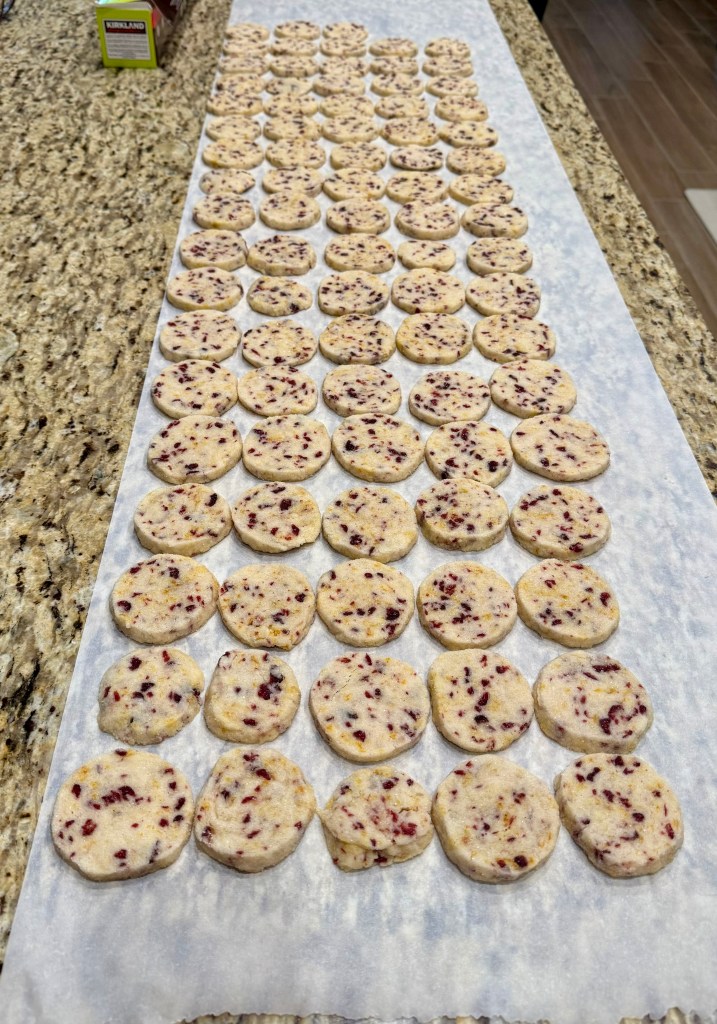
Cranberry Orange Shortbread 🍊
Next, we tackled the Cranberry Orange Shortbread Cookies, and oh my—these might be my new favorite! They’re buttery, sweet, and have that perfect hint of tart cranberry and citrus. They pair beautifully with coffee, tea, or even hot chocolate. We froze about 80 cookies after sampling a few (for quality control, of course!). Honestly, I wish I’d tripled the batch—they’re that good!
Holiday Prep Progress 🎄
That brings our total to three types of cookies made and three more to go! My plan is to make one more variety next month, so by the time December arrives, assembling all the holiday cookie plates will be an absolute breeze.
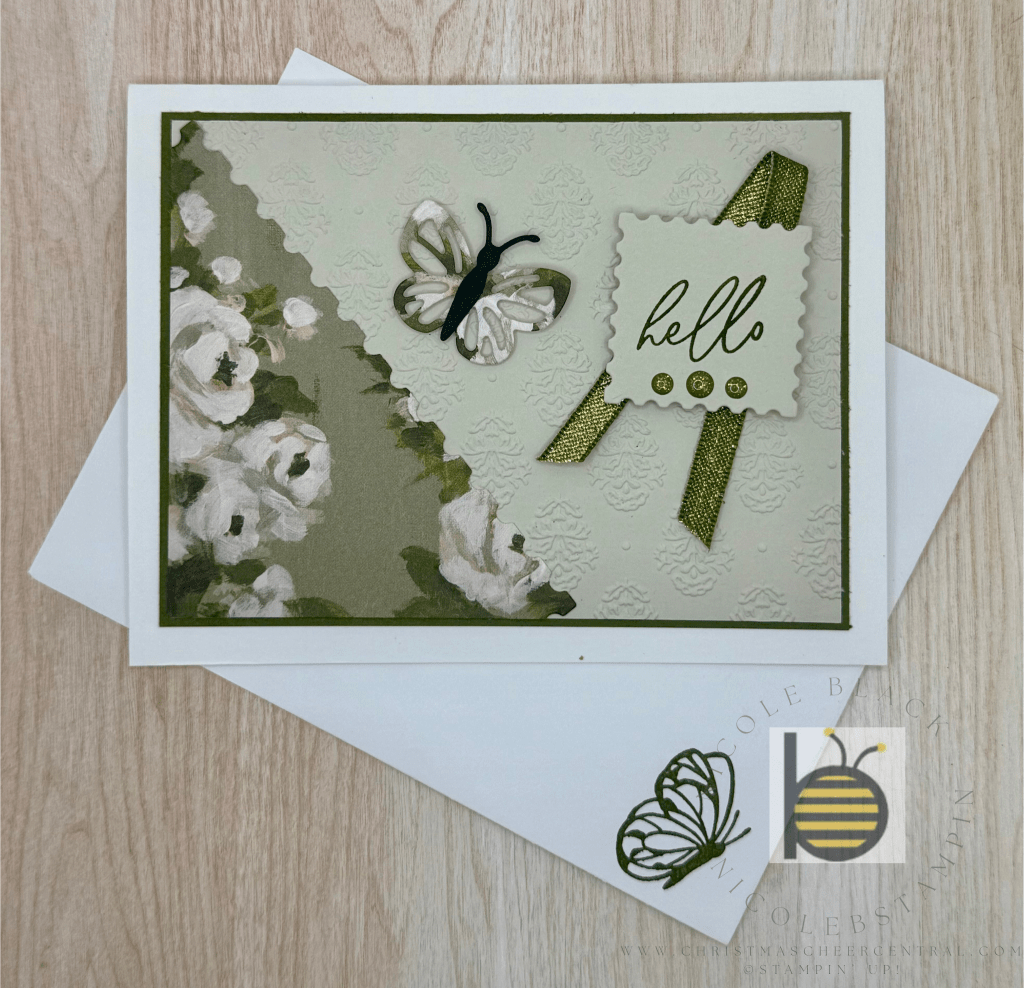
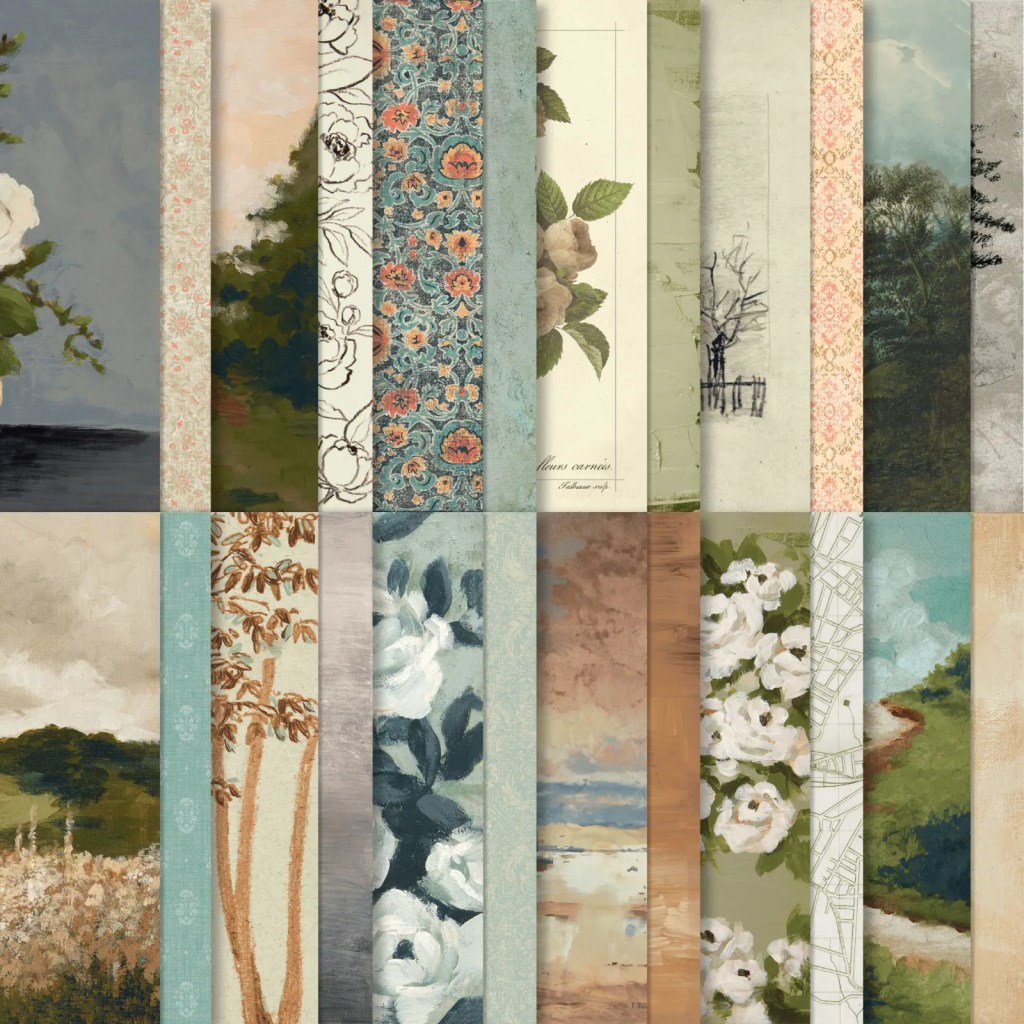
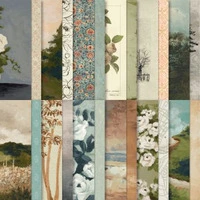
Stampin’ Up! creates some of the most beautiful 6″ x 6″ Designer Series Papers—many of them look just like little works of art. When I saw the Beautiful Gallery DSP, I knew it would be perfect for creating cards that highlight the artwork while still being versatile enough to adapt to different designs.
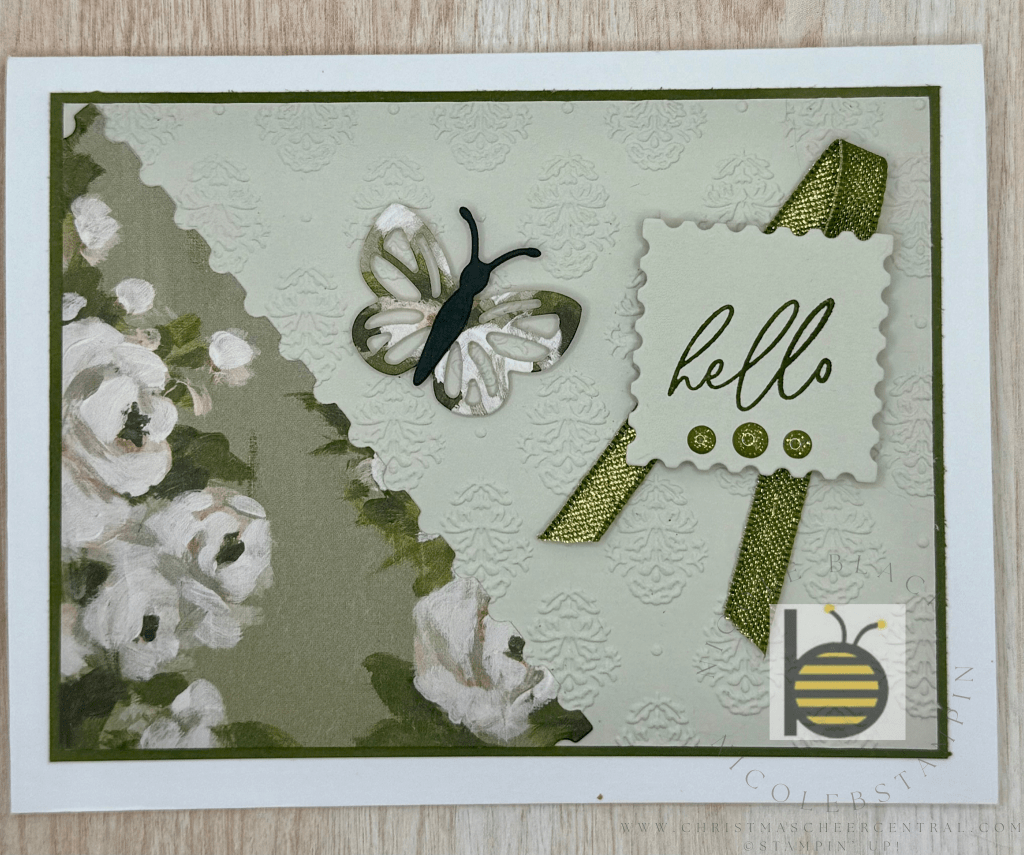
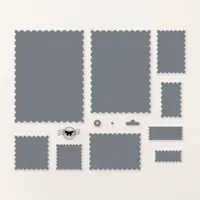
For this card, I used the Perennial Postage Dies to frame a section of the DSP, letting the paper’s stunning detail take center stage. To tie everything together, I die cut a butterfly from the same design, which brought out the soft, blended colors beautifully.
My main layering color is Mossy Meadow, which works so well with this particular pattern. However, some of the other papers in the pack would coordinate better with Secret Sea—a good reminder that the DSP itself is the best guide when choosing your color palette.
For extra texture, I embossed the Basic Beige layer with the Damask Designs Embossing Folder. Its elegant pattern feels like the perfect companion to the gallery-inspired DSP.
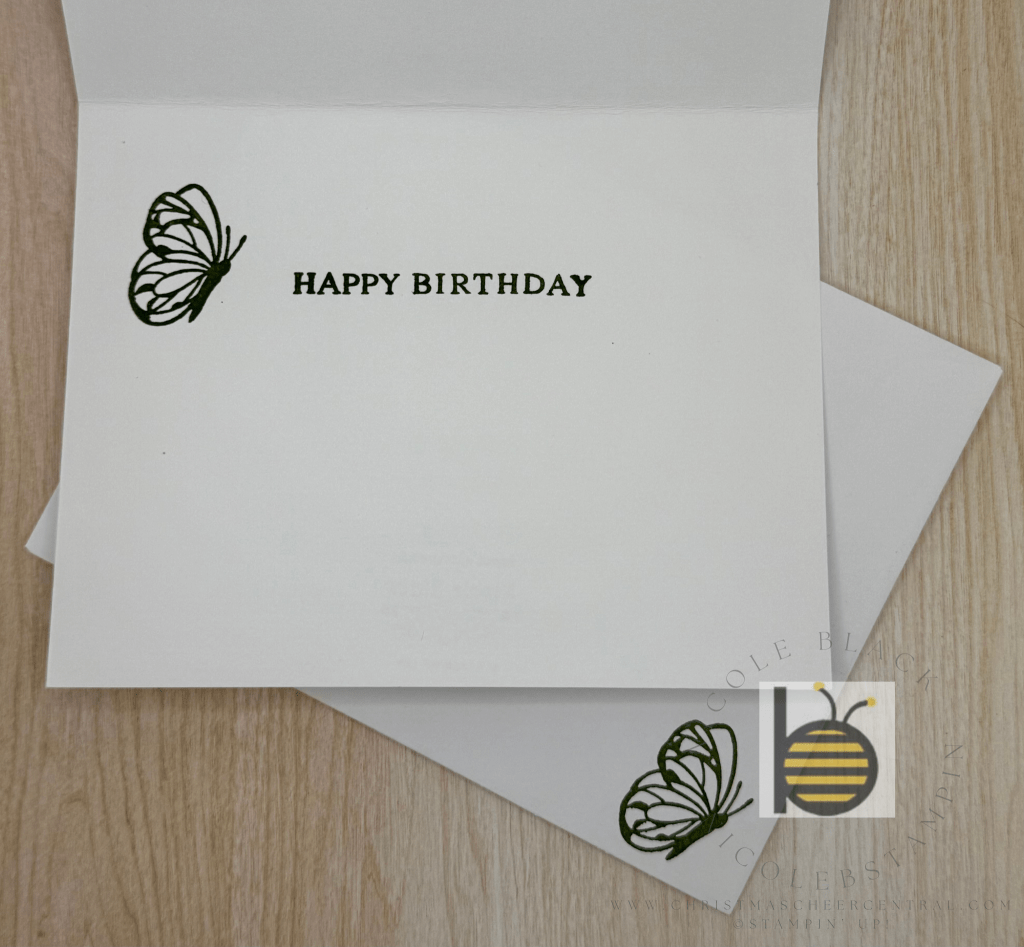
To finish things off, I stamped the inside of the card and the envelope in Mossy Meadow. Looking back, I wish I had used some of the leftover scraps from the die cuts to decorate the inside, too—it would have carried the design through so nicely. Something I’ll keep in mind for next time!
Cardstock Cuts for this project:
Basic White Thick – 8-1/2″ x 5-1/2″ scored at 4-1/4
Mossy Meadow – 5″ x 3-3/4″
Basic Beige – 4-7/8″ x 3-5/8″ panel, 1-1/2″ x 1-1/2: for label
Beautiful Gallery DSP – 3-5/8″ x 3-5/8″ for Large Postage Die, scrap from that piece for Butterfly
Stampin’ Up! products used to create this project:
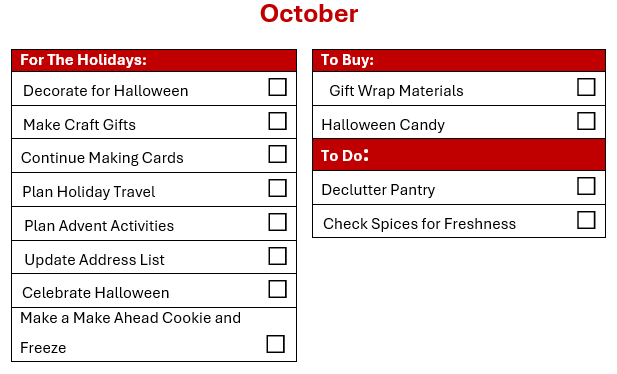
For some people, the holiday season doesn’t begin until Thanksgiving—or maybe not until December. But for me, Christmas in July is the unofficial starting line. I ease into it slowly during September, but once October arrives, the festive fun begins!
This month feels like the perfect bridge between fall and the holidays. I start by bringing out my Halloween décor, then gradually layer in the seasonal touches that carry me straight through December. It’s also when I dig deeper into my crafting projects—personalized cards, handmade gifts, and little things that make the season feel extra special.
Another big October task? Stocking up. Wrapping supplies, baking ingredients, and pantry staples all get a refresh. I’ve learned that decluttering my pantry and replacing spices now saves so much time (and stress!) later when the holiday baking whirlwind hits. And yes, I’ll be adding another batch of make-ahead cookies to the freezer this month—I like to have plenty ready to go.
Get Ahead on Holiday Travel
If you’re planning to travel, October is the sweet spot for booking. Nathan and I have a tradition of sneaking away for a holiday-themed weekend each December. We’ve spent magical weekends at Walt Disney World, a trip to New York City doing all the iconic Christmas activities, and last year St. Augustine FL for the Night of Lights festivities.
This year, we’re heading to Ashville, NC to experience the Biltmore at Christmas and check out all the holiday offerings of the town. I am very excited to experience Candlelight Christmas in the house and beautiful lights on the grounds. I will be sharing that experience with all of you then!
Finalize Your Christmas Card List
Back in August, I shared how I use a spreadsheet to plan my Christmas cards—keeping track of who I send to and who I receive from. Now that October is here, it’s time to firm up that list. Double-check addresses, fill in the missing ones, and get everything updated before the rush. It’s so much easier to do it now than to scramble later when you’re ready to mail your cards.
By tackling a little at a time—decorating, baking, organizing, planning, and list-making—October becomes the perfect launch pad for the most joyful season of the year.
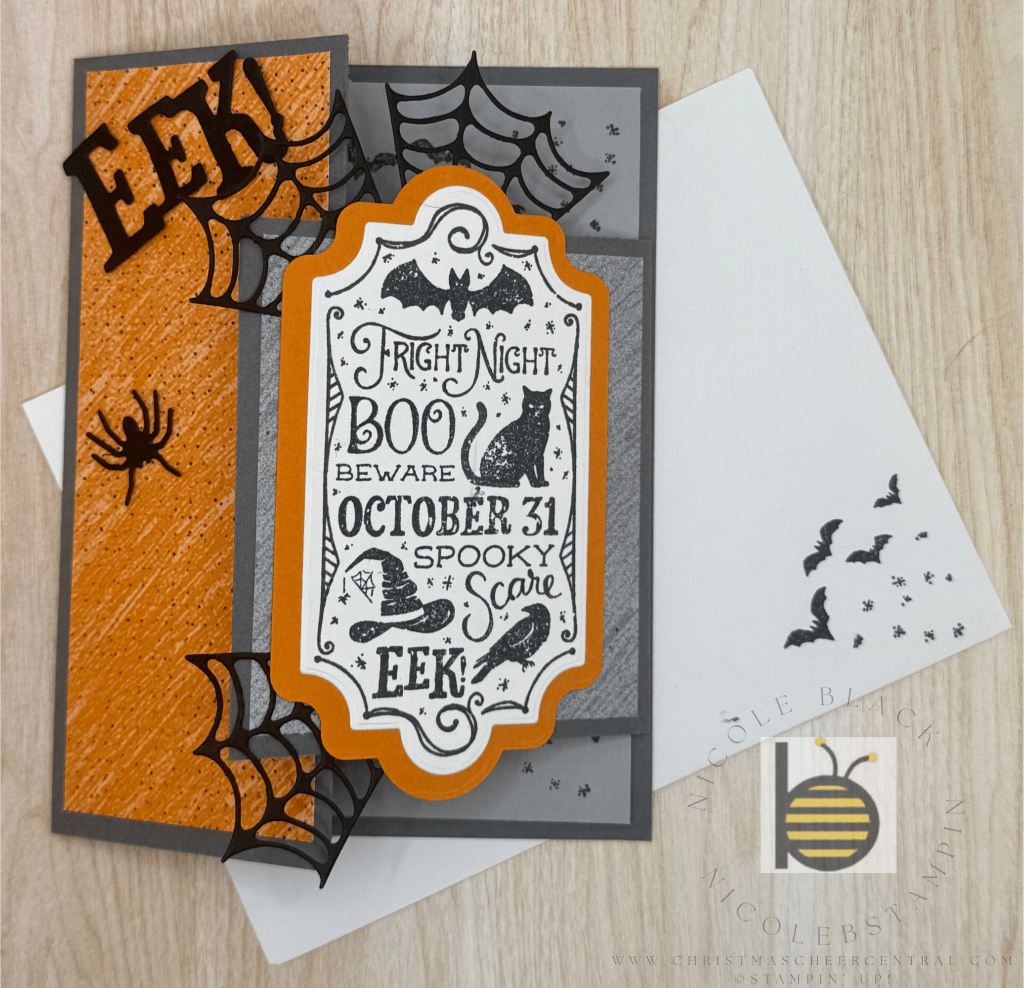
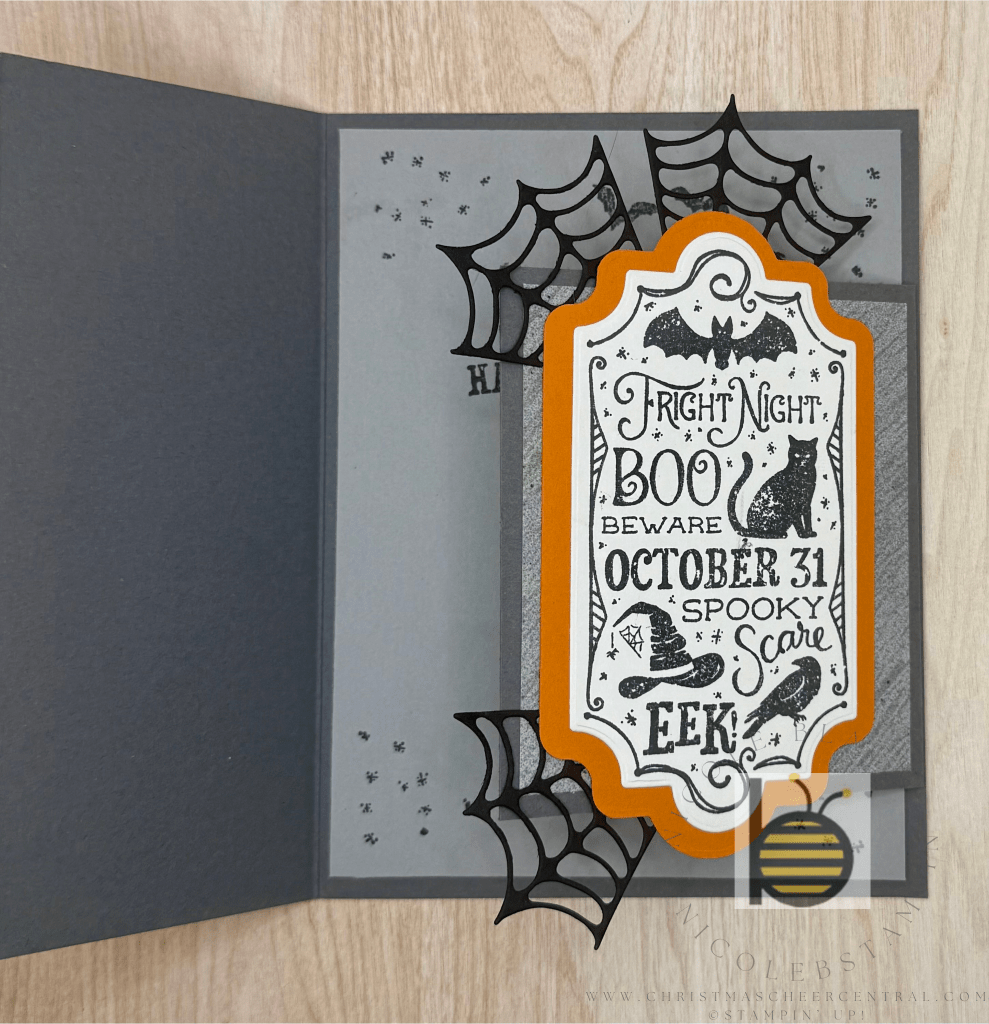
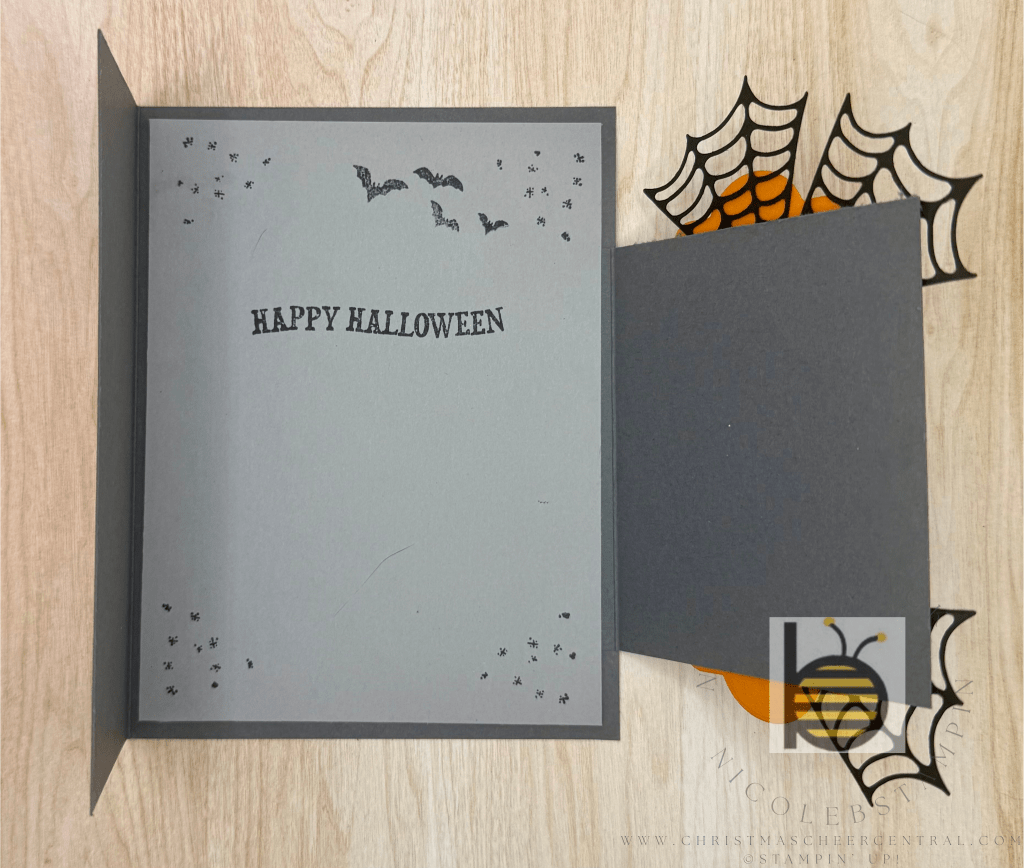
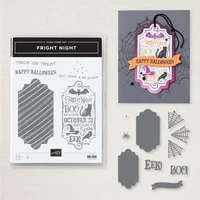
Today I’m sharing a spooky fun fold card made with the Fright Night Bundle! This fold adds such a playful twist to your card and really makes your Halloween design stand out.
Step 1: Stamping & Die Cutting
Before putting the card together, complete all your stamping and die cutting. Having everything ready makes the assembly quick and easy.
Step 2: Create the Fancy Fold
Steps Fancy Fold
Cut a Basic Gray panel to 6-1/2″ x 5-1/2″ for your card base
Score at 4-1/4″. The short section will be part of the front of the card.
Cut a Basic Gray panel to 4″ x 3-1/2″
Score at 3″.
Adhere the 1/2″ section to the inside of your card base so the fold lines up with the card’s edge.
Cover the flap by adhering your inside panel over the 1/2″ section to hide it.
Add your layers to both of the front panels for dimension and color.
Step 3: Decorate the Front
Now the fun part—decorate! Add your die cuts from the Fright Night Bundle to the front of the card. Play around with placement to build a spooky little scene.
And that’s it! A festive and interactive Halloween card that’s sure to surprise and delight whoever opens it.
Cardstock Cuts for this project:
Basic Gray – 6-1/2″ x 5-1/2″ scored at 4-1/4; 4″ x 3-1/2″ scored at 3″
Smoky Slate – 5-1/4″ x 4″
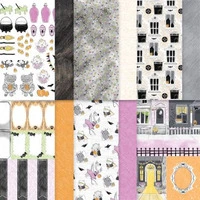
Spooky Sweet DSP – 5-1/4″ x 2″, 3-1/4″ x 2-3/4″
Pumpkin Pie – 4-1/2″ x 2-1/2″
Basic White – 4-1/4″ x 2-1/4″
Basic Black – scrap
Stampin’ Up! products used to create this project:
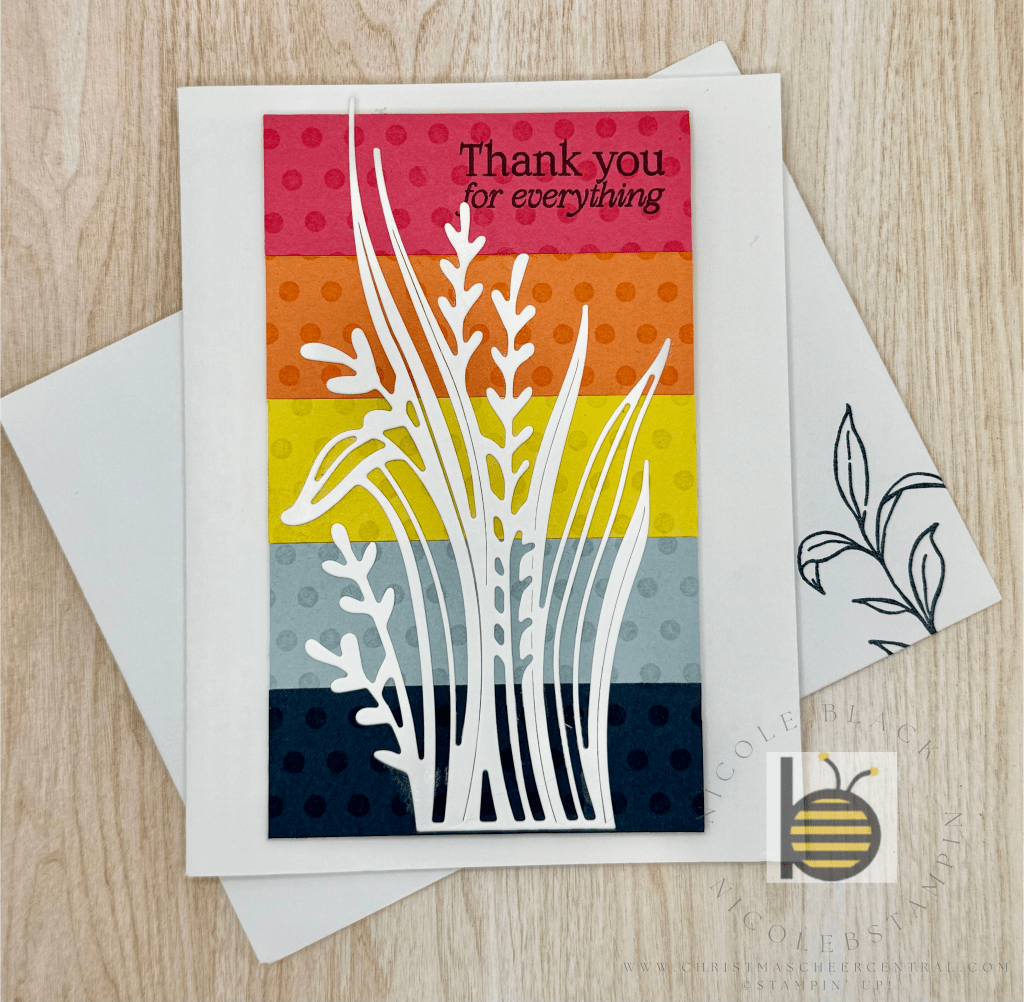
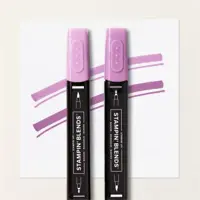
I couldn’t choose just one In Color—so I decided to use them all! This card came together beautifully with a mix of bold color, subtle texture, and a crisp white accent.
How I Made It
✨ Colorful background: I started with a 5″ x 3″ panel of Basic White cardstock and added strips of each In Color, cut to 3″ x 1″.
✨ Tone-on-tone texture: Using the Stripes & Dots Stamp Set and VersaMark ink, I stamped dots all the way down the panel. VersaMark creates that subtle “color-on-color” look—without the hassle of switching ink pads.
✨ Raised panel effect: Once the panel was finished, I adhered it to the card base using Stampin’ Dimensionals. This gives the design a little extra lift and makes the colors stand out even more.
✨ Crisp white contrast: On top, I layered a detailed Basic White die cut. The clean white design pops against the colorful background, pulling the whole card together.
Finishing Touches
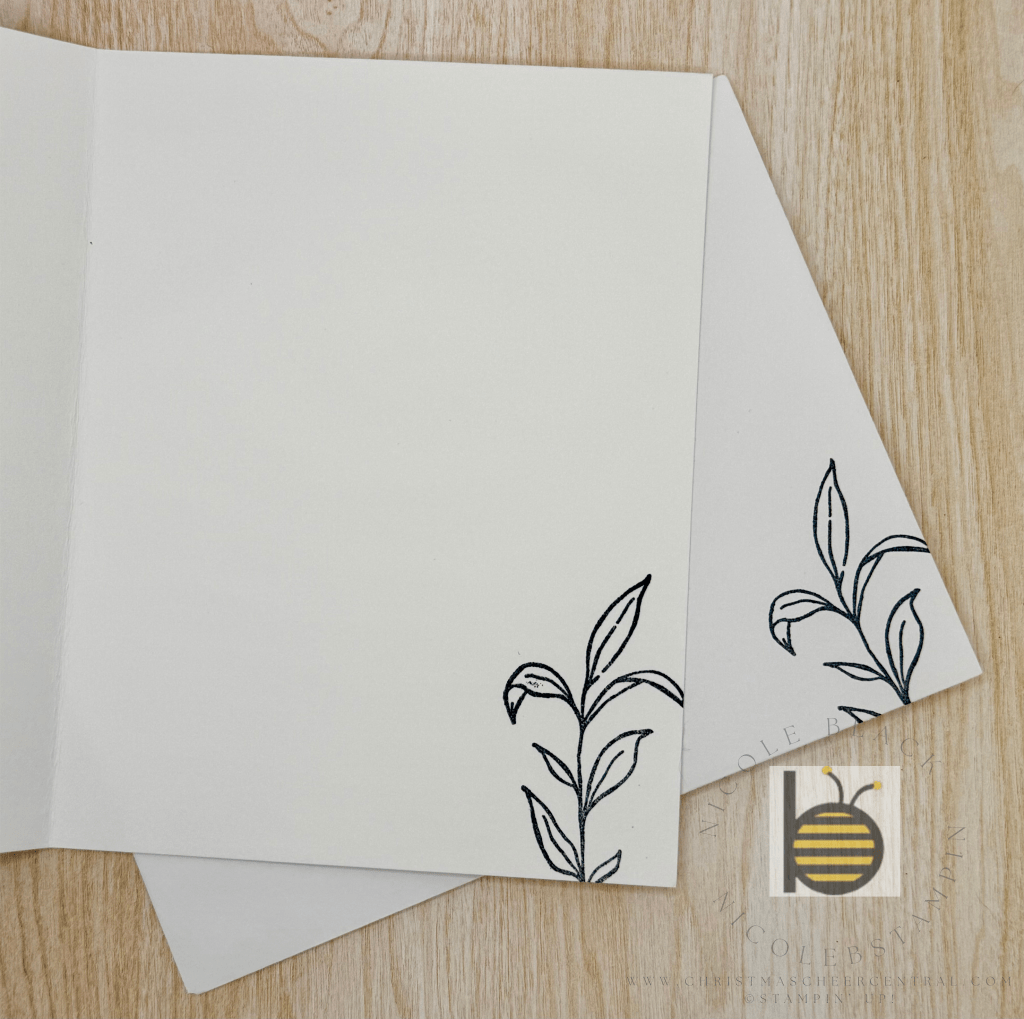
I turned this into a thank you card, but with a quick sentiment swap, you could make it a birthday, hello, or even a thinking of you card! On the inside and envelope, I stamped with Secret Sea—but you could easily use your favorite In Color to tie it all together.
Cardstock Cuts for this project:
Basic White Thick – 8-1/2″ x 5-1/2″ scored at 4-1/4″
Basic White – 5-1/2″ x 3″ panel, 5″ x 3″ panel
2025-2027 In Colors – 3″ x 1″ panel in each of the 5 questions
Stampin’ Up! products used to create this project:
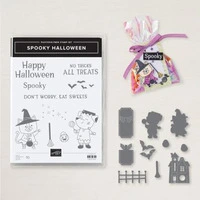
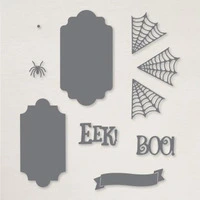
I had so much fun creating with the Spooky Halloween and Fright Night bundles this week! I put together a few new pieces to add to my Halloween décor, and I can’t wait to display them this year.
Framed Halloween Art
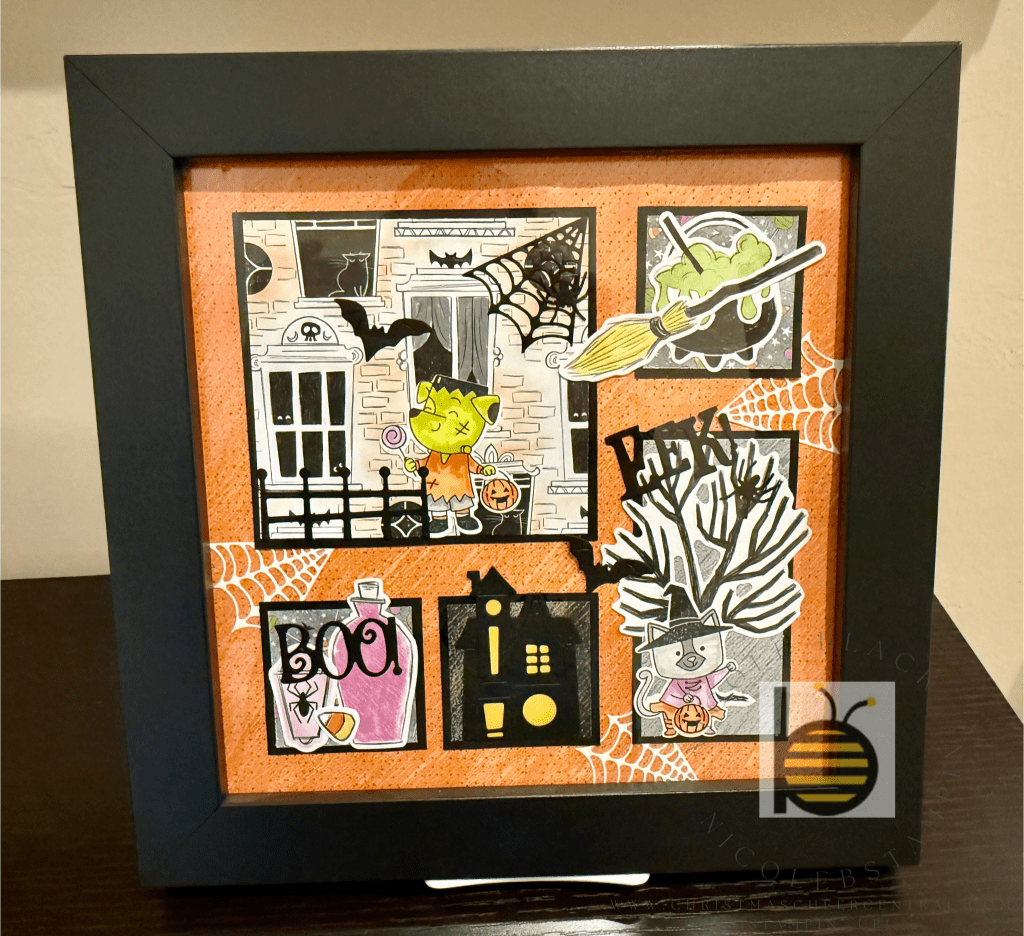
I started with a 9″ x 9″ framed picture, using elements from the Spooky Sweet DSP along with some die cuts from the bundles. The best part about these sets is how easy it is to mix and match—you can truly make the design your own!
Tip: For the haunted house, I traced the Basic Black die cut onto Crushed Curry cardstock, fussy cut it out, and layered it behind. The result? A glowing look in the windows—like the lights are on inside the house!
Festive Halloween Banners
Next, I pulled out the Party Dies Bundle and created some Halloween banners using Pumpkin Pie cardstock and more Spooky Sweet DSP. I embellished them with die cuts for extra detail, but you could also use the punch-outs from the DSP to make it quick and easy.
I love how these pieces came together, and I’m already excited to add them to my decorations this Halloween season. Sometimes the little handmade touches make the holiday feel extra special!
Cardstock Cuts for this project:
Picture
Basic Black – 4-3/4″ x 4-1/2″, 2-1/4″ x 4-1/2″, three 2-1/4″ x 2-1/4″, 2″ x 2-3/4″ for house die, 4-1/2″ x 3″ for other dies
Basic White – 2-1/2″ x 2″ for dog die, 2-1/2″ x 2″ for cat die, 2″ x 6″ for other dies
Spooky Sweet DSP – 9″ x 9″ background, 4-1/2″ x 4-1/4″, 2″ x 4-1/4″, three 2″ x 2″
Crushed Curry – 2-3/4″ x 1-3/4″ for house
Banner
Pumpkin Pie – 3-1/2″ x 2-3/4″ per banner piece
Basic Black – scrap for die cuts
Spooky Sweet DSP – 3-1/4″ x 2-1/2″ per banner piece, 2-3/4″ x 2-1/4″ per letter
Stampin’ Up! products used to create this project:
One of the things I treasure most about Christmas is the traditions my husband and I share. They make the season feel magical, memorable, and uniquely ours. Over the years, we’ve built a collection of celebrations that we look forward to every December—and we’re always excited to try something new. I thought it would be fun to share a few of ours with you, and maybe you’ll share some of yours with me. Let’s swap ideas and inspire each other!
Activity Advent
You’ve probably seen plenty of Advent calendars, but one year I found a wooden Christmas tree with 25 little drawers. I painted and decorated it, and now each drawer hides one of our Advent Activities. It’s such a fun and meaningful tradition for us—I’d love for it to become one of yours too! Here is the list of activities we put in ours to give you inspiration!
Every Christmas Eve, we host dinner for our family—and the best part? We pick a different theme each year. Sometimes it’s a country and we dive into its holiday traditions, other times it’s just a playful twist on classic dishes. We go all-in with themed cocktails, table décor, and desserts. Last year the theme was France with a Le Réveillon. Check it out. It’s always a highlight of the season and a wonderful way to bring the family together.
Little Tree Presents
This one is especially close to my heart—it started with my husband’s parents. Beginning seven days before Christmas, everyone opens one “Little Tree Present” each evening. These are small, thoughtful, usually Christmas-themed gifts—think cozy socks, festive mugs, holiday pins, or a new spatula. When my husband and his brother were young, it might have been candy or small toys.
I love this tradition because it stretches out the joy of gift-giving. Instead of one big rush on Christmas morning, you savor the excitement night after night. It’s also a chance to pause, gather, and celebrate together before the busyness of the holiday.
Other Traditions
Beyond our Advent and Christmas Eve festivities, there are a handful of activities we never miss each year:
A picture with Santa 🎅
Decorating the tree together
A fancy dinner date on December 23
Reading or listening to A Christmas Carol
Baking Christmas cookies
Driving around to see local Christmas lights
Crafting handmade cards and package toppers
Watching the Macy’s Thanksgiving Day Parade
The beauty of traditions is that they connect us, bring us joy, and make every holiday season feel special. I’d love to know what traditions you celebrate—whether they’ve been passed down for generations or are brand new. Share them in the comments so we can all get inspired!
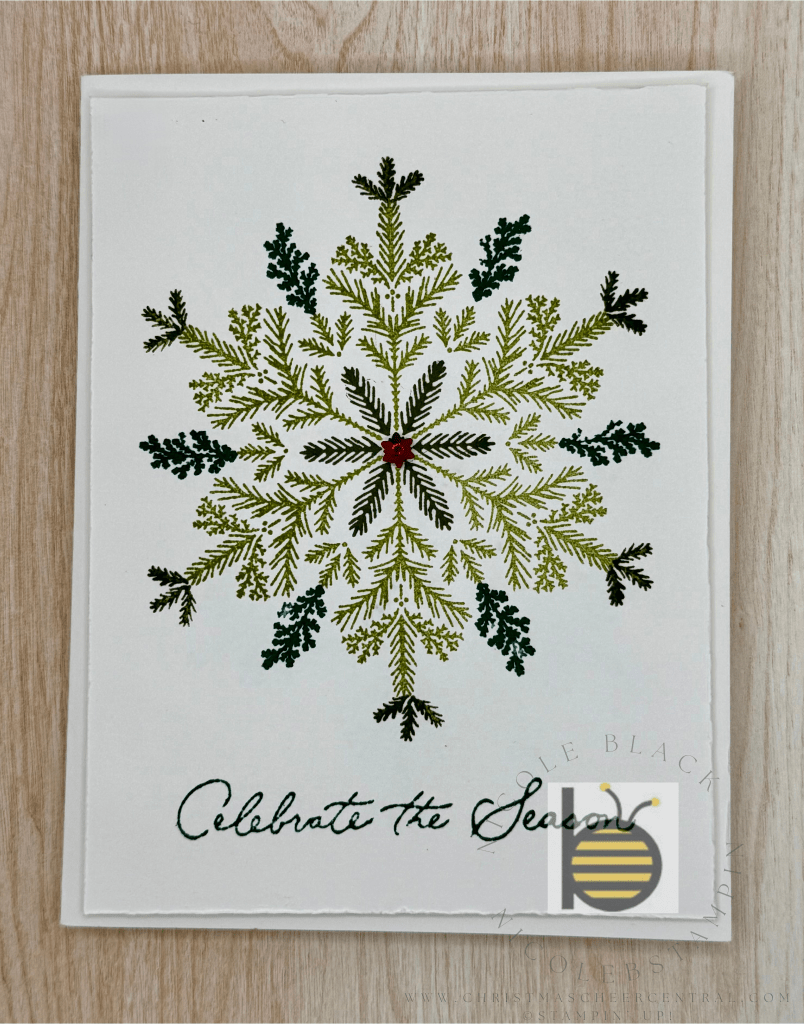
Every once in a while, a holiday stamp set comes along that I fall instantly in love with—and this one had me at snowflakes! The only catch? Living in Florida, it sometimes feels a little funny to send snowflake-covered cards when the closest thing we get to snow is sand on the beach.
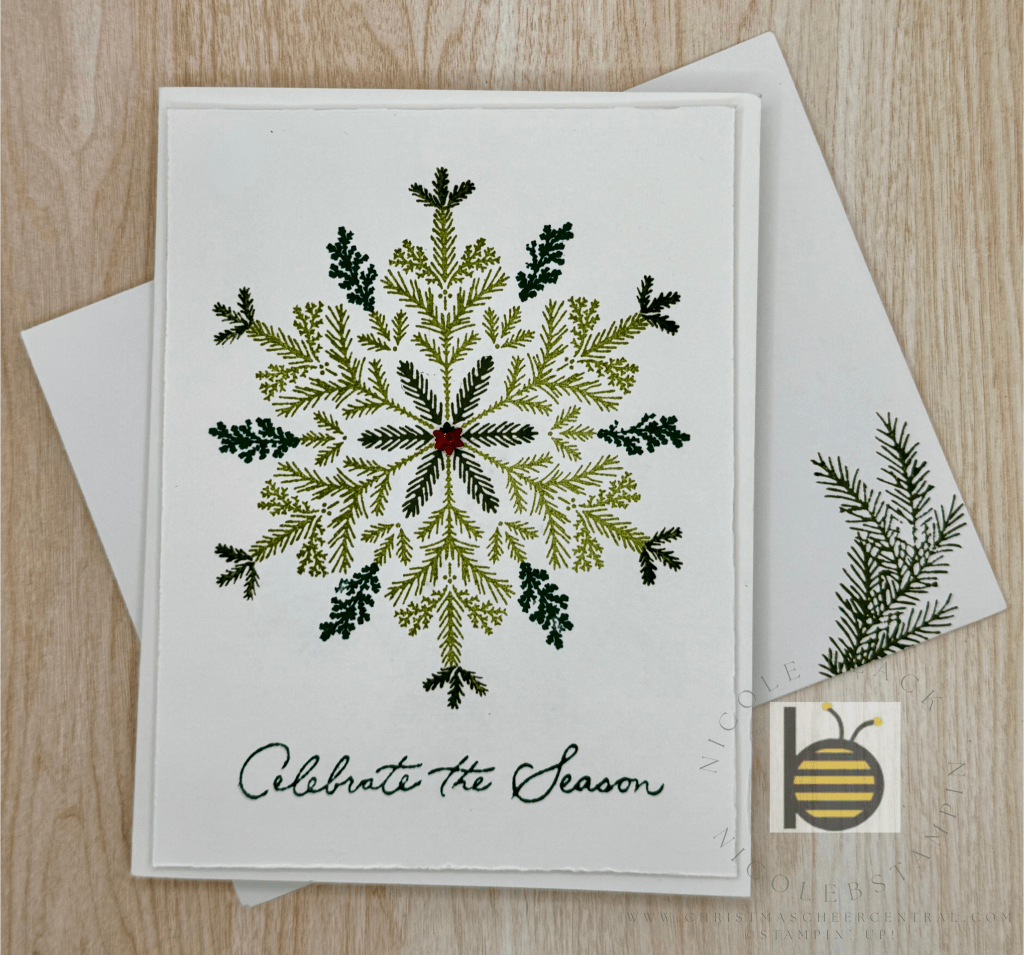
That’s why this set is such a gem—it bridges the gap beautifully! Snowflake designs with an evergreen twist. ❄️🌲 The look is festive, versatile, and perfect for those of us who want winter vibes without pretending we just stepped out of a snowstorm.
For this design, I stamped the snowflakes in shades of green, but you could easily make them feel more traditionally “wintery” with icy blues or even frosty purples.
Tips for Creating the Look
✨ Layer your greens
The main snowflake is built using four different stamps in three different greens—Shaded Spruce, Old Olive, and Mossy Meadow. Mixing shades adds depth and interest without overwhelming the design.
✨ Distress the edges
To help the snowflake stand out against the white-on-white layering, I roughed up the edges of the cardstock. The slight distressing gives texture and creates a subtle frame for your focal point. Dimensionals also help lift the design and add shadow for more definition.
✨ Finish with pine
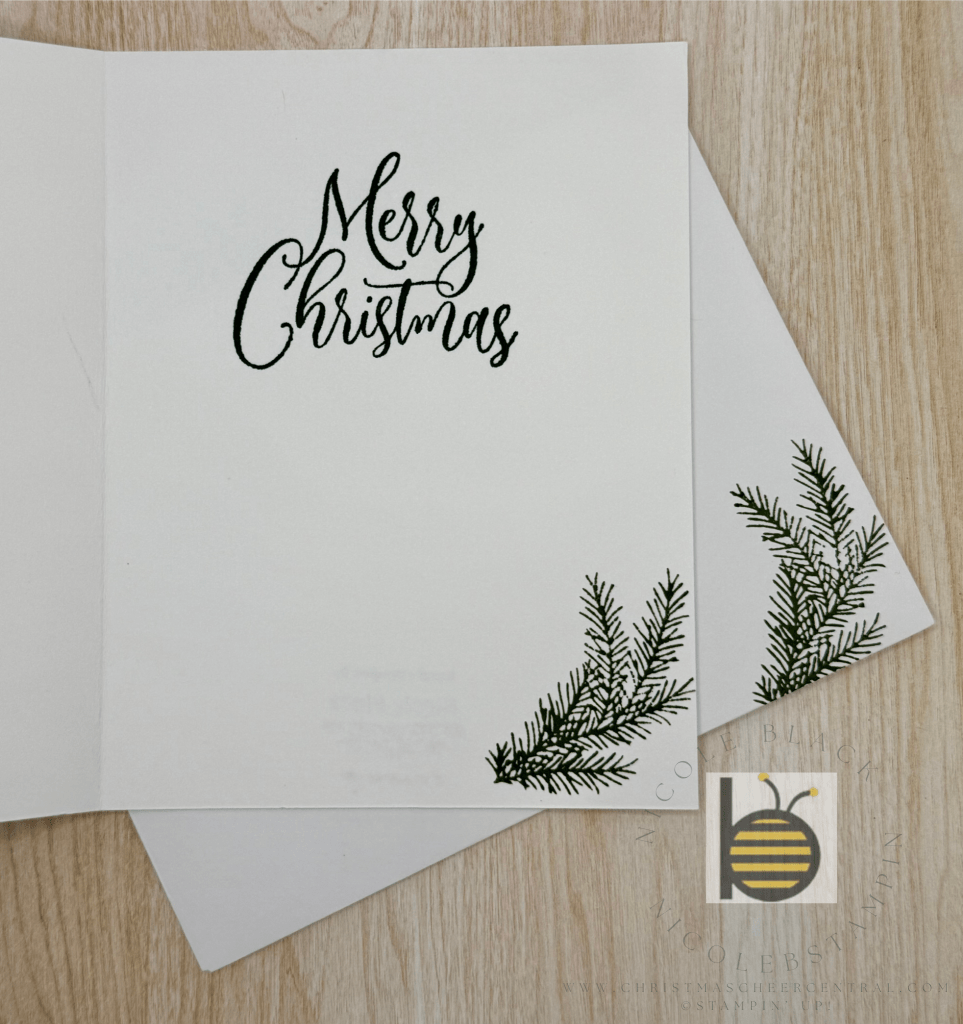
A stamped pine branch pulls everything together, grounding the snowflakes and giving the card that timeless holiday feel.
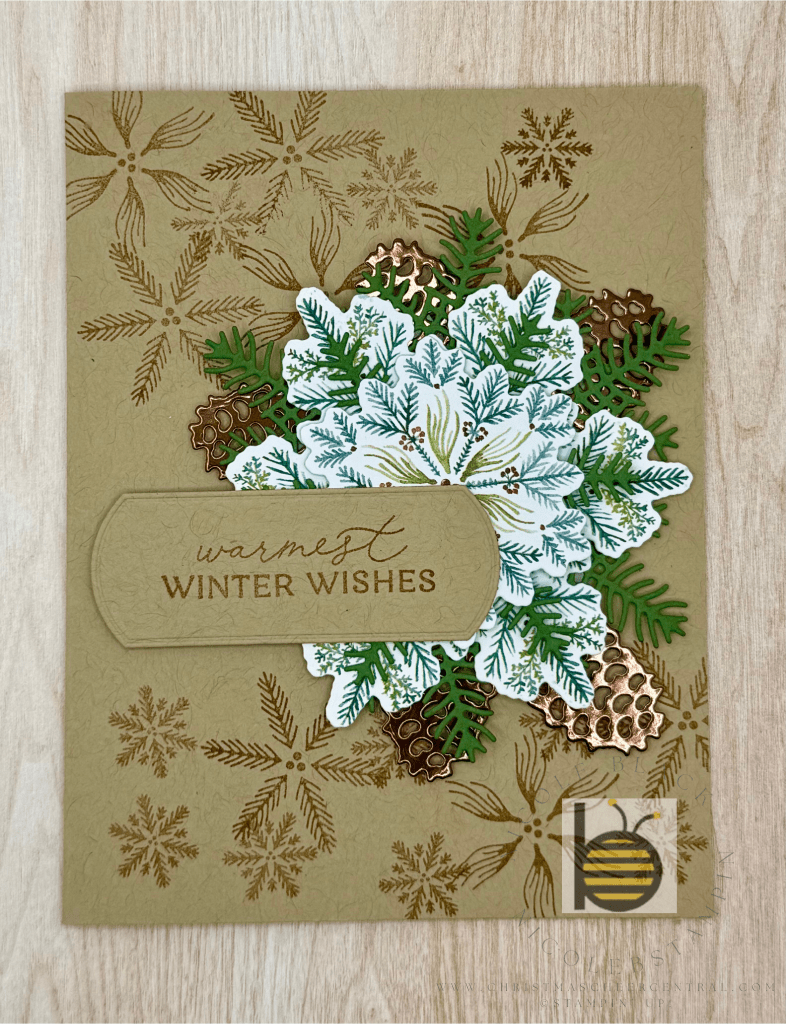
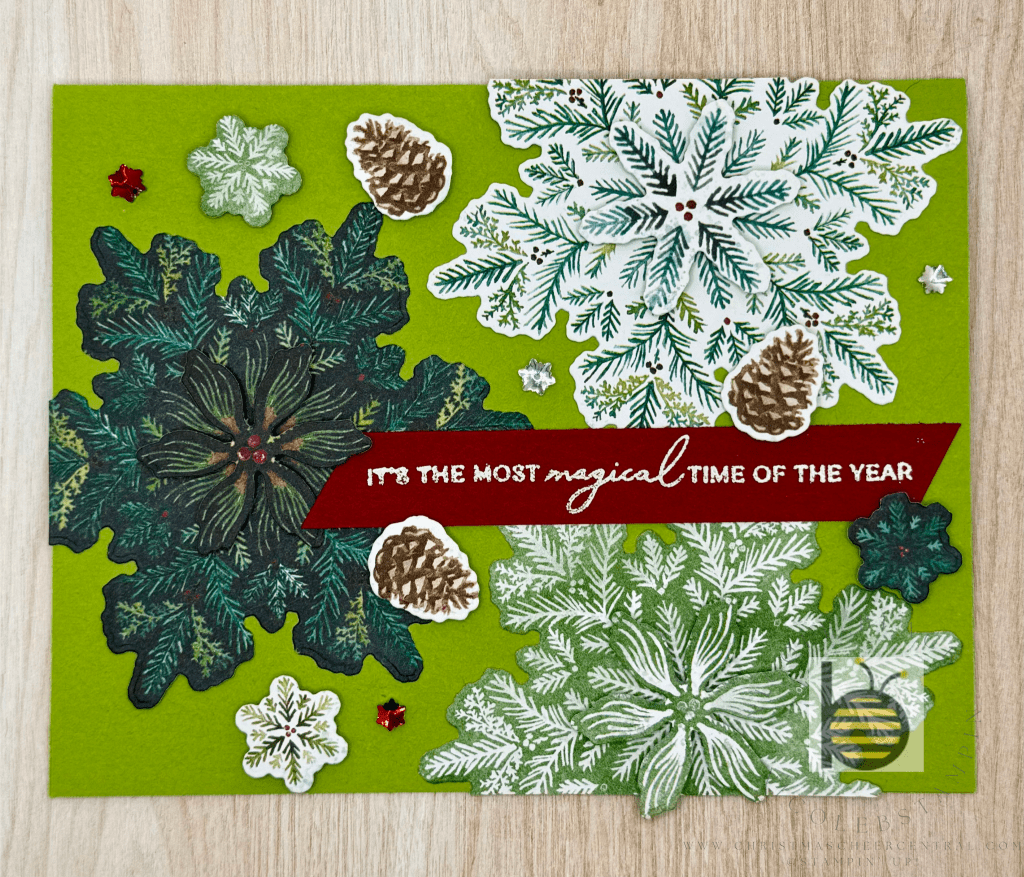
Here are two more cards made with the the Elegant Pines Suite Collection. I was able to use the dies right on the DSP to cut out the Pine Snowflakes! Easy and beautiful!
Cardstock Cuts for this project:
Basic White Thick – 8-1/2″ x 5-1/2″ scored at 4-1/4
Basic White – 5-1/4″ x 4″
Stampin’ Up! products used to create this project:
I am a project manager by day and a crafter by night. I love Christmas and want to do it all every year. I will share with you how I do it and enjoy it too!