The Modern Christmas Suite instantly caught my eye with its stunning black and gold color palette. This suite blends timeless holiday charm with sleek, contemporary style. From the elegant black and gold color scheme to the versatile designs, it’s perfect for creating cards, gifts, and décor that feel both classic and modern.

The Checkered Card
I absolutely love how this checkered look came together!

For the center panel, I started with a 5″ x 2-1/2″ piece of Basic White cardstock. On top of that, I adhered a 5″ x 1-1/4″ strip of Basic Black and another 5″ x 1-1/4″ strip of Basic White. I chose to layer them onto a single panel so the surface stayed flat when stamping and embossing—no raised edges or shifting pieces. This also made it much easier to pop the panel onto the front of the card with Dimensionals.

To carry the elegance throughout the design, I kept the inside simple, with just a clean stamped sentiment. For the envelope, instead of stamping, I covered the flap with a piece of the beautiful Designer Series Paper (DSP) for a coordinated, polished finish.
More with the Suite
I had so much fun recreating several of the projects Stampin’ Up! shared as inspiration.
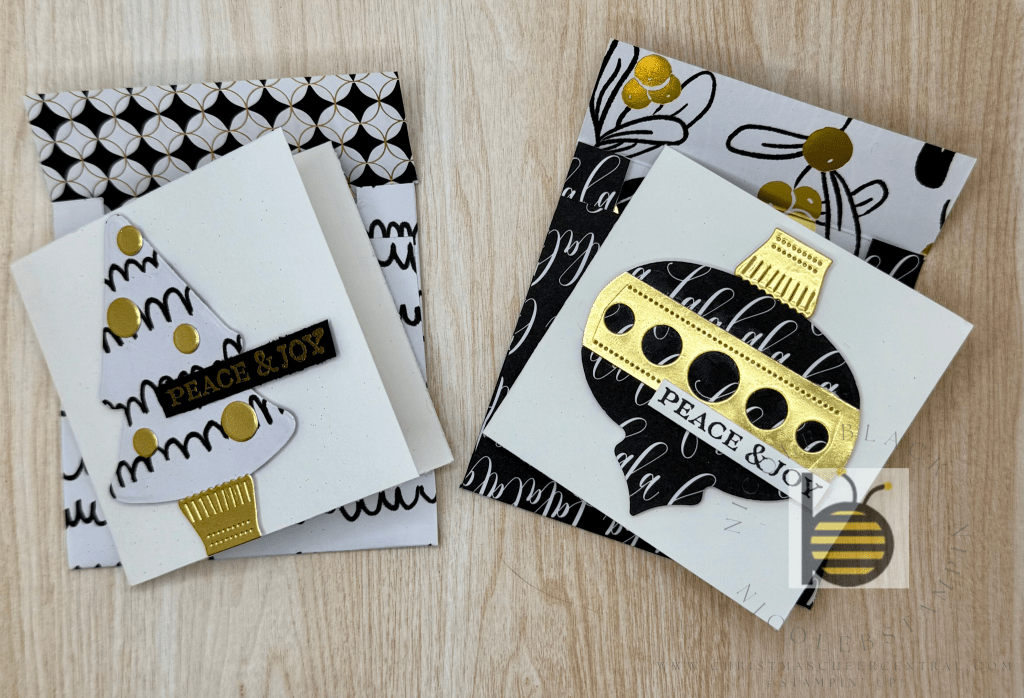
One of my favorites are these adorable 3″ x 3″ note cards—perfect to tuck onto gifts or treat boxes. I didn’t have envelopes that size, so I made my own using the DSP, and they turned out so cute!
Here’s how I made my 3″ x 3″ envelopes:
- Cut DSP to 7″ x 4-1/4″.
- Score at 1″ and 4-1/4″ across the short side.
- Score at 1/2″ on both long sides.
- Cut away the bottom side pieces up to the score line (these strips are about 3-3/4″ long).
- Cut away the top side strips up to the score line (these are 1″ long).
- Fold and unfold along all score lines to make sure everything folds smoothly.
- Add Tear-n-Tape to the bottom side flaps (not the middle ones—those are longer).
- Fold the side edges inward, then bring up the bottom flap and adhere it to the sides.

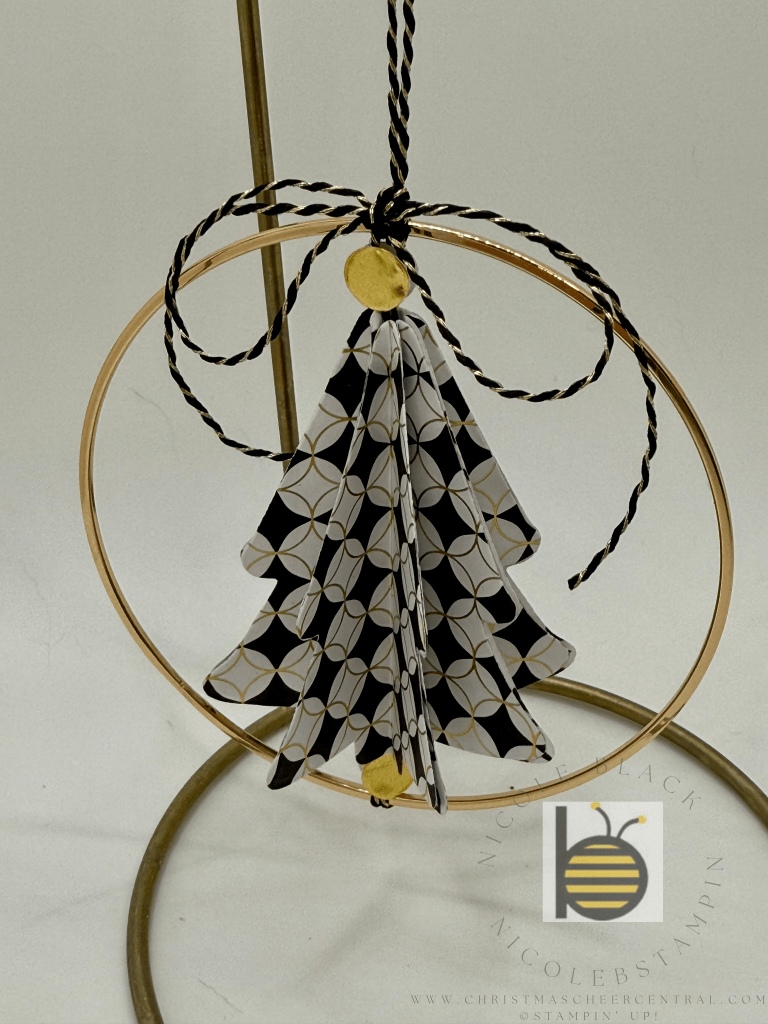
I also couldn’t resist making an ornament using the gold hoops included in the suite. I’ve created different versions of these over the past few years, and they’re always such a hit! For this one, I die cut eight trees, scored and folded each in half, and adhered them together. Before gluing the last two edges, I wrapped the ornament around the Baker’s Twine on the hoop for a dimensional, finished look.

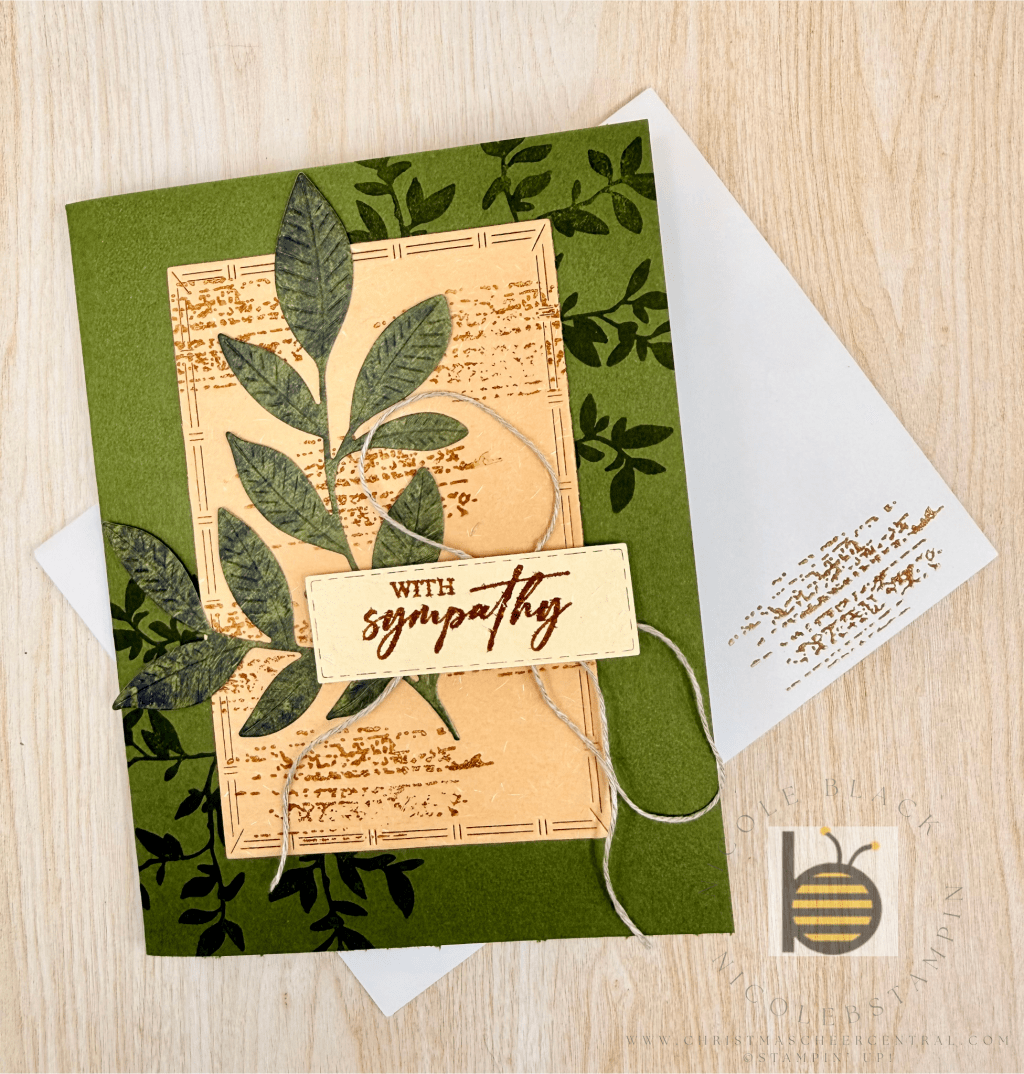
A Traditional Twist
I stepped away from the modern black-and-gold theme to make a more traditional Christmas card using the same set. My favorite part of this design is the background technique—I embossed a Shaded Spruce layer with the Exposed Brick Embossing Folder, then lightly brushed a VersaMark pad across the raised texture. A sprinkle of Gold Embossing Powder and a quick heat set gave it the most beautiful gilded finish.
Cardstock Cuts for this project:
- Basic White Thick – 8-1/2″ x 5-1/2″ scored at 4-1/4
- Basic White – 5″ x 2-1/2″ panel, 5″ x 1-1/4″ panel
- Basic Black – 5″ x 1-1/4″ panel
- Modern Christmas DSP – 5-1/2″ x 2″ panel, 2-1/4″ x 5-3/4″ for envelope


Leave a comment