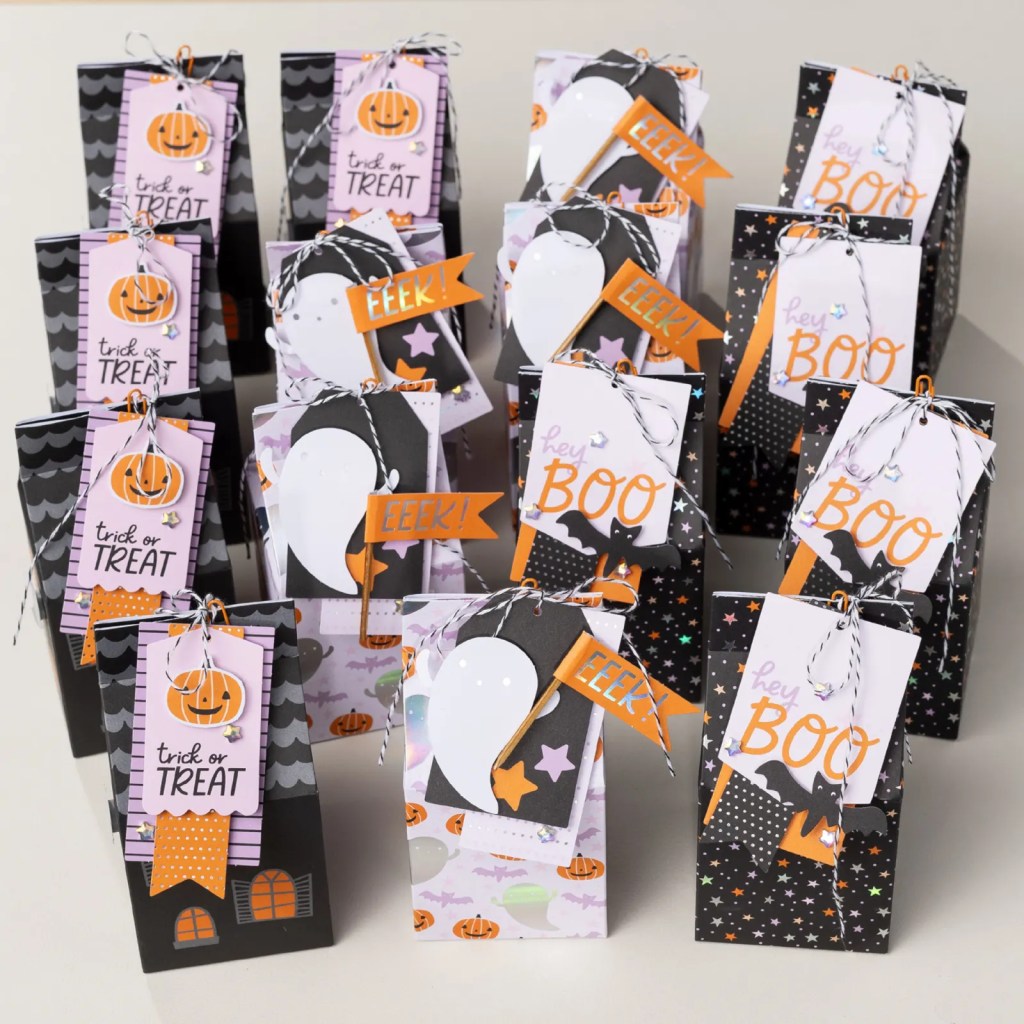
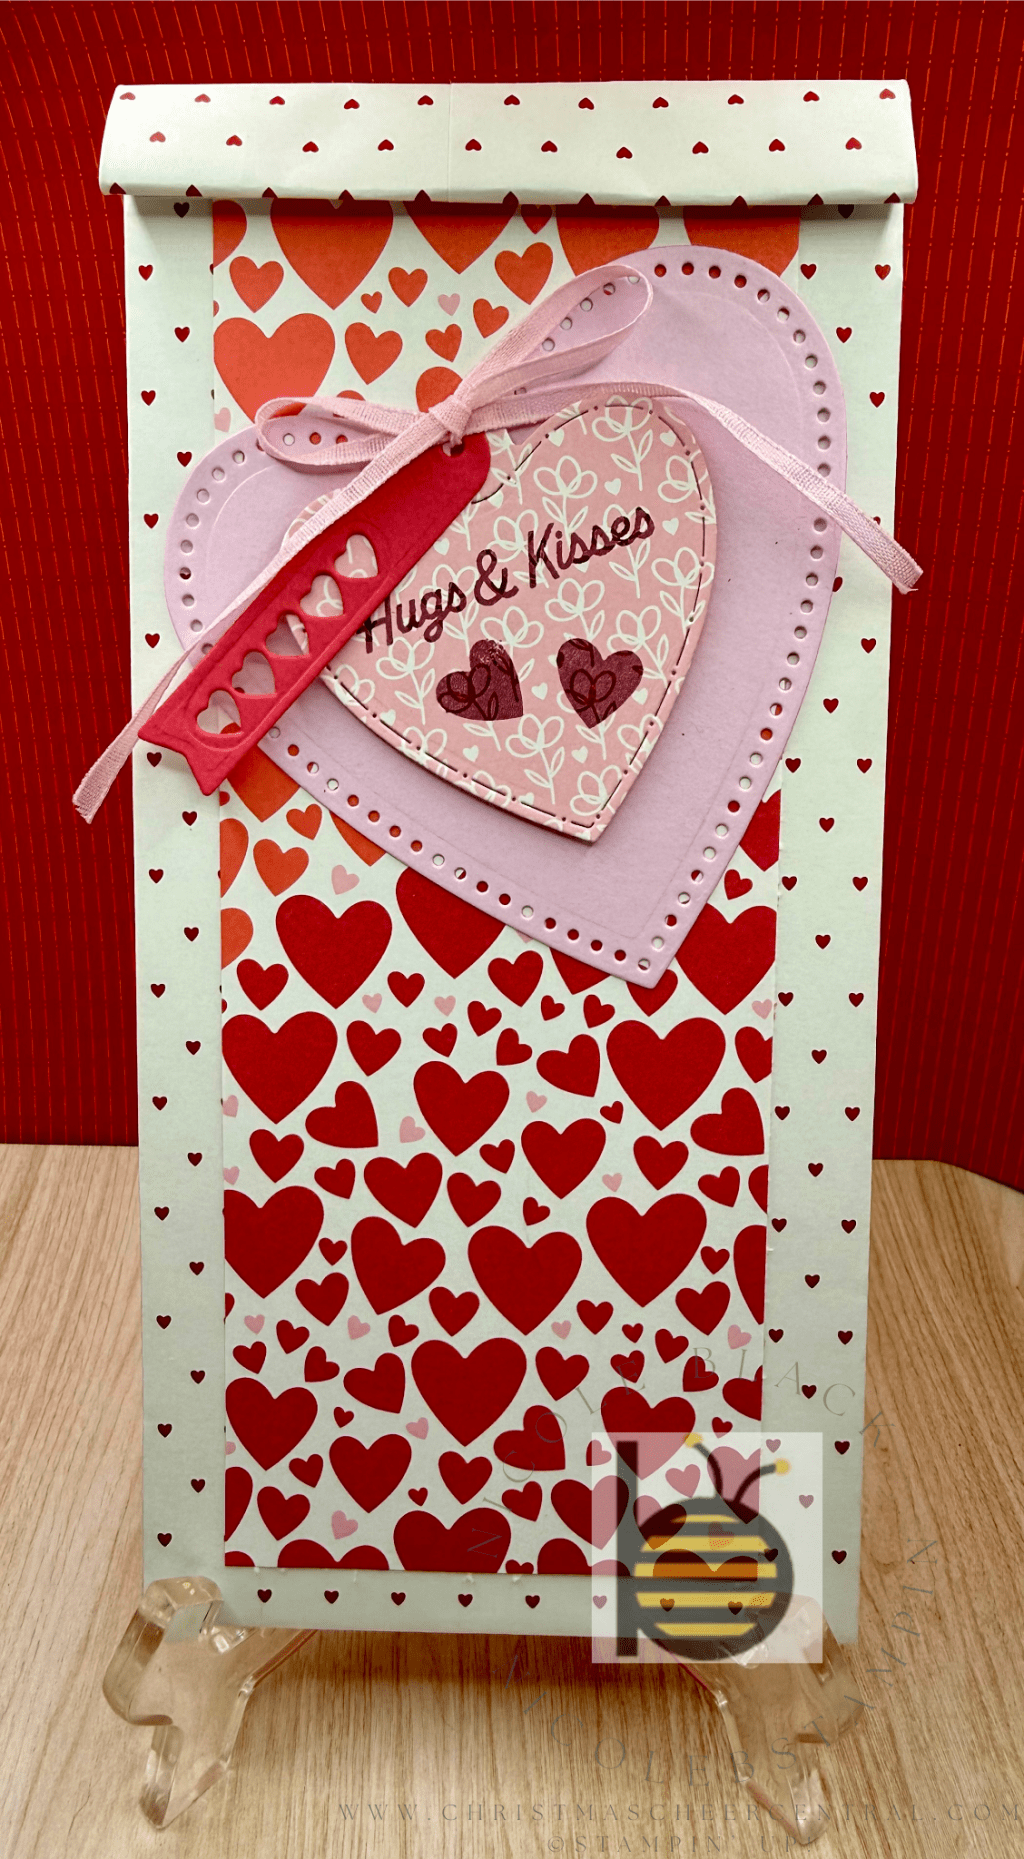
One of my favorite things to do around the holidays is bring little treats into the office for my co-workers. It’s such a simple way to spread a little joy—and this kit makes it even easier!
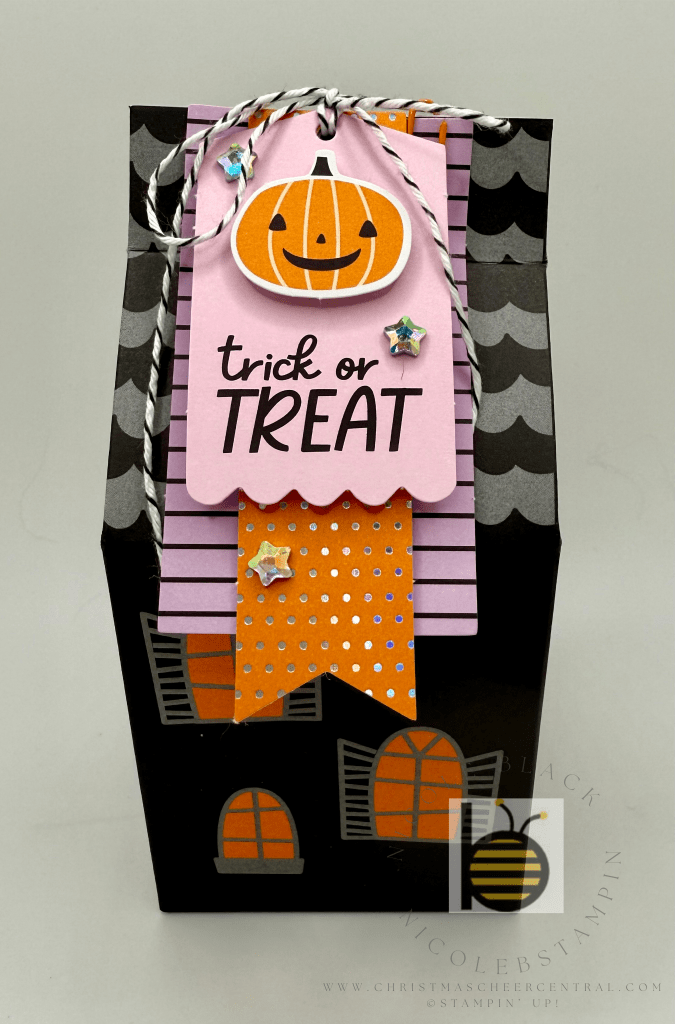
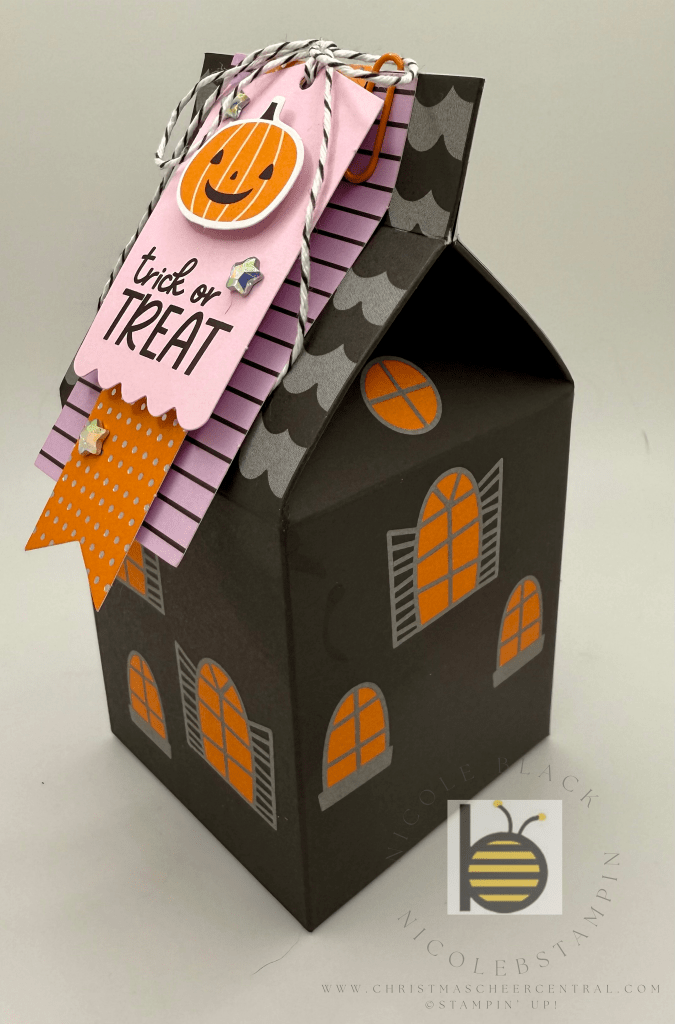
Inside you’ll find 15 adorable treat boxes shaped like mini milk cartons—ready to fill with candy, chocolates, or even a silly Halloween trinket.
What’s Inside the Kit?
This kit comes with everything you need to assemble 15 treat boxes—no stamping required! Just fold, decorate, and fill. You’ll finish each box with ribbons, cutouts, and tags, and the best part is you can mix and match the pieces to give each one its own unique style.
Why I Love It
✨ Three spooky designs, endless mix-and-match fun The variety of tags and punch-outs let you get creative with every single box.
✨ Mini clothespin closure Each box closes with a tiny clothespin—sturdy enough to keep everything secure, but easy to open so the packaging doesn’t get ruined when someone dives into their treat.
✨ Perfect for gifting
Whether you’re putting them on a desk, handing them out at a party, or using them for trick-or-treaters, they’re just the right size for a sweet surprise.
I know it’s only September, but I’ve already started working on my Halloween cards, gifts, and décor projects. Over the next couple of weeks, I’ll be sharing my spooky creations with you—so stay tuned for lots of festive fun!
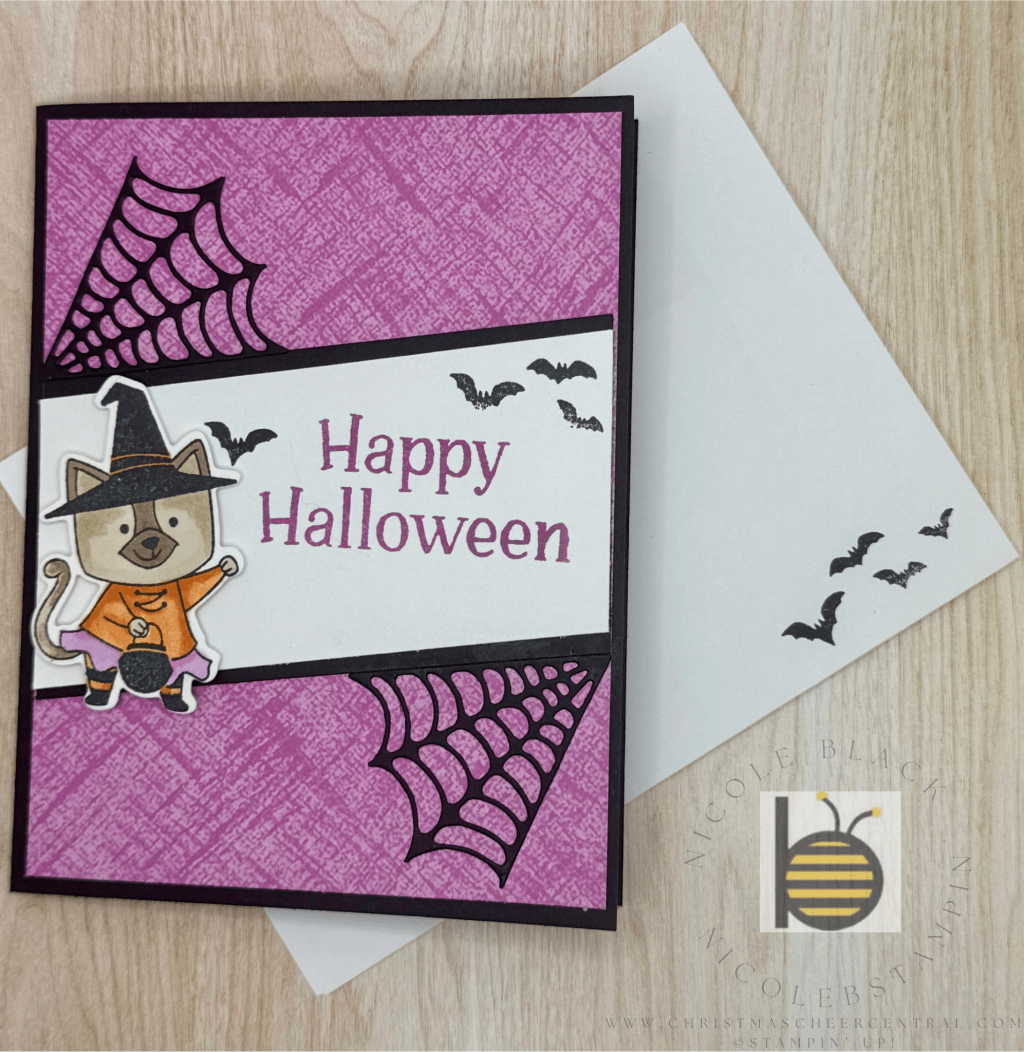
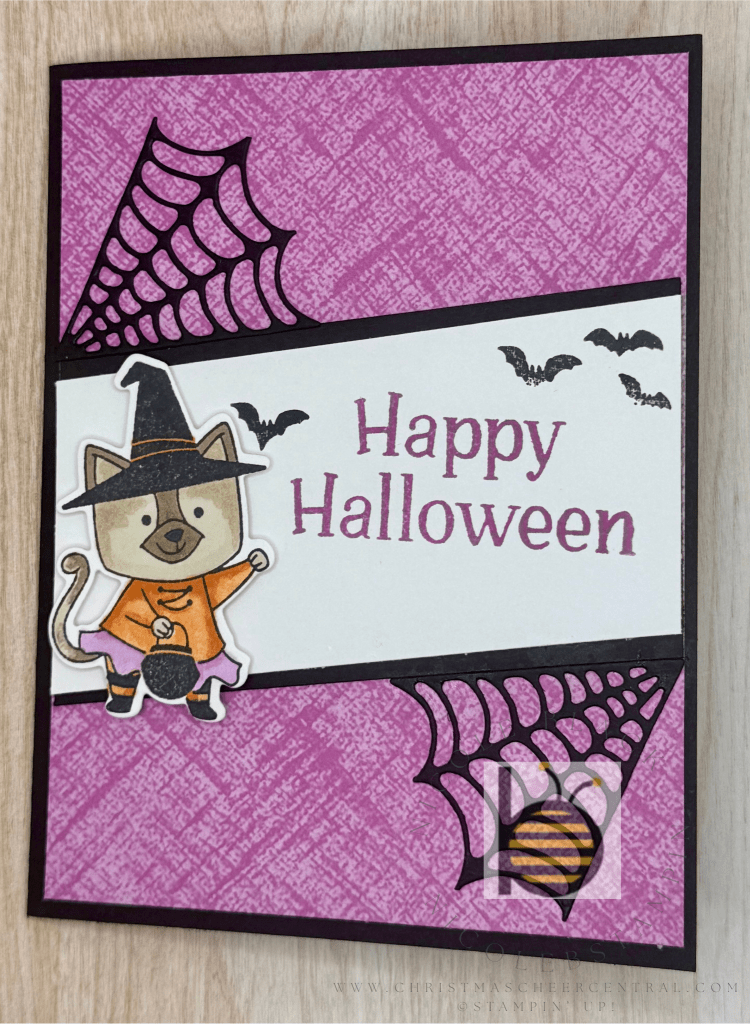
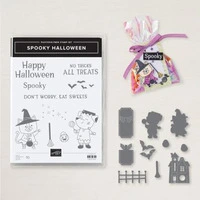
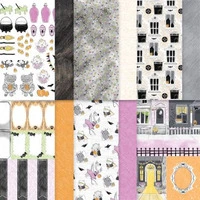
When I spotted the Spooky Halloween Bundle, it immediately went on my must-have list—mainly because of the cat! 🐈⬛ The very first project I made was a card featuring that adorable kitty along with the playful Spooky Sweet Designer Series Paper.
Tips for Creating This Card:
For the angled panel: I used my Stampin’ Up! Paper Trimmer to cut a 2″ panel of Basic White at an angle. Then I flipped it, lined it up to the 4″ mark, and cut the other end. That piece became my template for trimming the Basic Black layer at the same angle—so easy!
For the cat: I stamped her on a 2-1/2″ x 2″ piece of Basic White and colored her with Stampin’ Blends that coordinate with the Designer Series Paper. After die cutting, I popped her up with Dimensionals for some extra dimension.
The best part? You can switch things up! Try different patterns from the Designer Series Paper or swap the witchy cat for the Frankenstein pup (seriously, so cute!). And don’t forget—this DSP comes with punch-outs, so you can make a quick-and-easy version of this card using those ready-made characters.
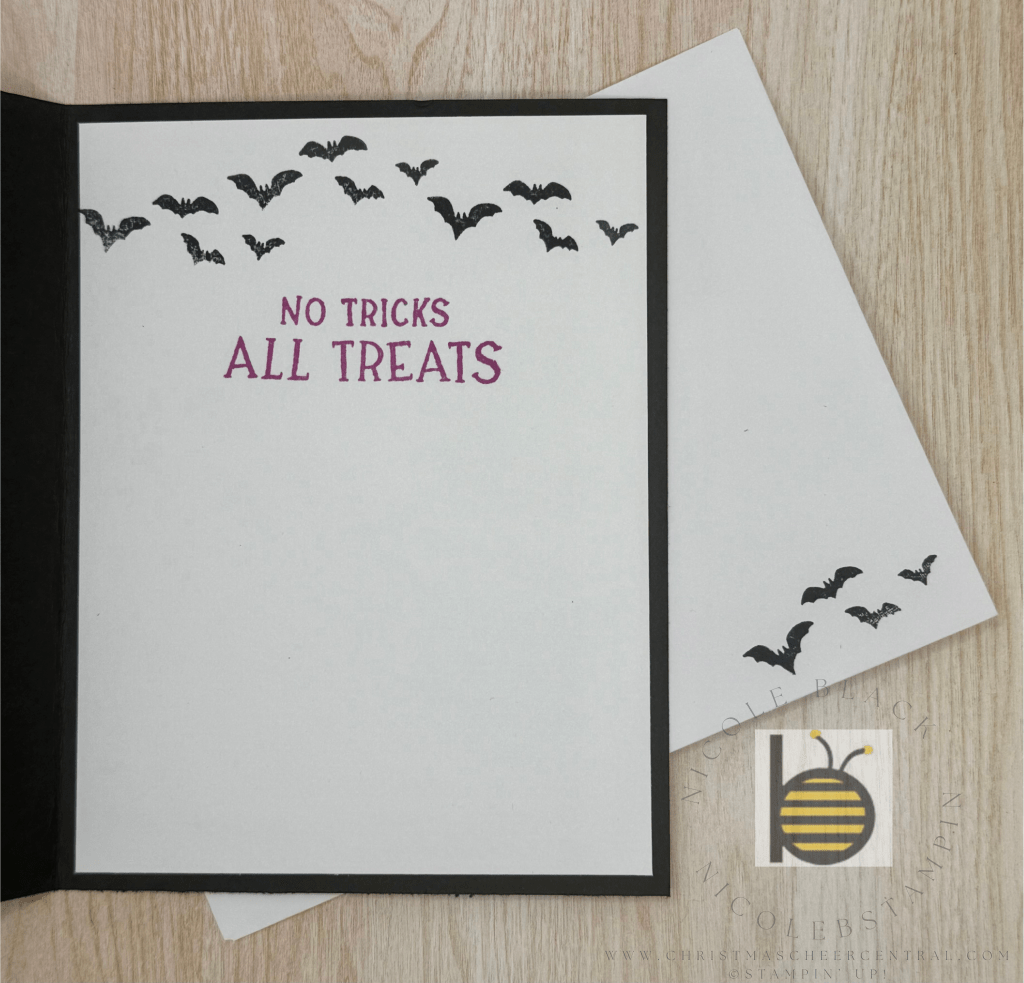
Finally, I added a few bats to bring the whole card together. They’re the perfect spooky finishing touch!
I hope this gets you in the Halloween spirit—I know it’s got me excited for all the crafty projects to come.
Cardstock Cuts for this project:
Basic Black – 8-1/2″ x 5-1/2″ scored at 4-1/4, 2-1/4″ x 4″ (cut at an angle), 4″ x 2″ for spider web dies
Basic White – 5-1/4″ x 4″ panel for inside, 2″ x 4″ (cut at an angle), 2-1/2″ x 2″ for cat die
Spooky Sweet DSP – 5-1/4″ x 4 panel
Stampin’ Up! products used to create this project:
I can not believe it is September already! Time is going too fast! How are you doing with your preparations? Are you already falling behind? Or are you ready for the next steps? Honestly, I am a little behind. But the good news with the checklists for July – October is its okay to shift things around and not worry about being behind as we still have plenty of time to do everything we want to do!
In September we start on our crafts and check off some tasks early. I like to use September to start to declutter the house to get ready for all the holiday decorating. It is not just Christmas we are preparing for but Halloween and Thanksgiving too. If you declutter and organize now, it will make decorating that much easier next month.
Christmas Cards
If you haven’t started yet. Now is the time. If you finished your Christmas Card List last month then you know how many you need to make. I recommend adding 10% for those you might have missed or those who might enter your life between now and Christmas.
I will continue posting my card ideas all the way through November, but I hope you have some plans already. My Stamp-A-Stack classes have already started on their Christmas cards!
Gift Shopping
I know we have already been tracking our ideas but keep on it. This is the biggest area I always struggle with and the more I pay attention to people and what is going on with them, the better my gifts.
Even though my lists say gift shopping, I really don’t start buying until November. I just collect what I want to buy, my ideas. I will pick up gifts on travels or if something is unique and don’t want to miss out. I bought several gifts when we went to Japan and I will be traveling to Washington D.C. soon and that will be another great opportunity.
Now is also the time to see what wrapping materials you have left over from last year. Before I started doing this, it would never fail that I would be in a store with the Christmas stuff that came out early and see a deal on wrapping paper or bags. I would buy them because I thought they were cute just to get home and discover I had 4 rolls of paper that I bought because they were cute in after Christmas sales and forgot. It is always good to have your actual needs on a list for when you do see that must have item. This will keep you buying what you need and not what you don’t need.
Plan Baking
I know we have already started working on our Make Ahead cookies, but here I am talking about everything else. We make 5 to 6 different types of cookies each year. We often change up one or two and I already shared my test drive to two different cookies for this year.
I will share with you which Cookies we are making this year. Starting with the returning favorites. I have shared these before but they are definitely worth mentioning again!
Cutout Sugar Cookies – These are already stored safely in the freezer to be frosted in December. I use Our Best Bites for this recipe too – https://ourbestbites.com/sugar-cookies/ and I use the glace icing of theirs too. It sets up firmly and still tastes amazing!
Christmas Kiss Cookies – We usually have a type of kiss cookie. For many years it was the traditional peanut butter kiss cookie, but we started to mix it up. This one is fun; however, uses a LOT of sprinkles! https://www.sprinklebakes.com/2019/12/christmas-kiss-cookies.html
Cookies that will be new this year, yep both the test drive cookies are on the list!
Gingerbread Latte Cookies – These can also be made ahead. The fresh ginger gives them a little heat on the back end that gives the effect of drinking a hot beverage. And these you Definitely don’t want to eat before bed with the espresso that’s involved! https://cooking.nytimes.com/recipes/1023677-gingerbread-latte-cookies
Cookies are not the only baking you should be planning. What baking, if any, are you doing for Halloween? Thanksgiving? Christmas Dinner? If you plan this now, you can see if there is anything that you can do in advance.
The September – December Mini Catalog is here! With my love of the holiday season, this is always my favorite catalog of the year! But don’t forget—there are also some gorgeous Online Exclusive holiday products you won’t want to miss.
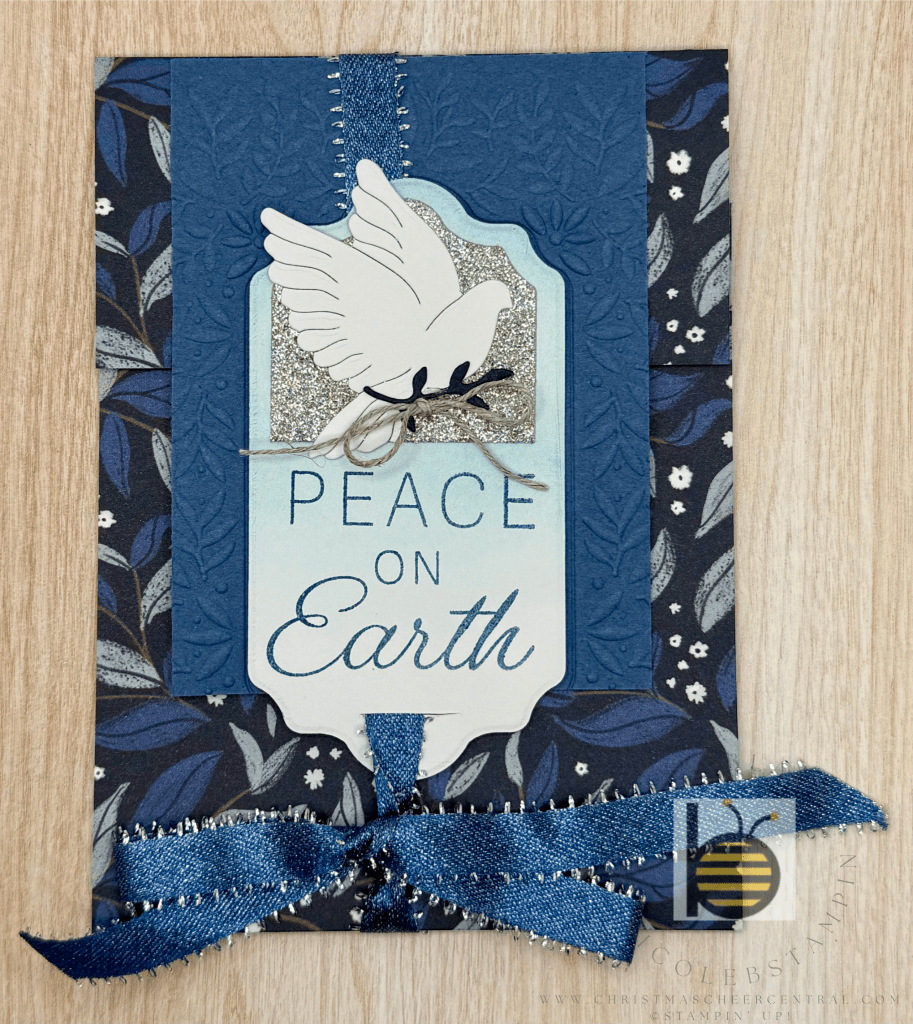
This summer, Stampin’ Up! held an event where demonstrators got a sneak peek at the upcoming catalog and the chance to create with the Peaceful Garden Suite. I had so much fun at this event, and today I’m excited to share the three cards I made!
My Favorite of the Three
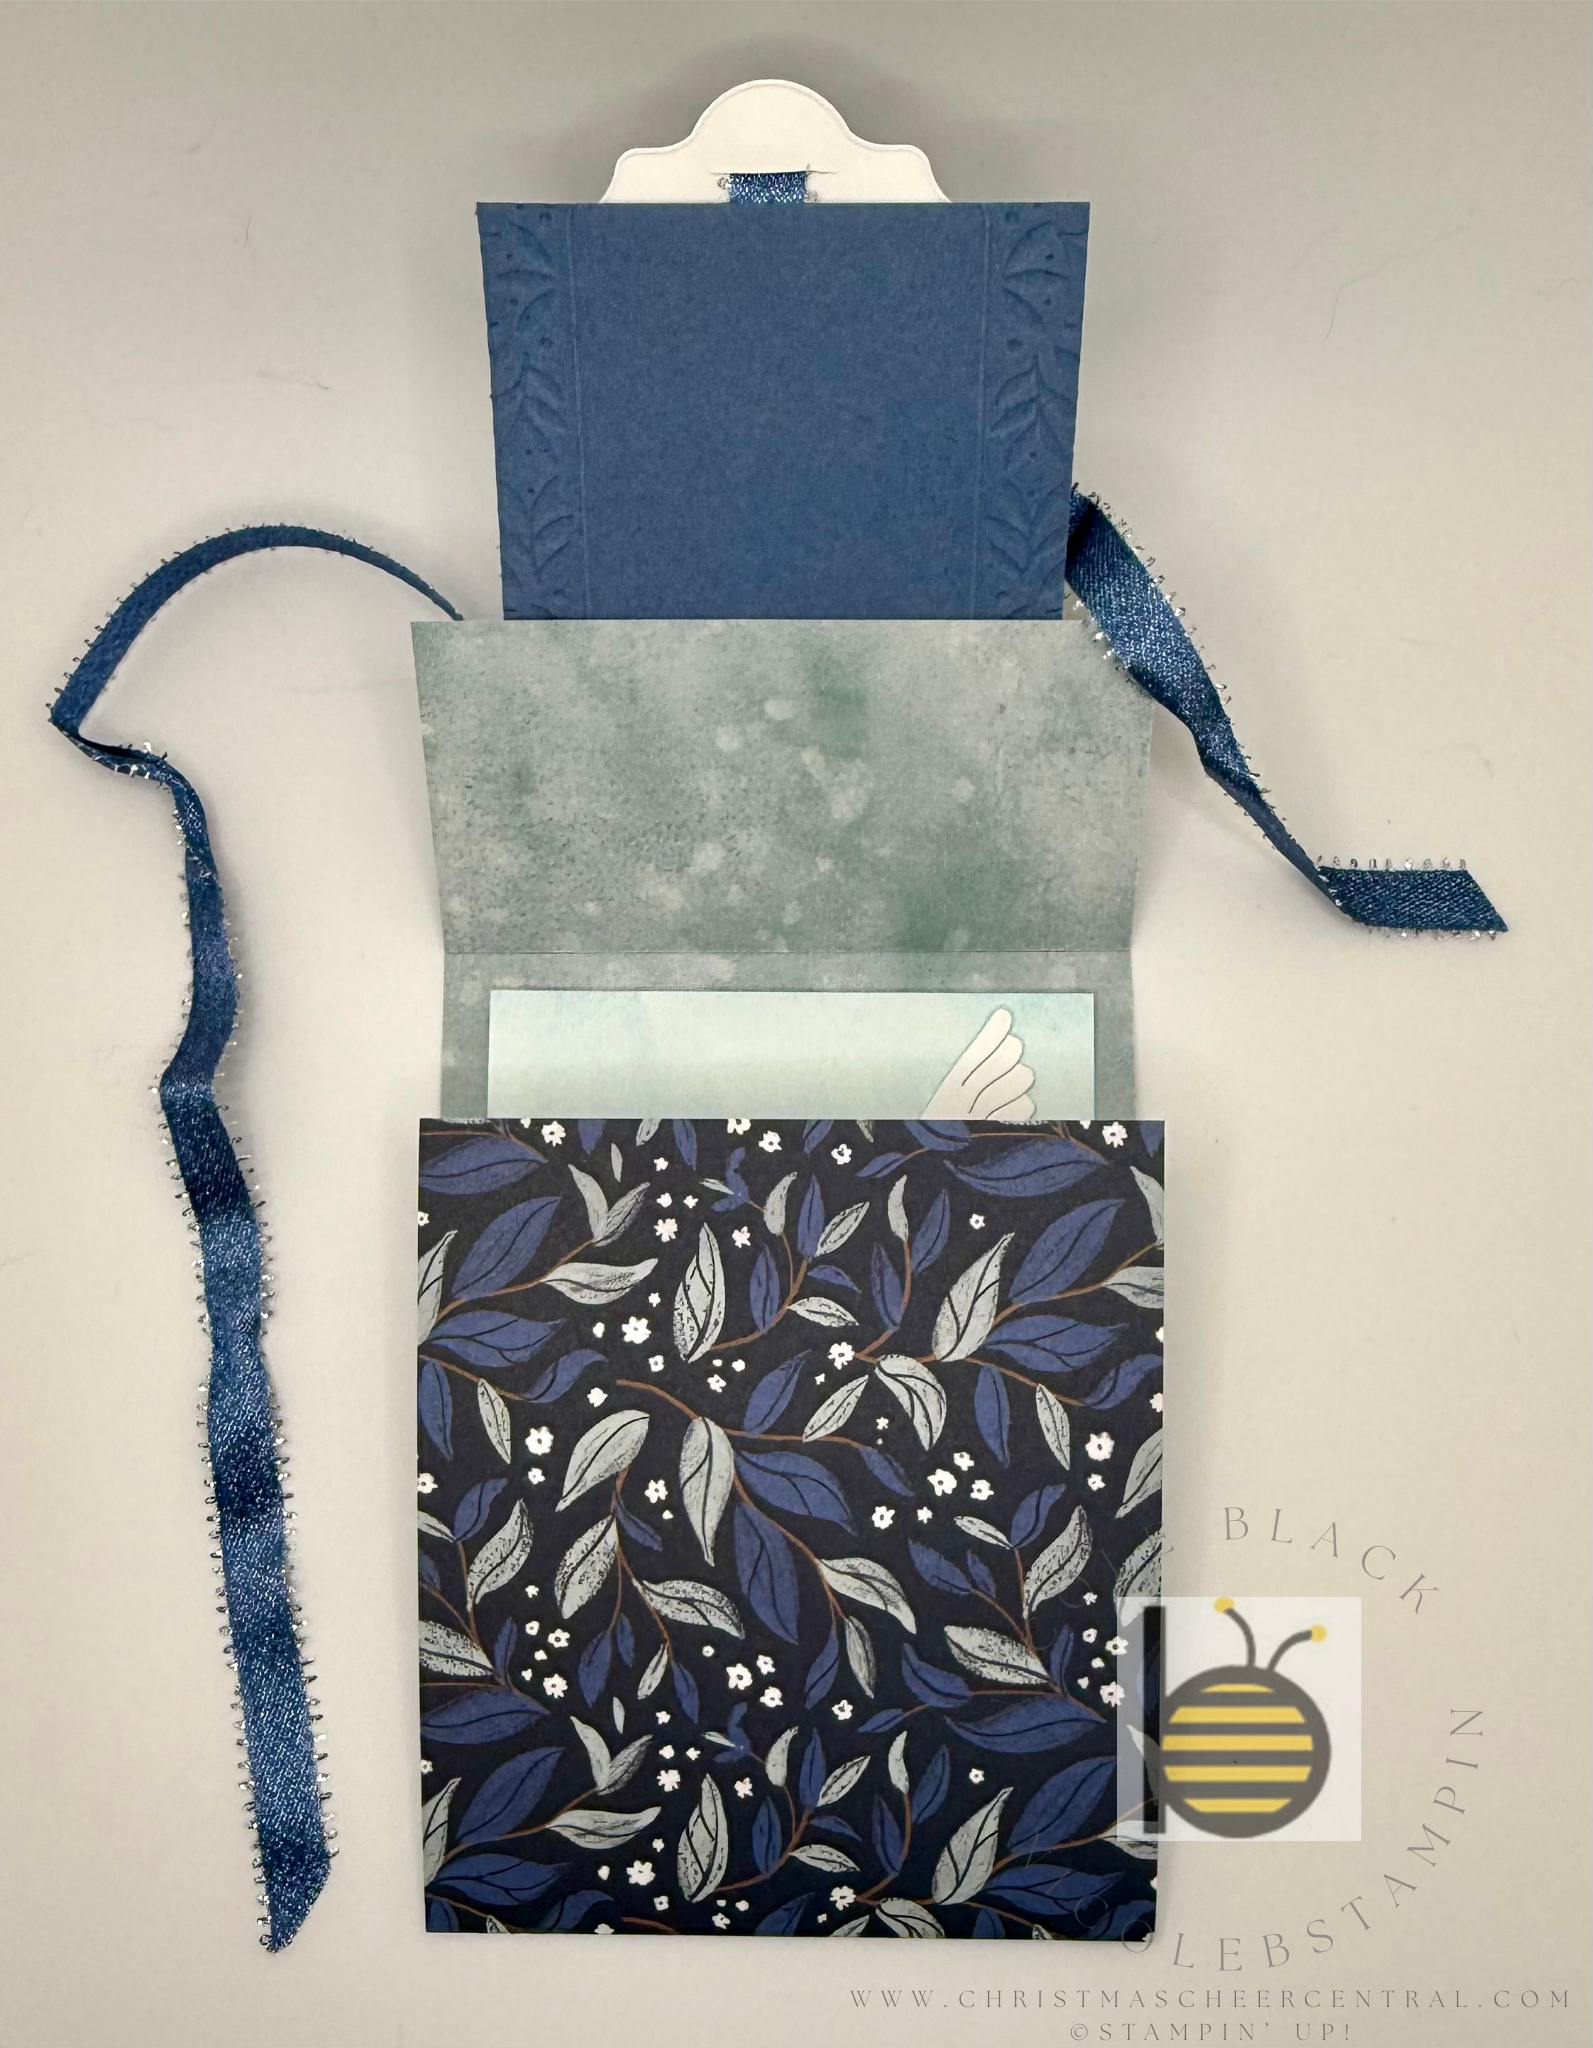
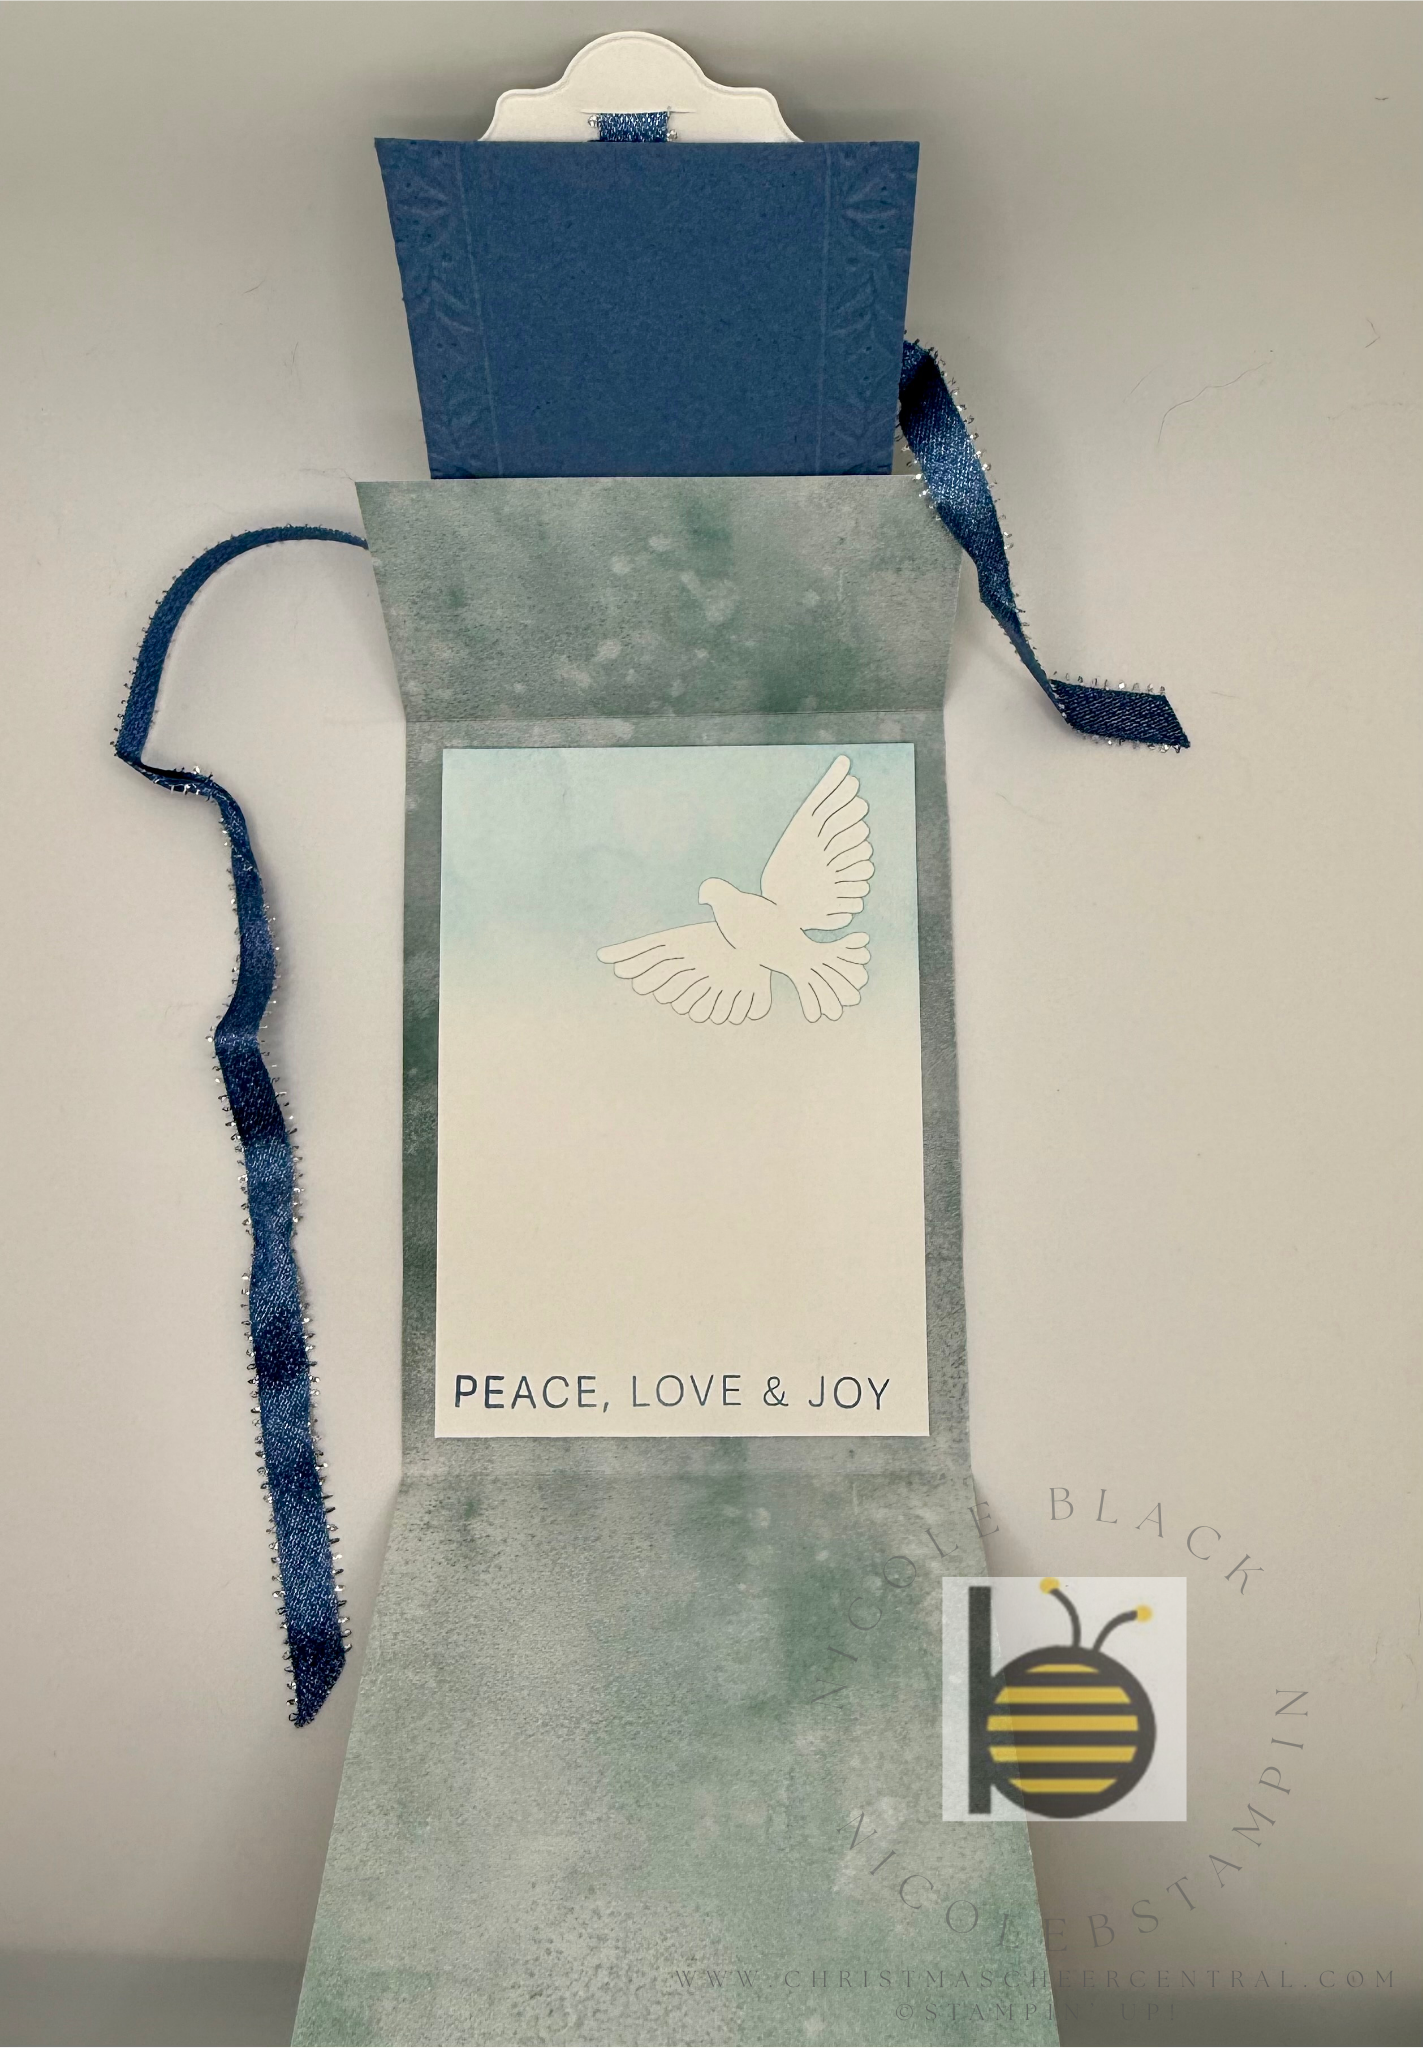
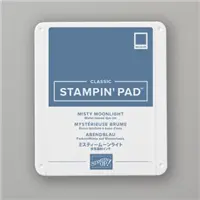
This card has such an elegant feel. The base is from the Peaceful Garden DSP and it’s tied closed with the beautiful Misty Moonlight & Silver Edged Ribbon. When you open it up, the inside is just as stunning as the outside.
Steps to Make This Card:
Fold on all the score lines of the card base.
Emboss the Misty Moonlight panel: align the top of the panel with the top of the Peaceful Greenery Embossing Folder and run it through the Stampin’ Cut & Emboss Machine. Adhere it to the top flap of the card.
Die cut the following:
Large label + 2 doves from Basic White using the Peace of Earth Dies
Small sprig from Secret Sea Cardstock
Small label from Cloud Cover Glimmer Paper (use as much of the 2″ x 2″ piece as you can)
Use a Blending Brush with Balmy Blue ink on the top right corner of the Basic White inside panel. Stamp the sentiment at the bottom in Misty Moonlight ink, then adhere inside. Add the open-winged dove to the top right corner.
On the large label, stamp a sentiment in Misty Moonlight and lightly blend Balmy Blue ink over the label. Layer the Cloud Cover Glimmer label above the sentiment.
Using the Take Your Pick Crafter Tip, cut a small slit at the bottom of the label for the ribbon. Thread 26″ of Misty Moonlight & Silver Edged Ribbon through the slit, wrap it around the card, and secure the label over the ribbon with Dimensionals. Tie the ribbon in a bow to hold the card closed.
Finish by tying a Linen Thread bow and adhering it with the sprig and dove.
A Soft & Simple Design
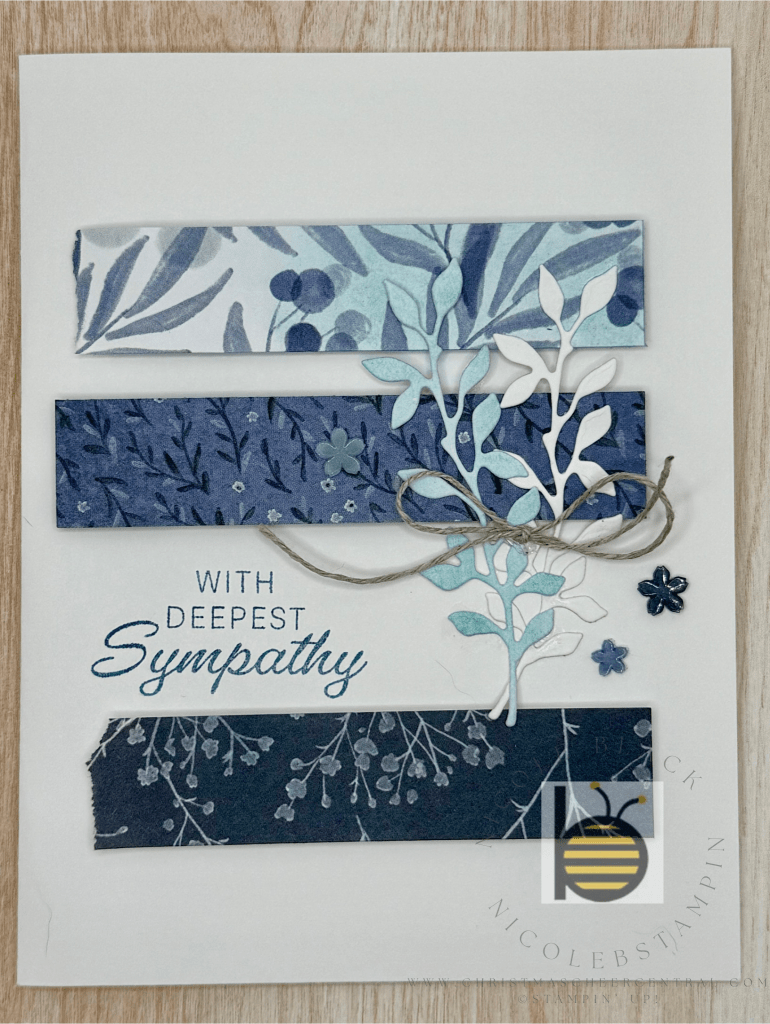
For this design, I brushed Balmy Blue ink onto the strips of DSP and one of the foliage die cuts before adhering them. Each strip is popped up with Dimensionals, giving the card a subtle yet striking layered look. It’s simple, but so elegant.
A Secret Pocket Surprise
This last card is so much fun—it hides a pull-out message!
Start by die cutting the small label from Basic White Cardstock. Adhere a 1-1/4″ x 3/4″ strip of DSP to one end of the label, then trim with scissors to shape.
Stamp your sentiment in Misty Moonlight.
Flip over the 3″ x 3″ DSP panel and place the label where it will slide in and out. Add Dimensionals around three edges to create the pocket, then adhere to the card.
Finish the front of the card with additional die cuts and DSP strips using Stampin’ Seal.
I loved making each of these cards, but especially my favorite one with that elegant ribbon closure. The Peaceful Garden Suite has such timeless beauty—it’s perfect for holiday creating!
I hope you enjoyed this little peek at what’s in the new catalog. Which of these cards is your favorite?
Cardstock Cuts for these projects:
peace of earth card
Peaceful Garden DSP – 12″ x 4″ scored at 2″ and 7-1/2″ for base
Basic White – 4-1/4″ x 2-1/2″ for label, 4″ x 3″ for dove, 5″ x 3-1/2″ panel for inside
Misty Moonlight – 4″ x 3″ panel
Secret Sea – 1″ x 1″ for twig
Cloud Cover Glimmer Paper – 2″ x 2″ panel
Sympathy card
Basic White – 8-1/2″ x 5-1/2″ scored at 4-1/4″, two at 2″ x 3-1/2″ for Foliage
Peaceful Garden DSP – 3 strips of 3-1/2″ x 3/4″
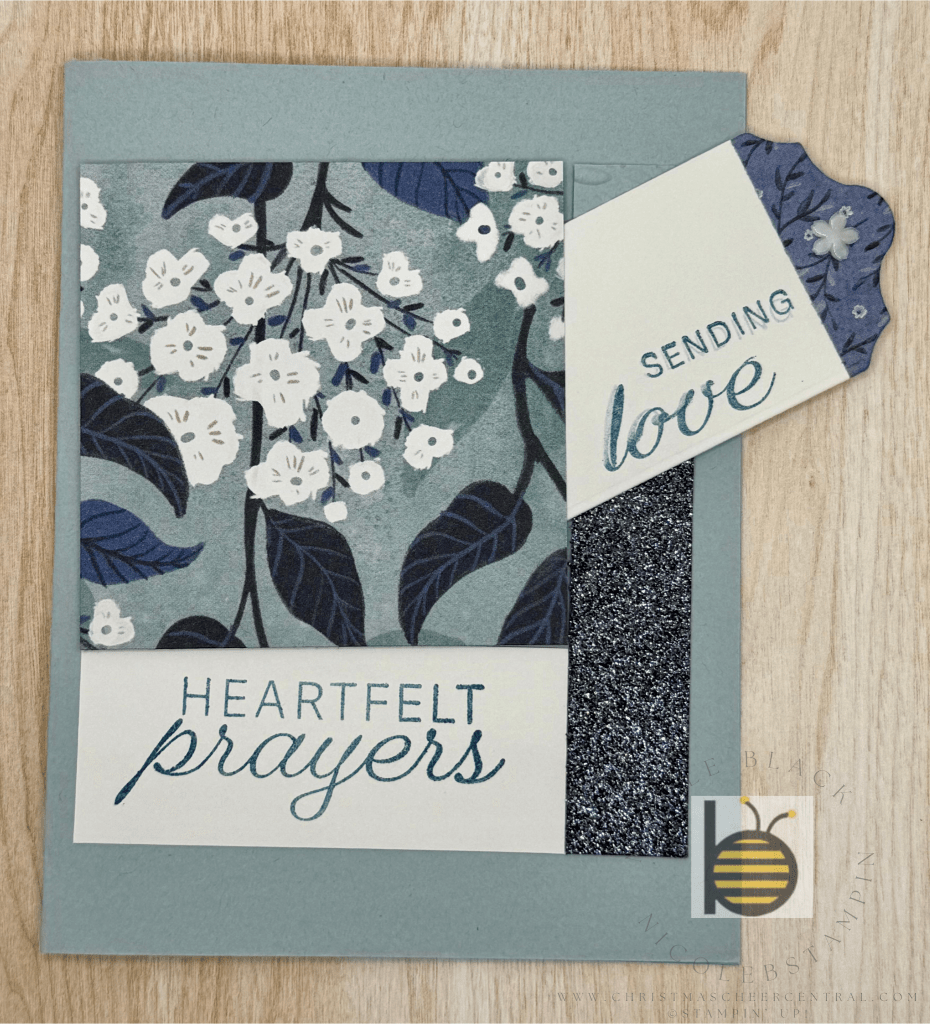
Heartfelt prayers card
Cloud Cover – 8-1/2″ x 5-1/2″ scored at 4-1/4″, 1-3/4″ x 3/4″ panel
Peaceful Garden DSP – 3″ x 3″, 1-3/4″ x 3/4″
Basic White – 4″ x 2″ for label, 3″ x 1-1/4″ for sentiment
Secret Sea Glimmer Paper – 2-1/2″ x 3/4″ panel
Stampin’ Up! products used to create this project:
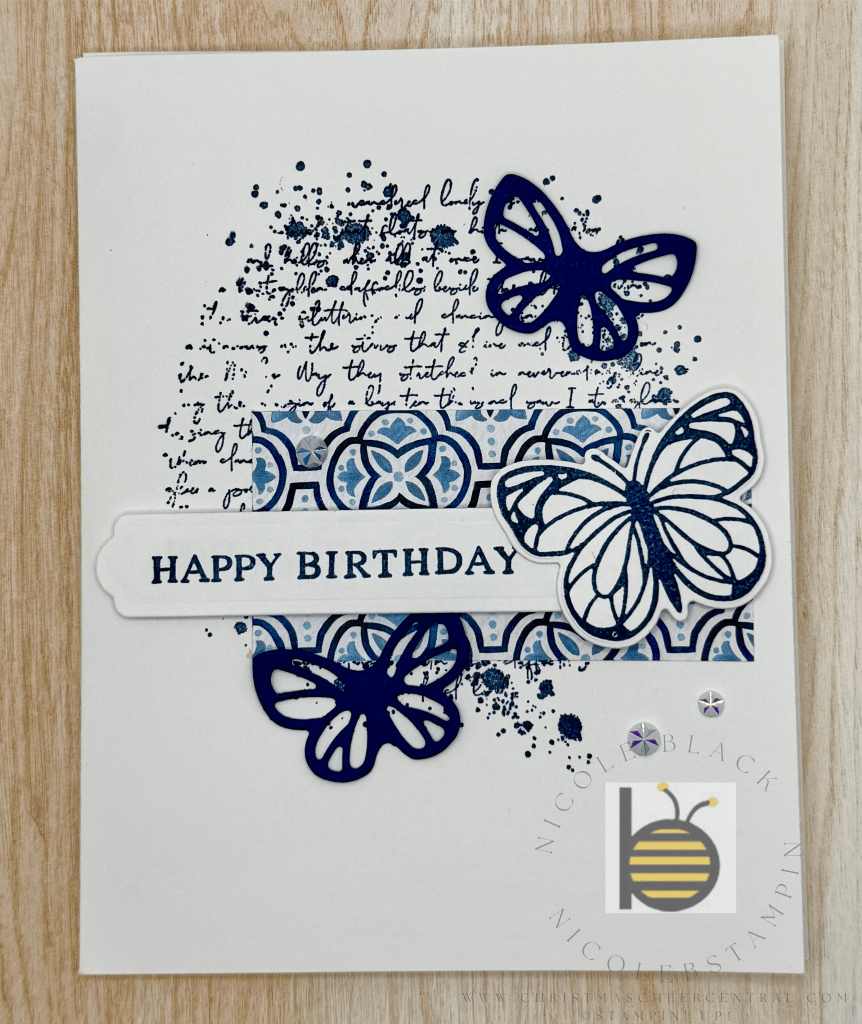
I’ve always been a fan of a vintage look, and when you combine that with a monochromatic color scheme—I’m in love! Today’s card brings those two favorites together in the simplest, yet most beautiful way.
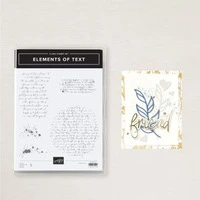
The base is clean White, allowing the details to really shine. For the background, I used the Elements of Text stamp set in Night of Navy, layering in some soft script and splatter for that perfect vintage texture.
To add dimension, I placed a strip of Designer Series Paper across the front. Then, using the Beautiful Butterflies Bundle, I stamped and die cut a few delicate butterflies for embellishment. A simple label with a Happy Birthday sentiment ties the design together, and of course, a touch of bling adds just the right amount of sparkle.
I carried the butterfly theme onto the inside of the card and even the envelope—because those little finishing touches always make handmade cards extra special.
This project is proof that sometimes simple really is stunning. I hope you love this card as much as I do!
Cardstock Cuts for this project:
Basic White Thick – 8-1/2″ x 5-1/2″ scored at 4-1/4
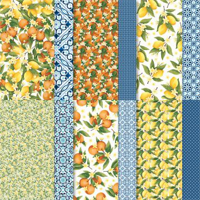
Mediterranean Blooms DSP – 3″ x 1-1/2″
Basic White – scrap
Night of Navy – scrap
Stampin’ Up! products used to create this project:
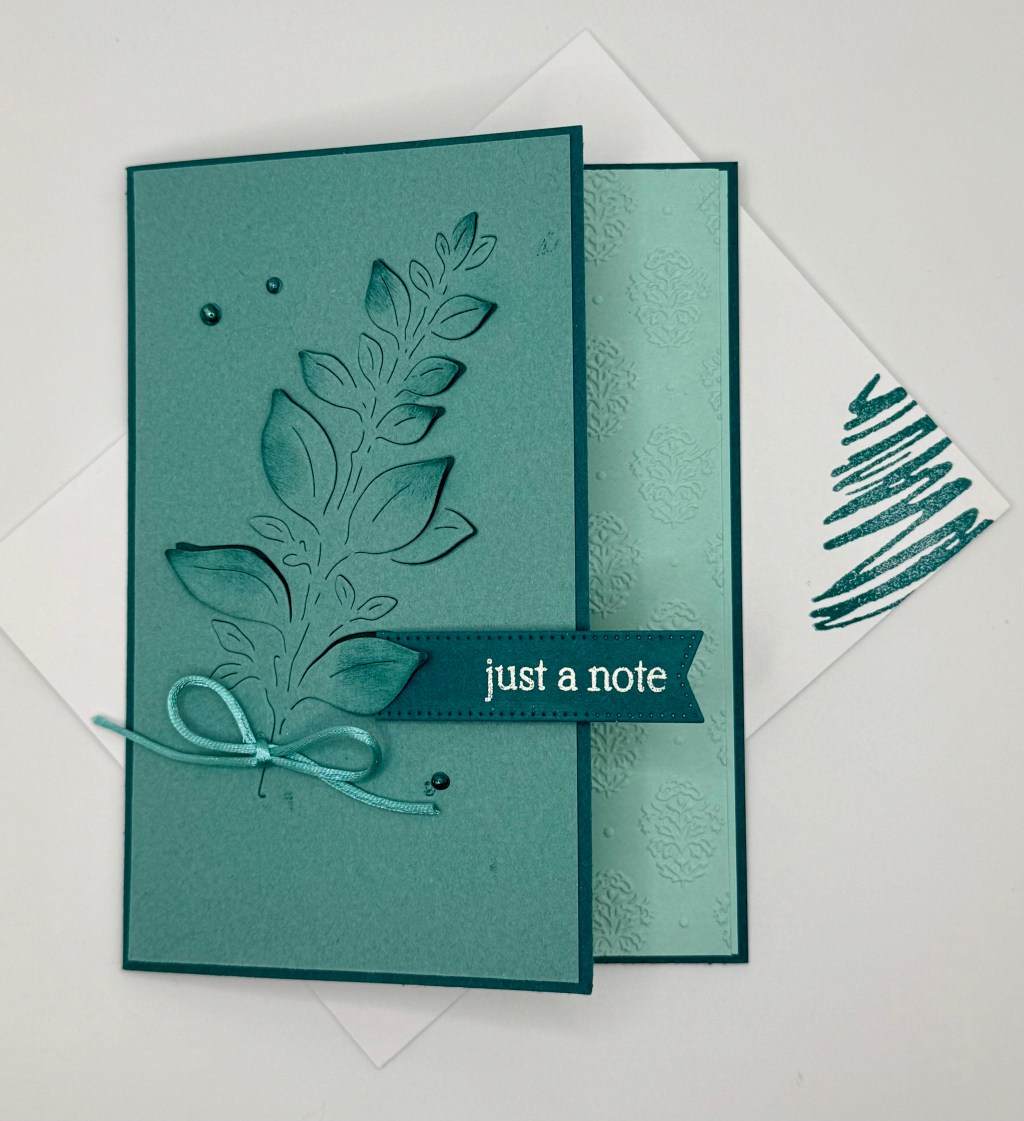
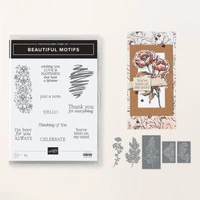
Today’s card features the Beautiful Motifs Bundle, and I am in love with how this set works! My favorite thing about it is the unique dies—they don’t just cut out shapes, they cut into the paper, creating such a gorgeous focal point.
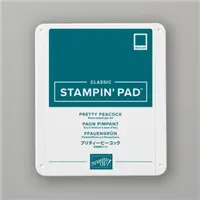
For this design, I cut the leafy motif directly into the card front, then added some shading with a Sponge Dauber and a touch of Pretty Peacock on the tips of the leaves. That little bit of ink gives so much texture and dimension. ✨ Tip: I tucked a few Mini Dimensionals under the leaves to keep them slightly lifted so they stay “popped up” even after the card goes through the mail.
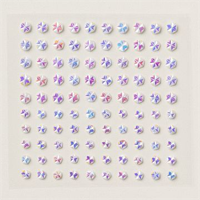
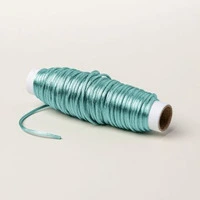
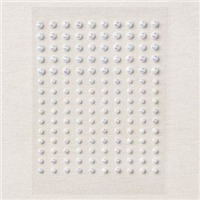
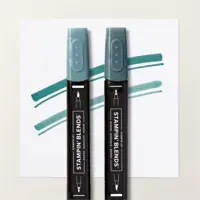
The color palette might be my favorite part—Pretty Peacock, Lost Lagoon, and Pool Party. Together they create a soft, monochromatic look that feels fresh, clean, and elegant. ✨ Tip: I colored the Iridescent Basic Pearls with a Pretty Peacock Stampin’ Blend to get the color I wanted. (but let it dry for a minute before adding to the card or you will get smudges like I did!)
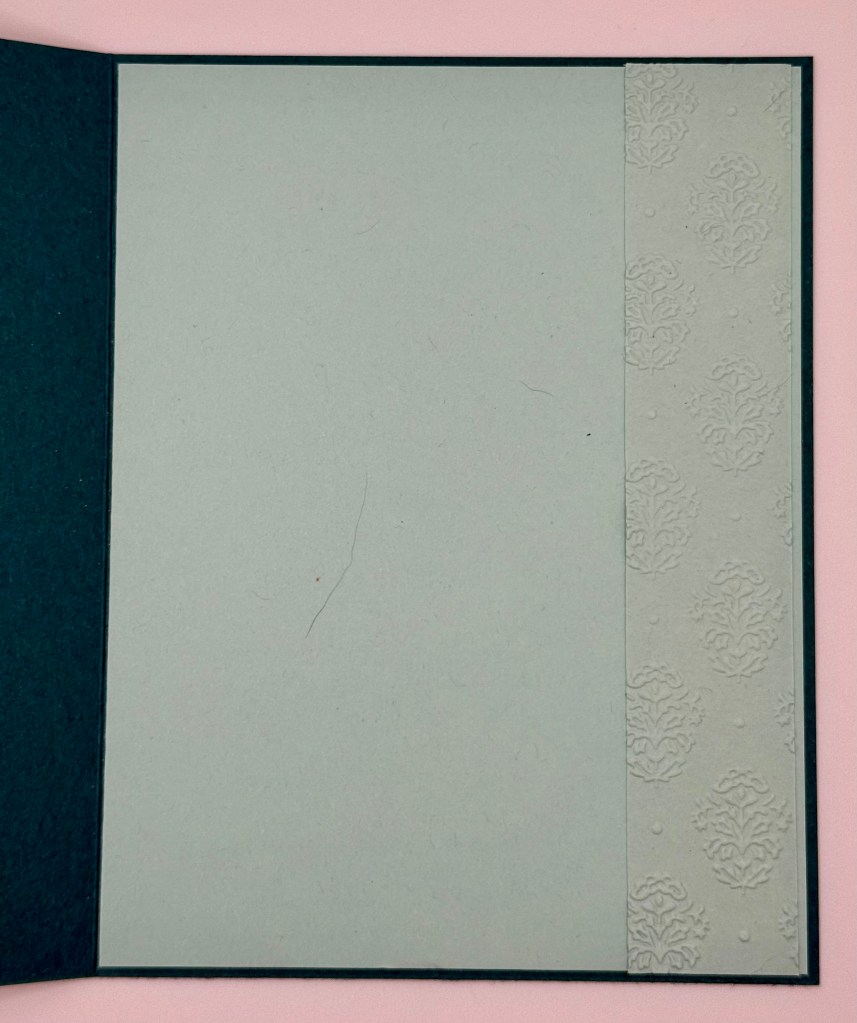
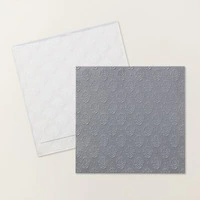
For the inside, I did something a little different. Instead of stamping an image, I embossed a strip of Pool Party cardstock and adhered it along the edge. Since the front of the card is cut short, that embossed strip peeks through even when the card is closed—such a subtle but beautiful detail.
I hope you love this simple, clean design as much as I do. Sometimes it’s the little details—like shading, embossing, and those peekaboo edges—that make a handmade card feel extra special.
Cardstock Cuts for this project:
Pretty Peacock – 7-1/2″ x 5-1/2″ scored at 4-1/4, 3″ x 3/4″ for Label Die
Lost Lagoon – 5-3/8″ x 3-1/8″
Pool Party – 5-3/8″ x 4-1/8″ (Inside panel), 5-3/8″ x 1″ (inside embossed panel)
Stampin’ Up! products used to create this project:
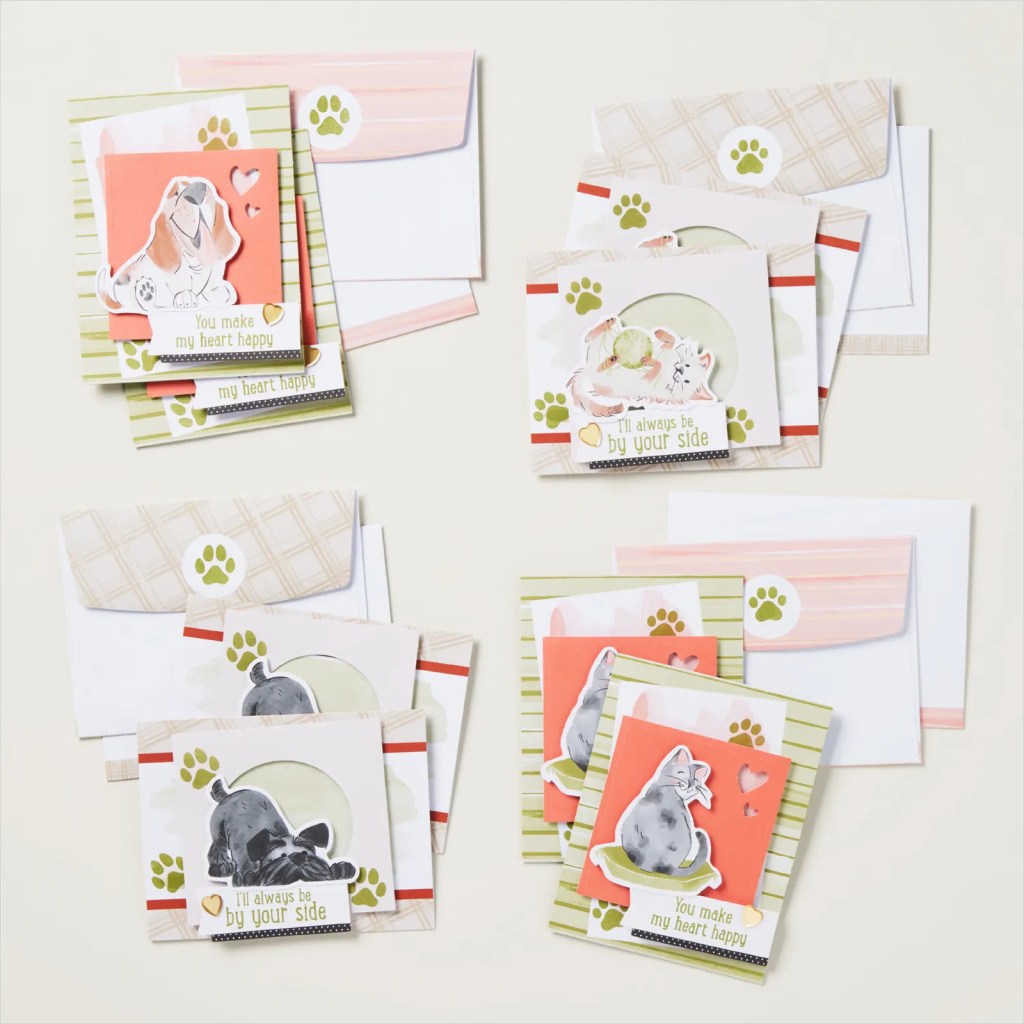
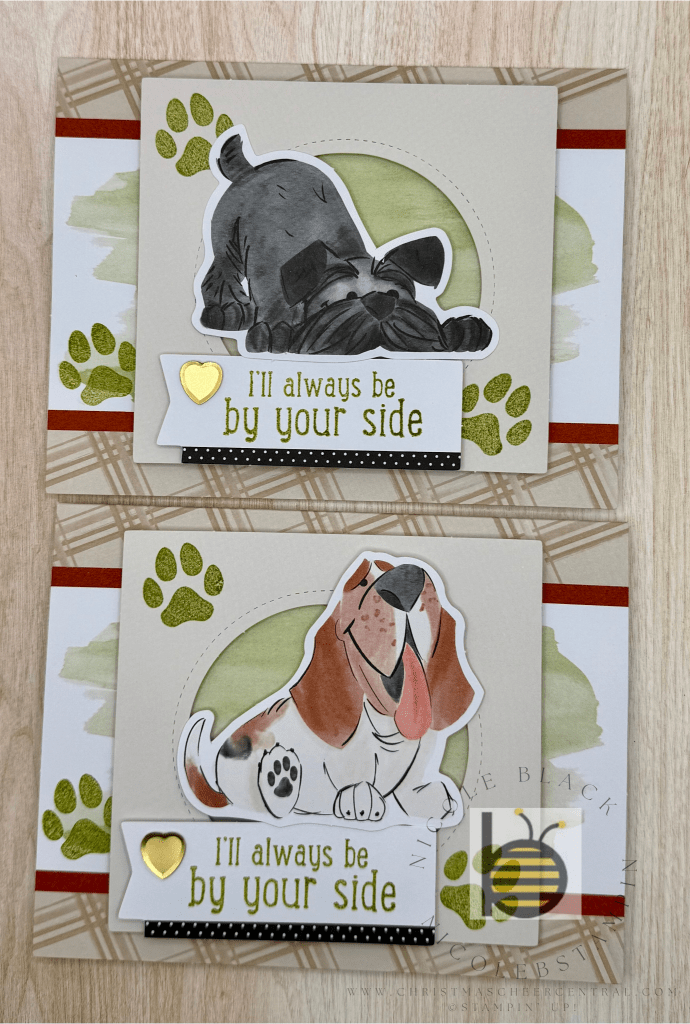
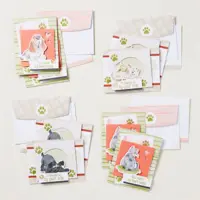
As a proud mamma of five adorable cats 🐱🐱🐱🐱🐱, I knew I had to grab this kit the moment I saw it! It’s always handy to have some furry friend cards on hand—perfect for fellow animal lovers who understand how much joy our pets bring.
What I love most is that the kit includes enough dogs and cats, so you can customize your cards however you like. Whether you’re a devoted dog person, a loyal cat person, or love them both, you can make every card fit your favorite furry friend.
And how cute is this? The kit even comes with two different paw print stamps! I couldn’t resist adding those little paws to the inside of my card too (although let’s be honest… sometimes my “regular” cards end up with paw prints by accident anyway!).
Want to see the kit in action? Check out my video where I walk you through this adorable all-inclusive set!
Stampin’ Up! products used to create this project:
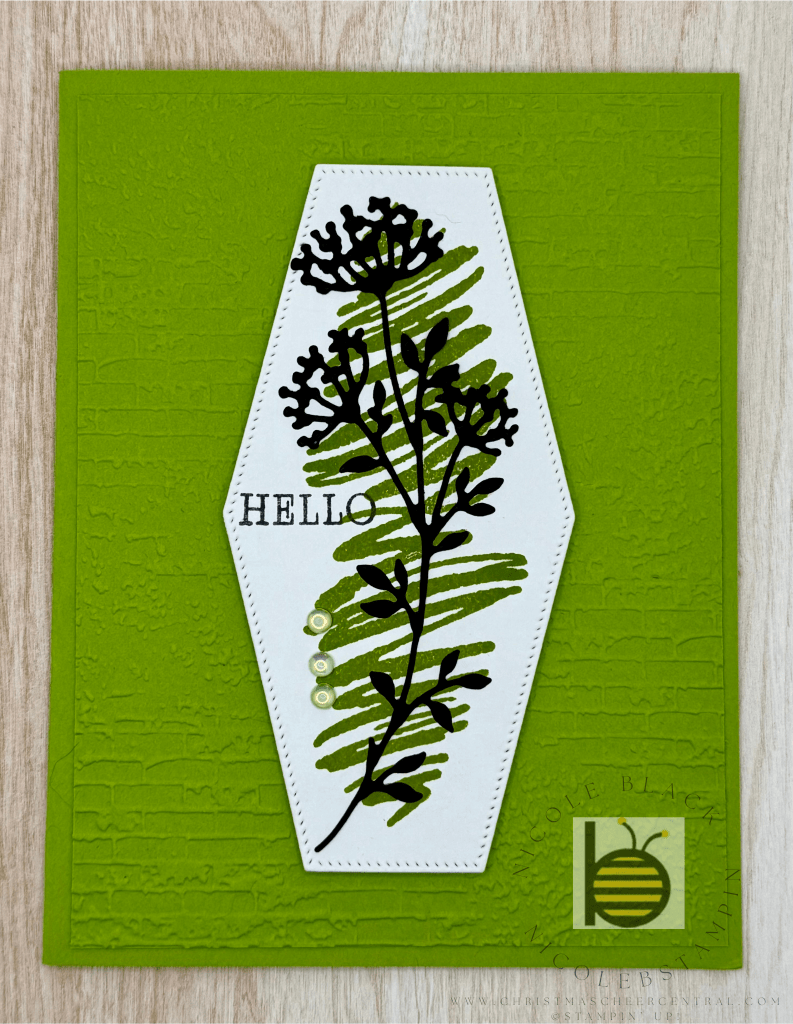
Sometimes, it’s nice to create a card just because. No specific sentiment, no set theme—just a beautiful design that can work for whatever comes up. That was exactly my goal with this card.
I wanted something that I could keep in my stash and pull out for birthdays, thank yous, thinking of you, or even a last-minute note. I didn’t add a sentiment on the inside either—this way, I can customize it when the time comes. These kinds of versatile cards are lifesavers when you’re short on time and need something quick!
Let’s Talk Design:
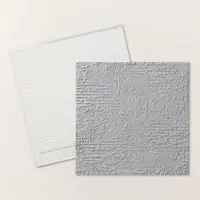
📌 Background: I used the Exposed Brick 3D Embossing Folder for the background, and I have to say—it’s one of my absolute favorites. In fact, I love it so much that I completely wore out my first one (yes, really!) and had to order a second. The texture adds such a rich, detailed look without overwhelming the card.
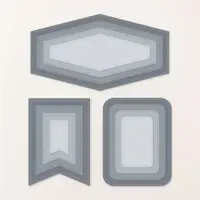
📌 Focal Point: I layered a shape from the Nested Essentials Dies and topped it with one of the gorgeous floral images from the Beautiful Motifs Bundle. I popped the shape up with Stampin’ Dimensionals to give it some height and focus.
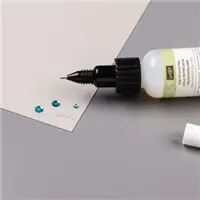
📌 Finishing Touches: To bring it all together, I added a few Holographic Resin Dots. They coordinated beautifully with the colors and added just the right amount of shimmer and fun.
Whether you’re just starting your card stash or looking to add some general-use designs to it, this type of card is a great staple. I hope it inspires you to create something flexible and fun to keep on hand for when you need it most!
Cardstock Cuts for this project:
Granny Apple Green – 8-1/2″ x 5-1/2″ scored at 4-1/4; 5-1/4″ x 4″ panel
Basic White – 4-3/4″ x 2-1/2″ for die; 5-1/4″ x 4″ inside panel
Basic Black – 4-1/4″ x 2-1/2″ for flower die
Stampin’ Up! products used to create this project:
This past weekend, I officially kicked off my holiday baking with my beloved Cutout Sugar Cookies—and yes, they’re safely tucked away in the freezer (well… most of them). I had to fend off my husband and a few “helpful” visitors who were ready to taste-test more than their fair share!
These cookies are my go-to every year—soft, buttery, and absolutely delicious. I don’t frost them until they’re fresh out of the freezer and ready for delivery. You can frost before freezing, but be warned—the glaze will dry matte instead of glossy, and I’m a sucker for that perfect glossy finish.
And yes, that was flour everywhere in the kitchen. My husband’s philosophy? “The messier the kitchen, the better the food.” Judging by the state of my countertops, these cookies are going to be phenomenal.
I doubled my usual recipe and ended up with 94 cookies heading to the freezer. That’s one recipe down… five more to go in my holiday baking lineup. Let the sugar, flour, and butter madness continue!
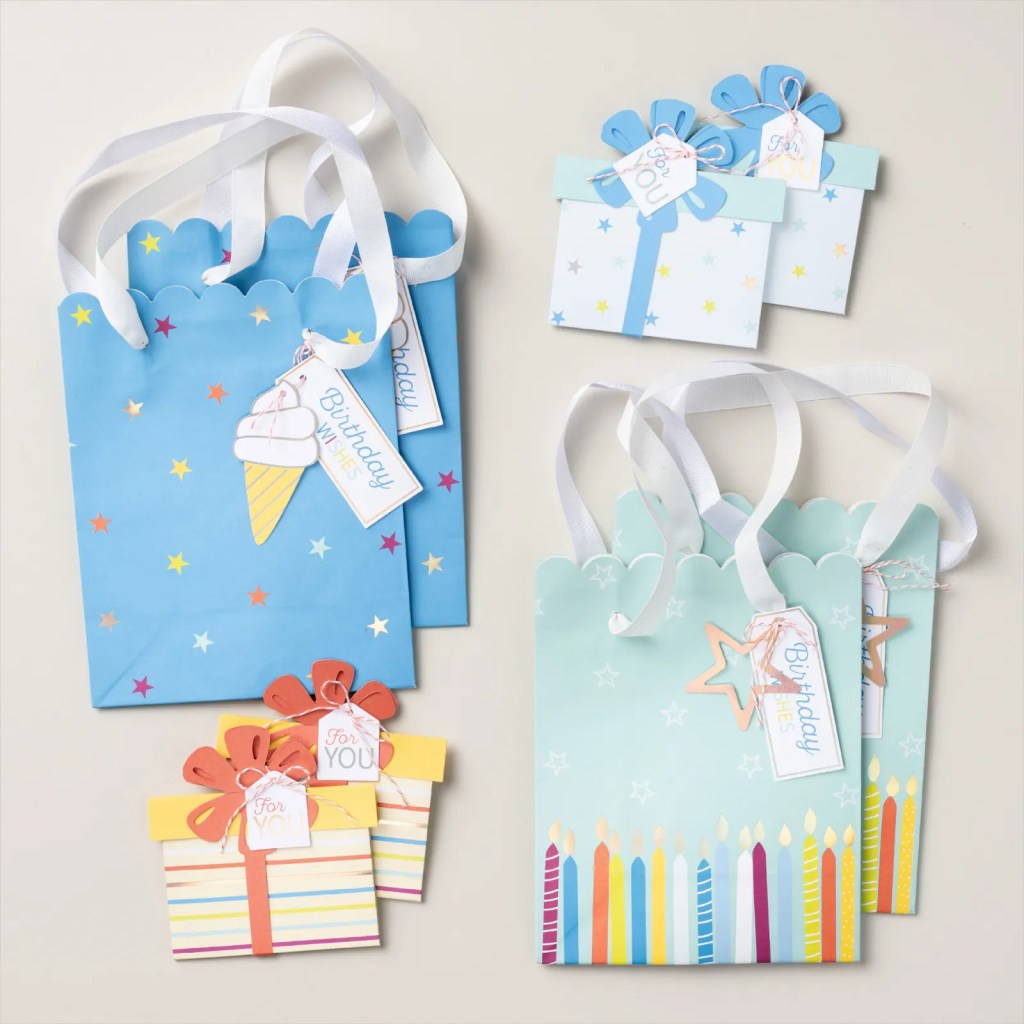
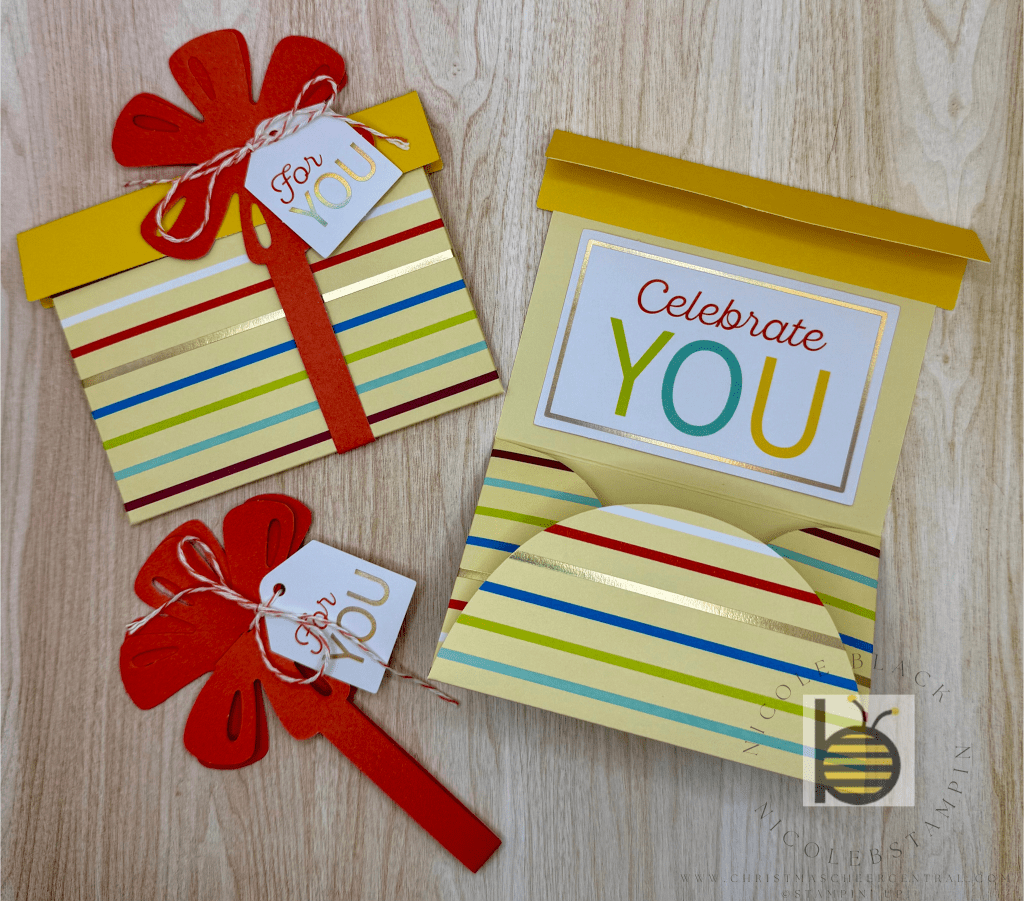
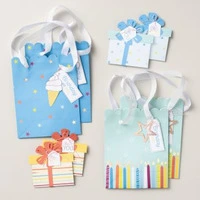
Lately, I’ve found myself reaching into my stash of re-gifted gift bags more often than I’d like to admit. So when I saw that Stampin’ Up! released an all-inclusive kit for making your own gift bags and gift card holders, I was beyond excited!
This kit is perfect for creating thoughtful, custom packaging—especially for those trickier-to-shop-for teens in your life. (Looking at you, my stylish nieces! 👀)
What’s Inside the Kit?
The kit includes everything you need to assemble beautifully coordinated gift bags and gift card holders—no stamping required!
You’ll add the finishing touches with ribbons and tags, and the best part is you can mix and match them however you like to create a unique look for each one.
Why I Love It
✨ The gift card holders are adorable! They feature a paper ribbon belly band that wraps around the holder and secures it in place—such a clever and cute way to present a gift card.
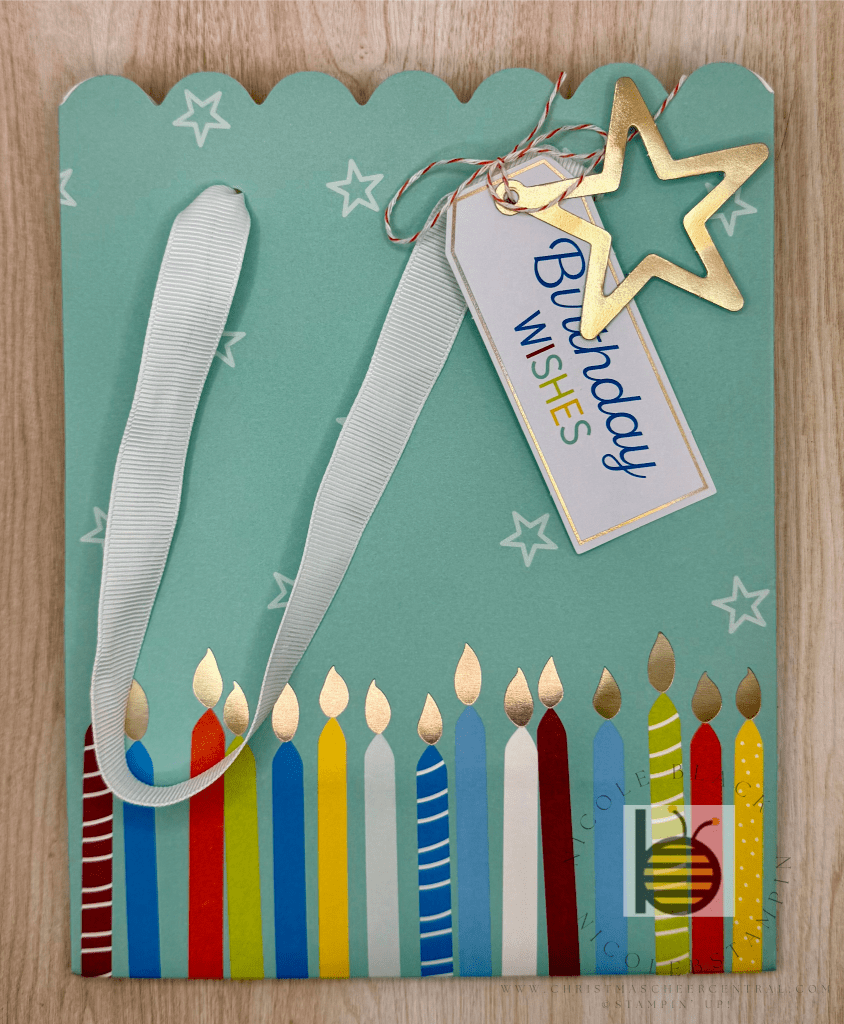
✨ The gift bags feel upscale and personal. It’s a quick and easy way to level up your gift presentation without a trip to the store or digging through your re-use pile.
✨ Perfect for last-minute gifting. Having a few of these ready to go means I can grab, tuck in a card, and gift with confidence!
🎥 Take a peek at the kit in action:
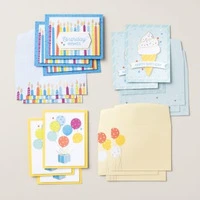
BONUS: A Coordinating Card Kit!
Want to keep the look consistent across your gifting? There’s also a matching card kit you can grab to go with your gift bags and holders. It’s a great way to tie everything together with a cohesive theme.
🎥 Watch the coordinating card kit video:
Stampin’ Up! products used to create this project:
I am a project manager by day and a crafter by night. I love Christmas and want to do it all every year. I will share with you how I do it and enjoy it too!