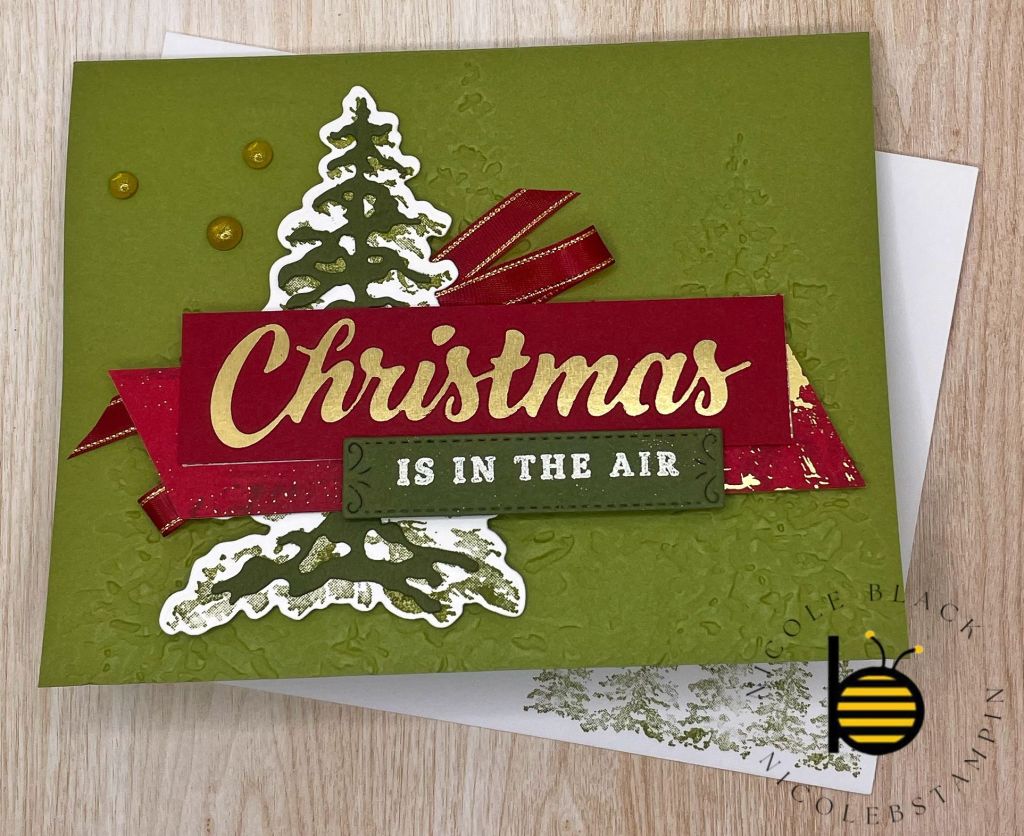
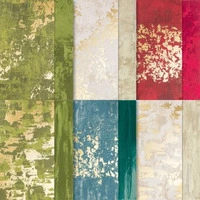
One fantastic option for crafting elegant, classic Christmas cards is the Season of Elegance Suite from Stampin’ Up!. This suite offers beautiful gold accents that make it easy to add a touch of glamour to your designs. If you, like me, enjoy incorporating a bit of sparkle into your cards, this collection is perfect for achieving that sophisticated look.
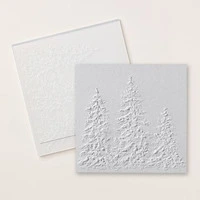
The card base is crafted from Old Olive cardstock and beautifully embossed with the Peaceful Evergreen Embossing Folder. For a detailed look at how this card comes together, be sure to watch my video.
Video Demonstration
Cardstock Cuts for this project:
Old Olive – 8-1/2″ x 5-1/2″ card base scored at 5-1/2″
Basic White – 5-1/4″ x 4″ panel (inside the card), 4-1/4″ x 3″ panel for tree
Mossy Meadow – 3-3/4″ x 2″ for Tree Die, Label die
Cherry Cobbler – 4″ x 1″ for Christmas Die panel
Gold Foil – 4″ x 1″ panel
Season of Elegance DSP 5″ x 1″ panel
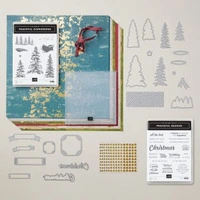
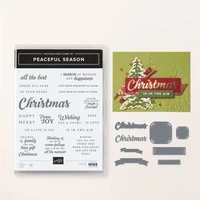
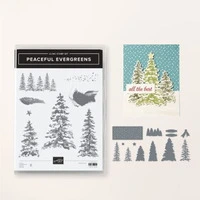
Stampin’ Up! products used to create this project:
At the end of September, Hurricane Helene came through Florida, bringing everything to a standstill. Thankfully, our home sustained no damage. With some unexpected downtime on my hands, I decided to make the most of it by preparing my third batch of make-ahead cookies.
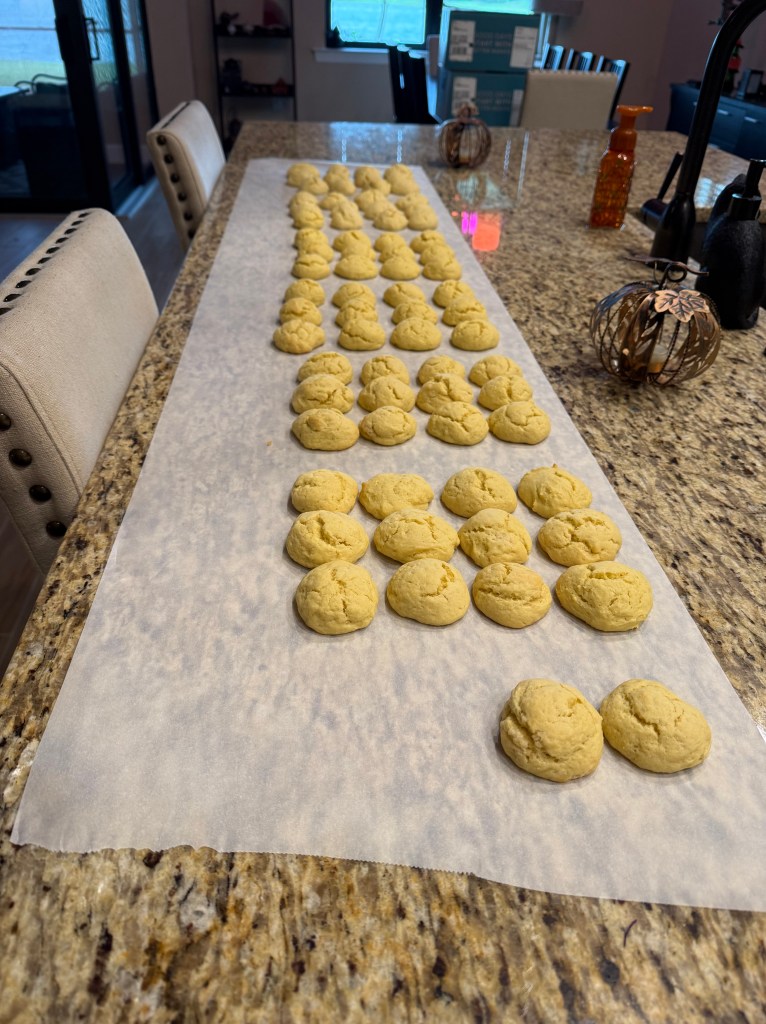
This time, I made Italian Lemon Drop Cookies – a refreshing change from the traditional holiday flavors of chocolate and gingerbread. You can find the recipe here: Italian Lemon Drop Cookies. These cookies pair wonderfully with team and are perfect for the festive season!
To streamline the process, I prepped the dough, baked the cookies, and then froze them before frosting. When it’s time to serve, I’ll top them with the same icing I use for my cutout cookies, finishing with festive red and green sprinkles.
Since the dough is quite sticky, I keep in in the refrigerator when I am not scooping it out.
Typically, I aim to make around 100 cookies, but was a little short this year – thanks to a bit of taste testing. They were delicious on their own, but I can’t wait to add that sweet frosting to take them to the next level.
The Kits Collection by Stampin’ Up! is all about making crafting fun, accessible, and inclusive! They’re always working hard to design a collection full of different product options to allow us oodles of options when it comes to finding that perfect project or gift.
I love the kits that are 3D projects! They are so much fun and I usually add them to my decor and have them for years.
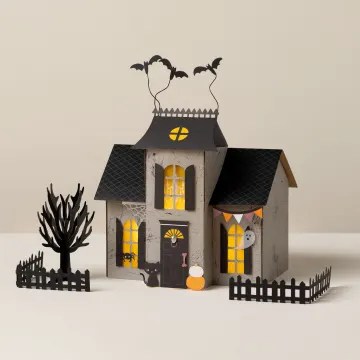
This kit comes with all the paper pieces you need to assemble your very own haunted paper house. You’ll start with cardboard walls, precut vellum, and other paper pieces for accessorizing. Assemble the house following the instructions then add your own ghostly touch to it.
Video from Stampin’ Up!
Stampin’ Up! products used to create this project:
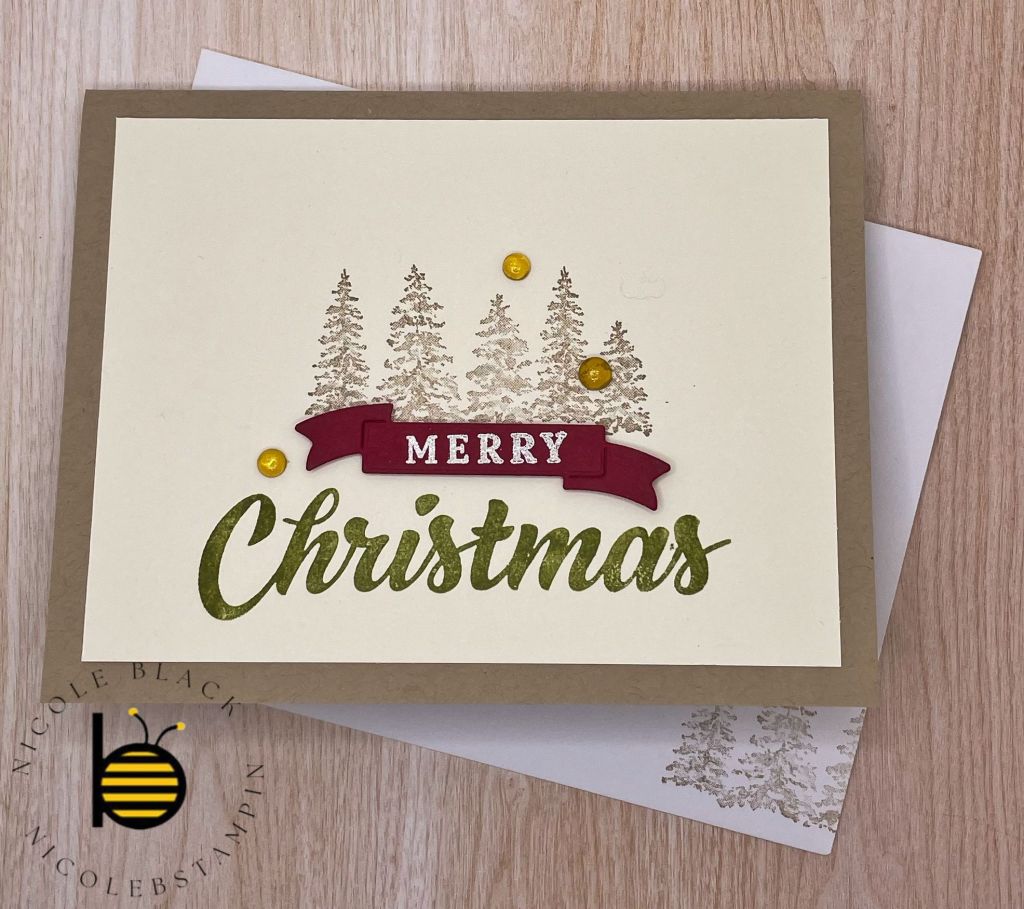
I aimed to design a straightforward card using the Season of Elegance Suite, and I found all the inspiration I needed from the samples provided by Stampin’ Up! in their catalog and online. I recreated one of these elegant, clean-and-simple cards, and I’m thrilled with how it turned out.
To create this card, follow these steps:
Stamping: Begin by stamping the trees in Crumb Cake and the word “Christmas” in Old Olive onto a Very Vanilla panel.
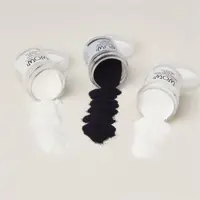
Heat Embossing: Heat emboss the word “Merry” with white embossing powder on Cherry Cobbler cardstock. Use the ribbon banner die from the Peaceful Season Dies to cut it out.
Assembly: Attach the embossed banner to the front of the card using Mini Dimensionals for a bit of lift.
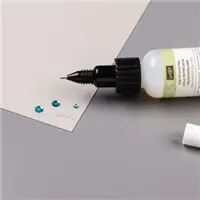
Finishing Touch: Add a touch of sparkle with Gold Textured Adhesive-Backed Dots for a bit of festive bling.
And there you have it—a beautifully simple and elegant card ready to impress!
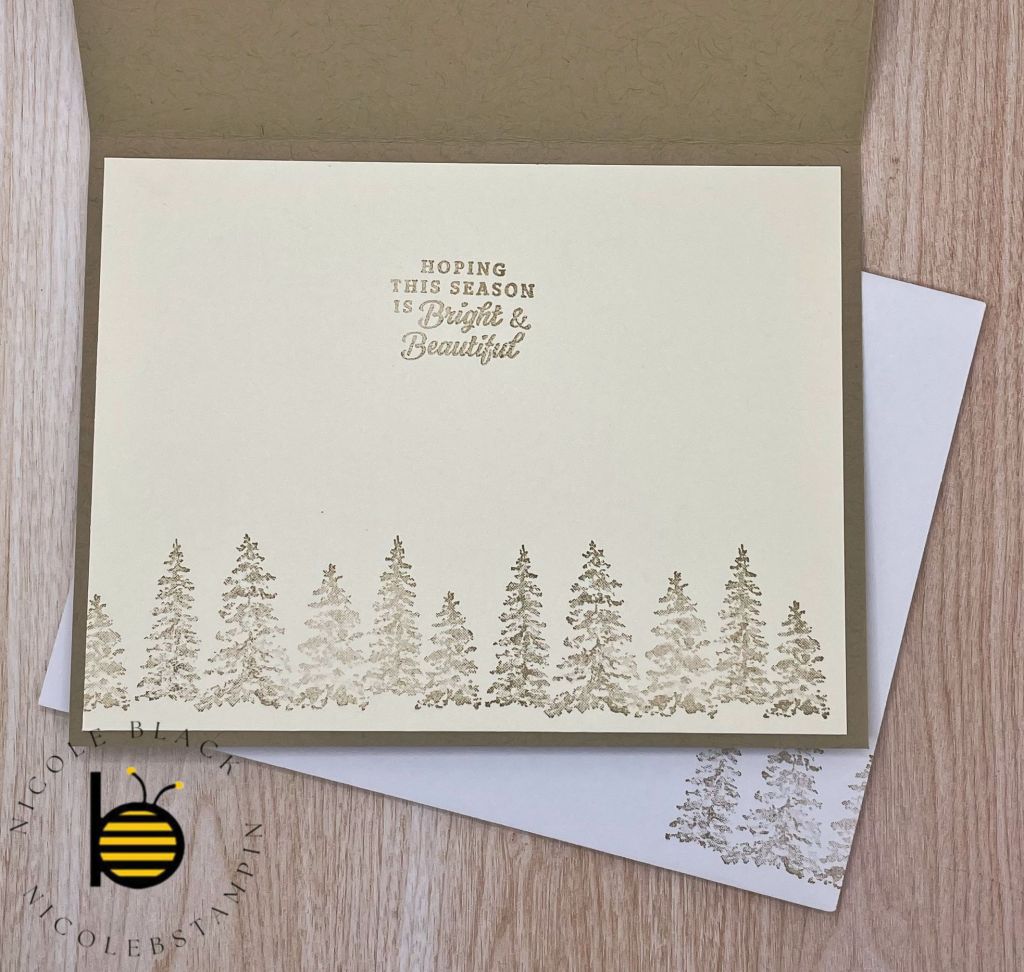
Here’s how I decorated the inside of the card: I stamped trees along the bottom and added a coordinating design on the envelope. Although I’m pleased with the overall look, I wish I had stamped the sentiment in Old Olive for a bit more contrast and cohesion.
Cardstock Cuts for this project:
Crumb Cake – 8-1/2″ x 5-1/2″ card base scored at 4-1/4″,
Very Vanilla – 5-1/4″ x 4″ panel (inside card), 5″ x 3-3/4″ panel
Cherry Cobbler – Banner Die
Stampin’ Up! products used to create this project:
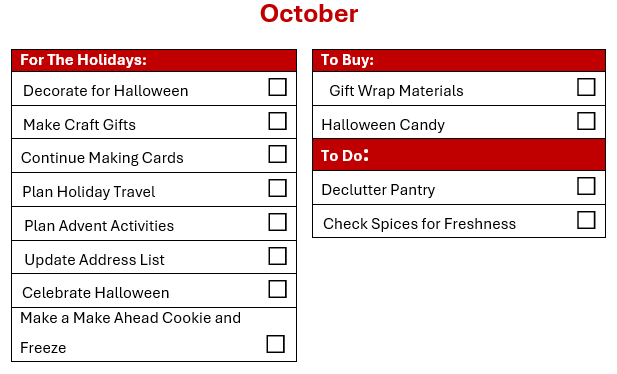
While many might consider Thanksgiving or December as the start of the holiday season, I personally think of Labor Day weekend as the unofficial kickoff. I like to keep things subtle until October rolls around. Once October arrives, it’s all about decking the halls—starting with Halloween decorations and gradually building up to the festive season.
In October, alongside decorating and celebrating Halloween, I continue to work on my craft projects, creating personalized cards and gifts. It’s also the perfect time to gather wrapping materials, ensuring I’m prepared for the gift-wrapping frenzy that will come. I plan to bake another batch of make-ahead cookies this month, adding to the assortment I’ve already started. With the busy holiday season approaching, I find it essential to declutter my pantry and check the freshness of my spices. Regularly updating my pantry helps me stay organized and ready for the cooking and baking that come with the festive season.
Plan Travel
During the holidays, travel can fill up quickly, so it’s wise to plan and book your trips early. Nathan and I have a tradition of taking a holiday-themed weekend trip each December. Often, we find ourselves at Walt Disney World, but a couple of years ago, we spent five festive days in New York City, soaking in all the iconic Christmas activities.
This year, we’ve chosen to spend a weekend in St. Augustine, FL. We actually made our reservation back in July to celebrate the 30th anniversary of their famous Night of Lights. St. Augustine is frequently listed among the top holiday destinations in the U.S., and we’re excited to stay in a charming Bed and Breakfast, enjoy the dazzling lights, savor the local cuisine, and take a scenic carriage ride.
Update Address List
In August, I discussed the importance of planning your Christmas card list, including the use of a spreadsheet to keep track of whom you send cards to. Now that we’re in October, it’s time to focus on gathering and confirming addresses. Tracking down missing addresses can be time-consuming, so it’s wise to use this month to finalize your list and ensure you have accurate addresses for everyone on it. This way, you’ll be all set to send out your holiday greetings without any last-minute scrambles.
Advent Activities
Advent calendars are a beloved tradition, but Nathan and I took it a step further one year by creating our own list of 25 small activities to enjoy throughout the holiday season. Each day, we open a drawer to reveal a new activity, which helps us slow down and savor the magic of the season daily. Over time, we’ve fine-tuned our list, tailoring it to our preferences.
Feel free to check out our activity list and start your own tradition. Keep in mind that since we live in Florida, our list doesn’t include winter-specific activities like building a snowman, making a snow angel, going sledding, or taking a carriage ride. To keep things fresh, we also have more than 25 activities so we can mix them up each year.
I’d love to hear about the creative activities you come up with. Please share your ideas, as we’re always on the lookout for new and exciting ways to celebrate the season!
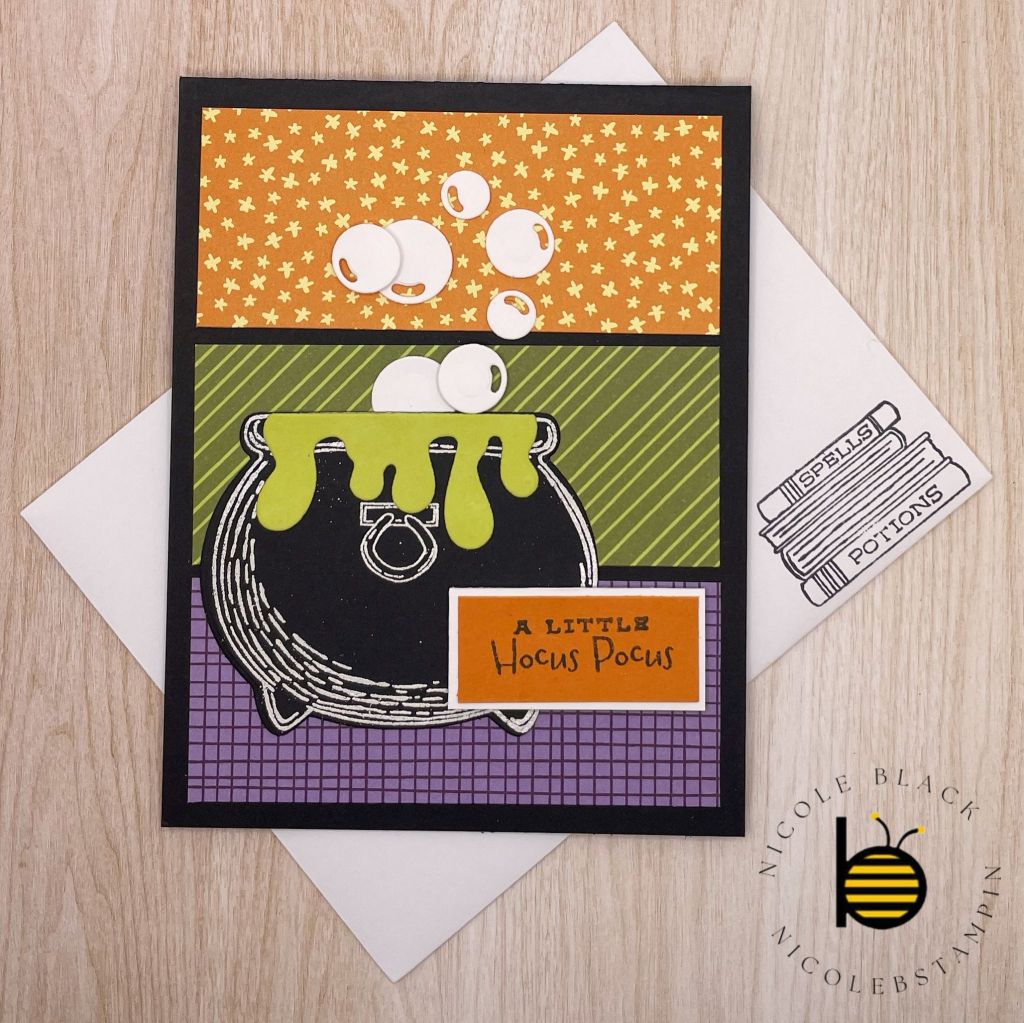
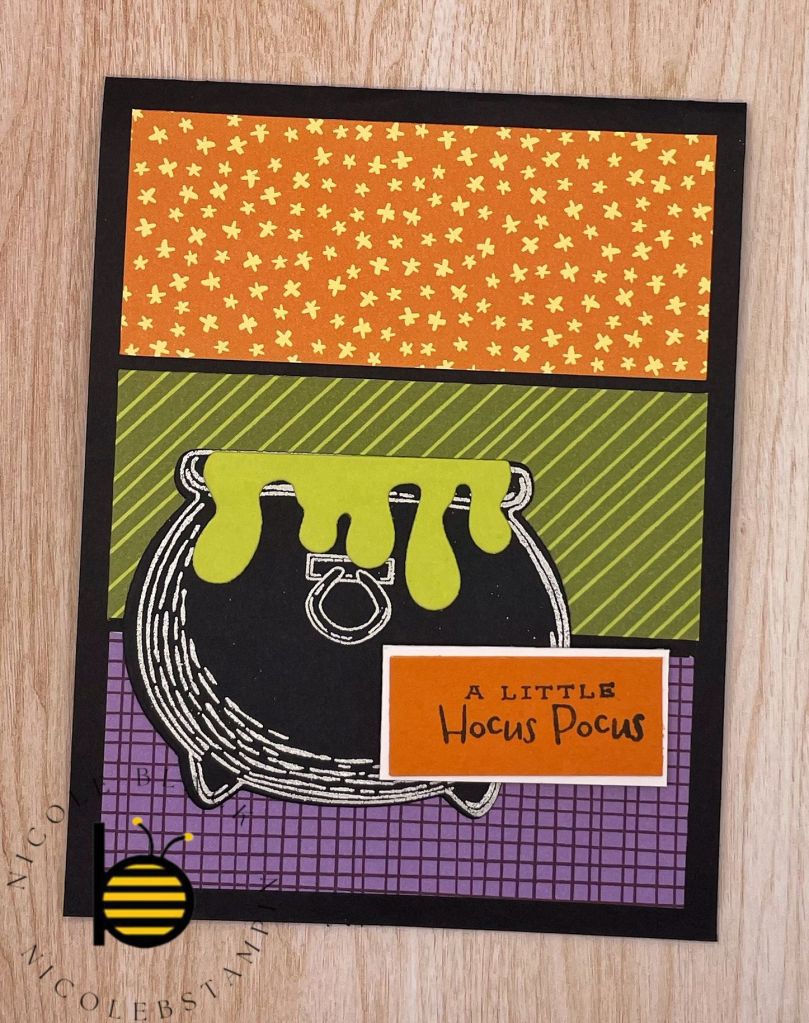
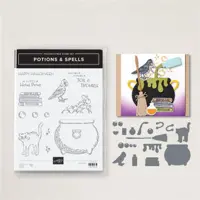
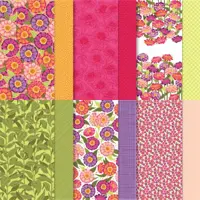
With Halloween just around the corner, I’m excited to share this festive Halloween card with you! Initially, I was searching for a Halloween-themed Designer Series Paper, but when I couldn’t find one, I took inspiration from Connie Babbert. She showed me that the Flowering Zinnias DSP, with its vibrant colors, is actually a perfect fit for a Halloween design.
This card uses the Potions & Spells Bundle that is available only online – Shop With Me
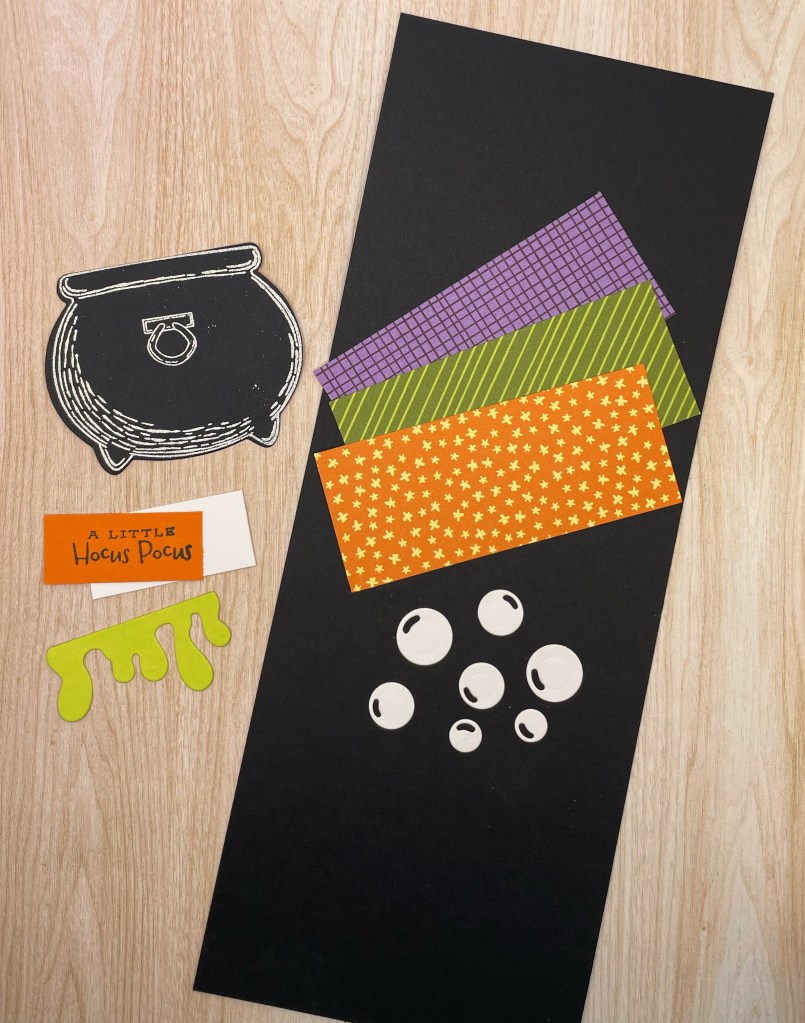
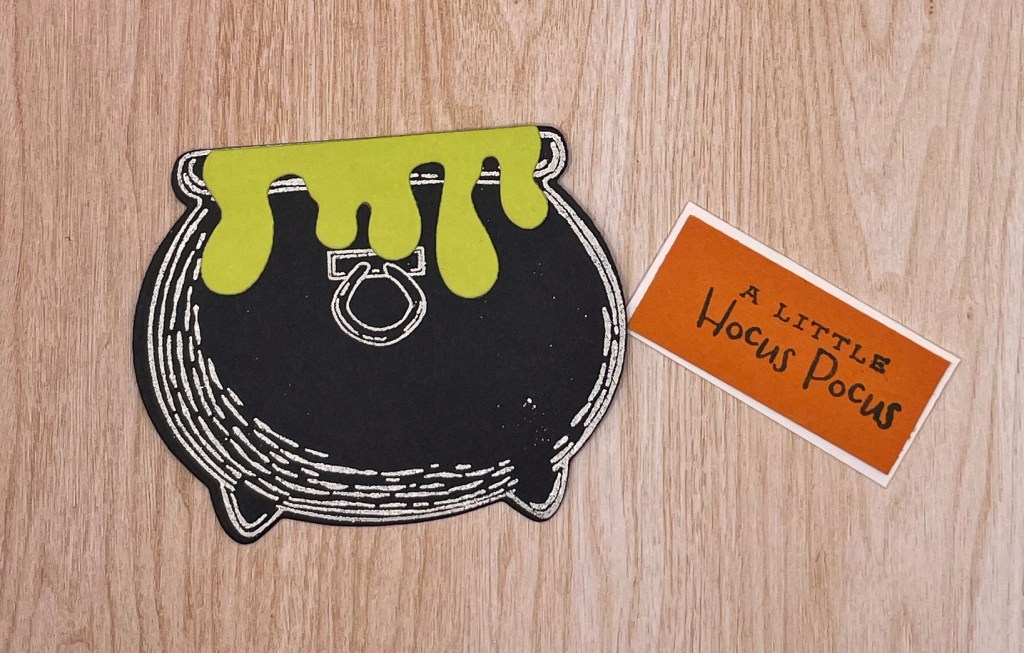
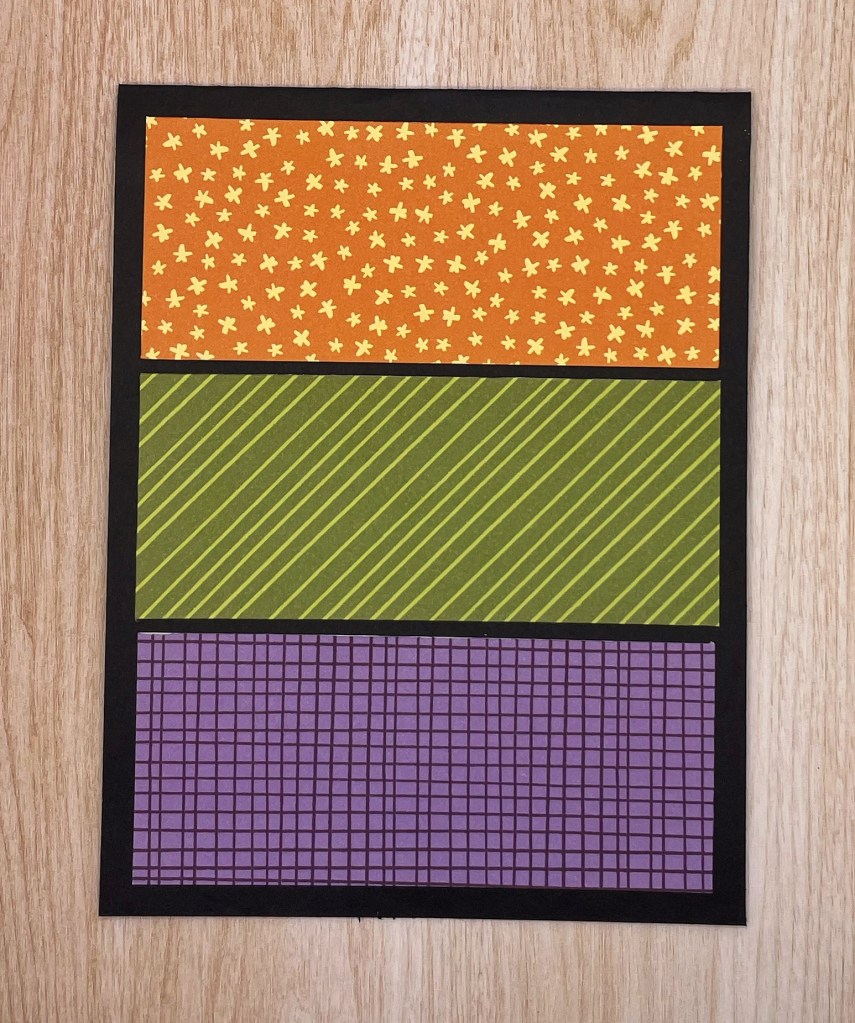
Here are the components of the card.
To do the cauldron, Stamp the cauldron in Versamark and then heat emboss in white; then die cut.
Adhere the overflow to the cauldron and the label with the label background.
Adhere the 3 panels to the card base.
Adhere the cauldron to the card base. The label is adhered with Dimensionals. Then finish with bubbles.
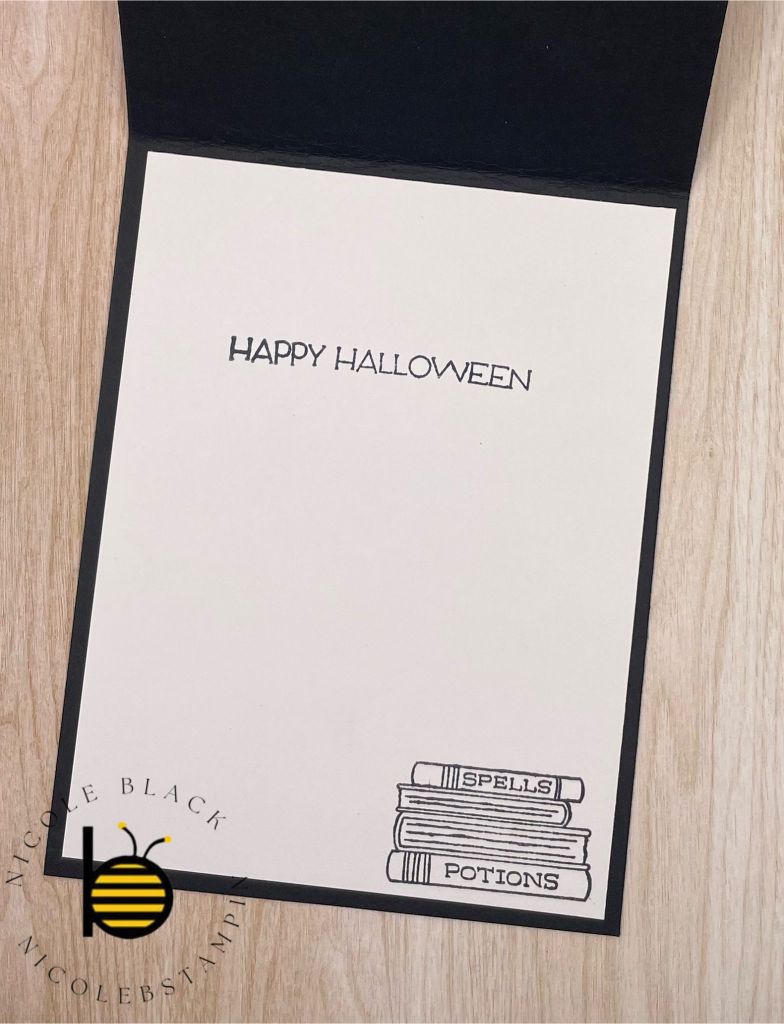
Here is how I stamped the inside of the card.
Cardstock Cuts for this project:
Basic Black – 11″ x 4-1/4″ card base scored at 5-1/2″, 3-1/4 x 3″ Cauldron Die
Basic White – 5-1/4″ x 4″ panel (inside card), 1-7/8″ x 7/8″ Label background, Bubbles
Flowering Zinnias DSP – 3-7/8″ x 1-5/8″ Panels (3 of 3 different designs)
Pumpkin Pie – 1-3/4″ x 3/4″ Label
Lemon Lime Twist – 2-1/4″ x 1-1/4″ Overflow Die
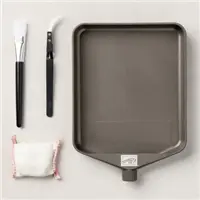
Stampin’ Up! products used to create this project:
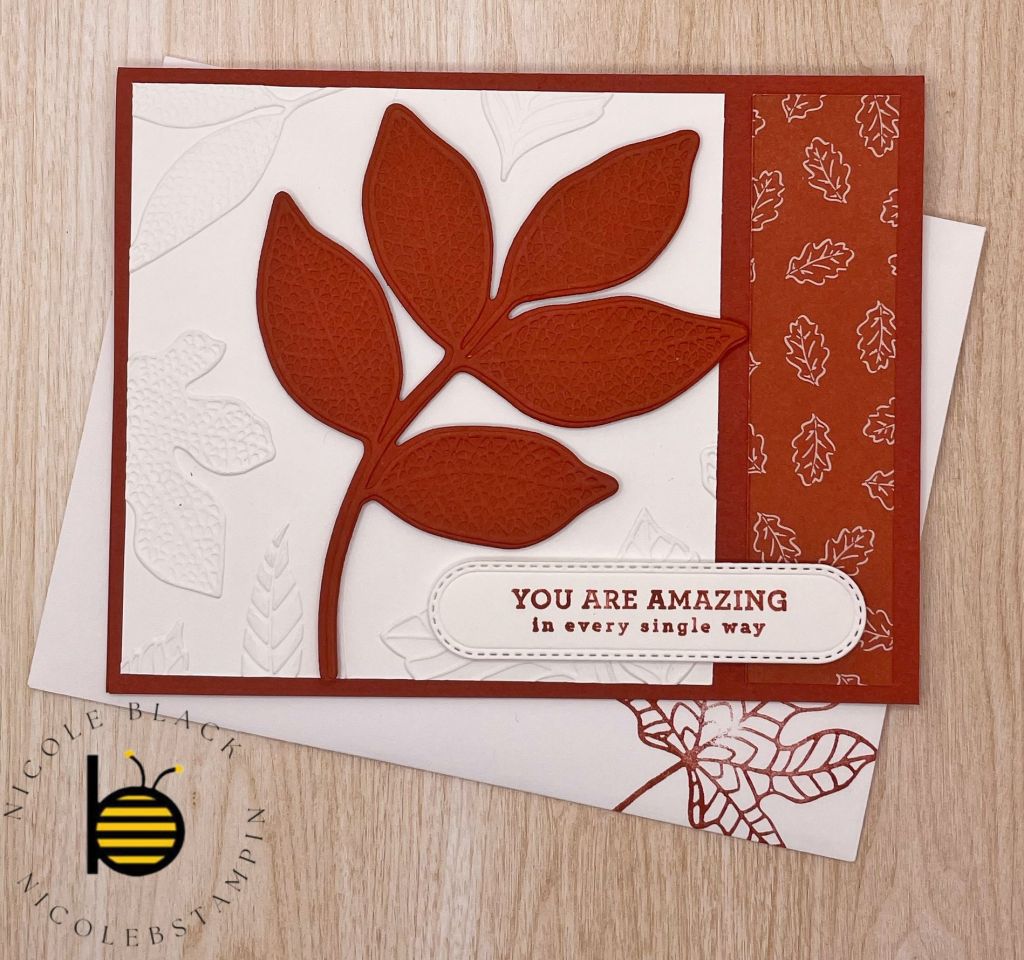
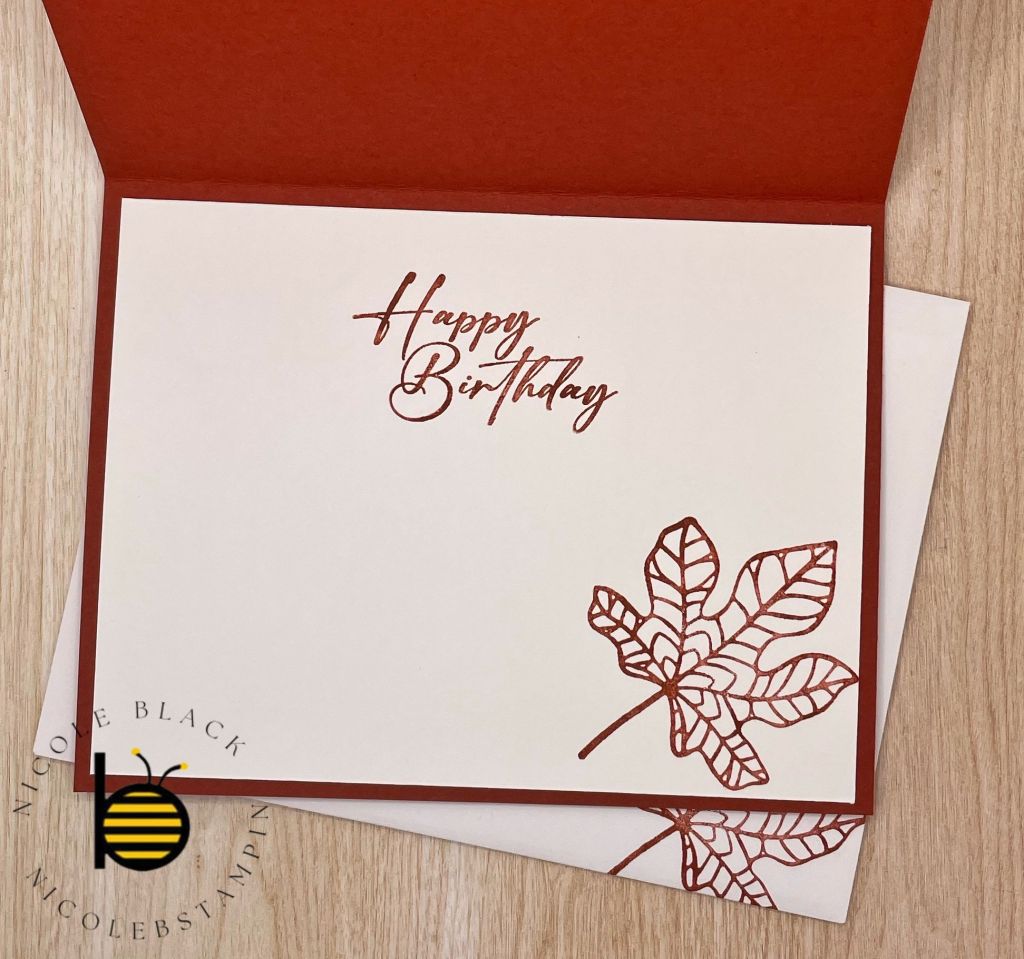
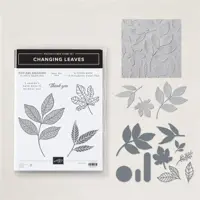
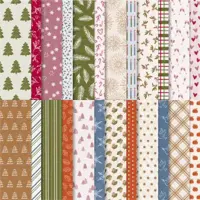
I have created another fall birthday card. This uses the Changing Leaves Bundle again. I just love how all the pieces work together! You will also note that I am using the Iconic Celebrations DSP again.
This card is one of the cards featured in this month’s Stamp-A-Stack class.
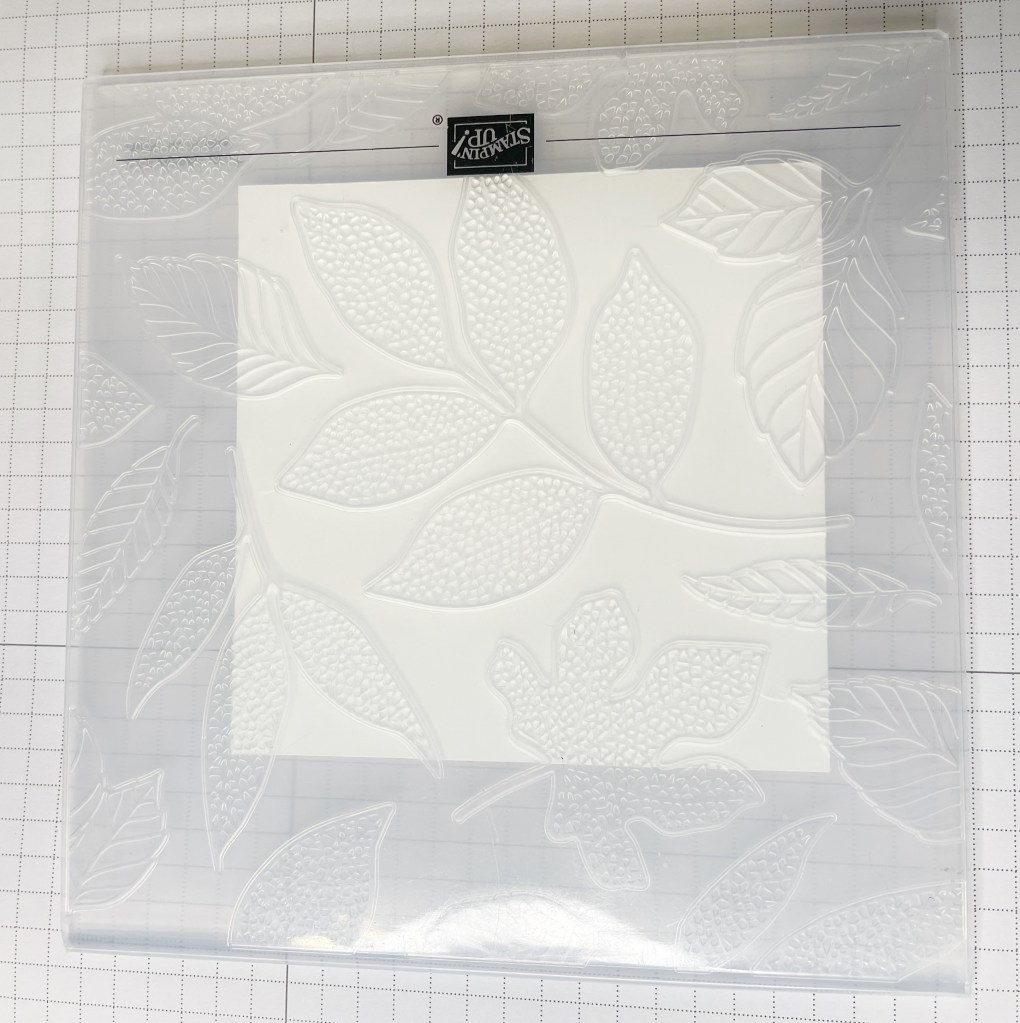
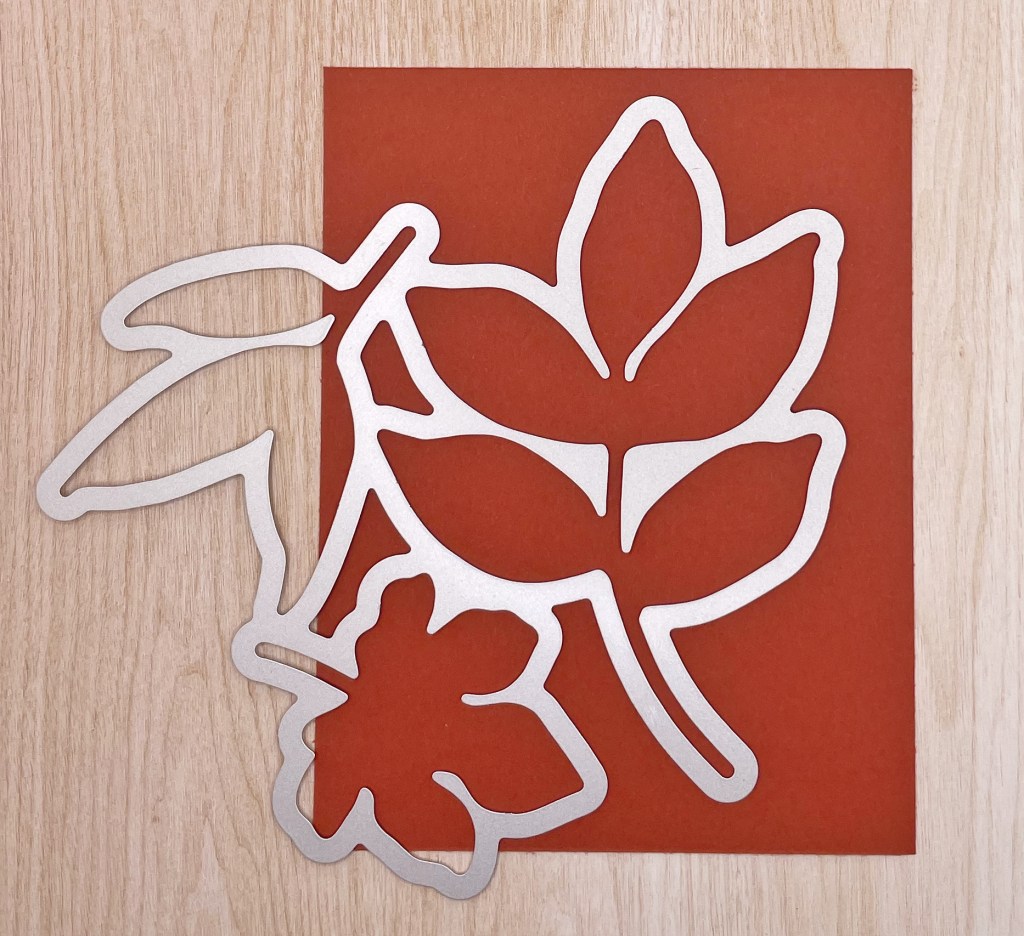
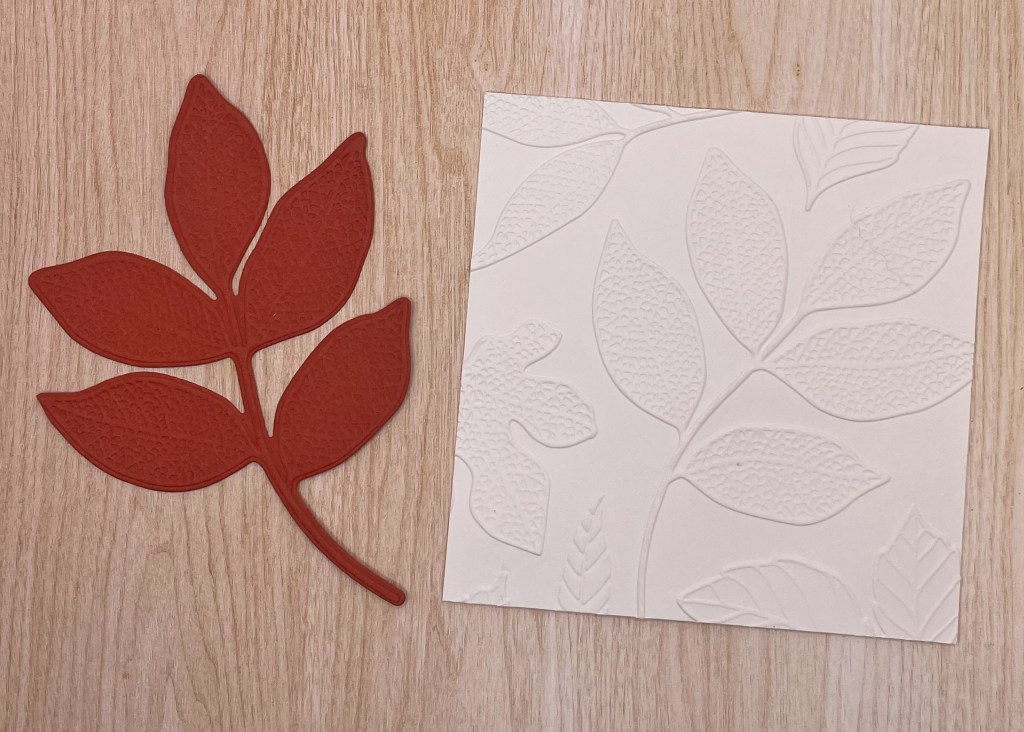
I want to show each of the bundle components and how I used them in this card.
I embossed the Basic White with the Changing Leaves Embossing Folder. You want to make sure the focus leaf is mostly on the white. I have just a tip of one leaf off the edge.
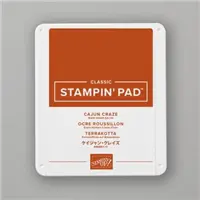
Also emboss the Cajun Craze. This should encompass the entire leaf.
After embossing, then die cut out the leaf.
Tape the white to the cardstock base. Then Dimensional the Cajun Craze leaf directly on top of the same leaf on the Basic White.
Here is how I stamped the inside of the card.
Cardstock Cuts for this project:
Cajun Craze – 8-1/2″ x 5-1/2″ card base scored at 4-1/4″, 4-3/4″ x 3-1/4″ Leaves Die
Basic White – 5-1/4″ x 4″ panel (inside card), 4″ x 4″ panel
Iconic Celebrations DSP – 4″ x 4-1/4″ panel
Stampin’ Up! products used to create this project:
Last week, My husband Nathan attended the Workday Rising conference in Las Vegas, and I tagged a long for a much-needed vacation. I am so glad I did! We stayed at Mandalay Bay, where I had the chance to unwind by the pools and enjoy some fantastic dining options. It was the perfect trip for me, with no schedule and lots of relaxation.
On our first night, I sat at a sushi bar and enjoyed the company and creations of these amazing sushi chefs. The cherry blossom backdrop was right up my alley, and the sushi was some of the best I ever tasted.
Lobby of the Winn was decorated as a beautiful garden.
On Tuesday, we joined friends and colleagues for an all-you-can-eat seafood buffet at the Winn. It was a fantastic find! Evan and I did a number on the crab legs, and afterwards, we decided to walk back down the Strip. The evening was beautiful, and we enjoyed the sights, including a water show in front of the Bellagio.
Every day, I spent time by the lazy river. Since it was mid-week, there were plenty of open chairs and hardly anyone in the pools. The weather was perfect, in the mid-80s with low humidity. However, the pool water was very cold, so I didn’t stay in for long!
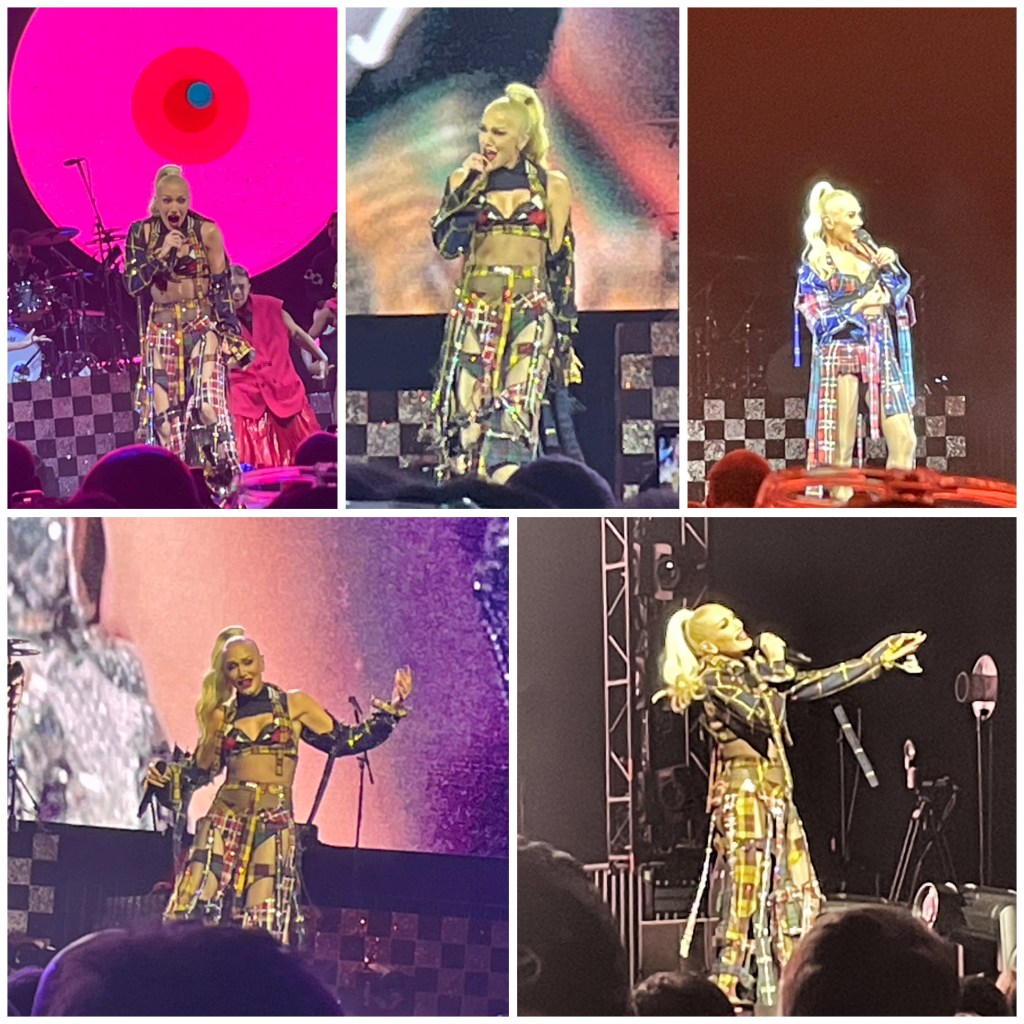
Wednesday night was the Gwen Stefani concert for the Workday Customer Appreciation Party. She was incredible and such a great performer! There were about between 16,000 to 20,000 people at the Allegiant Stadium. We were down on the floor, about 10-12 rows from the stage. It was so amazing!
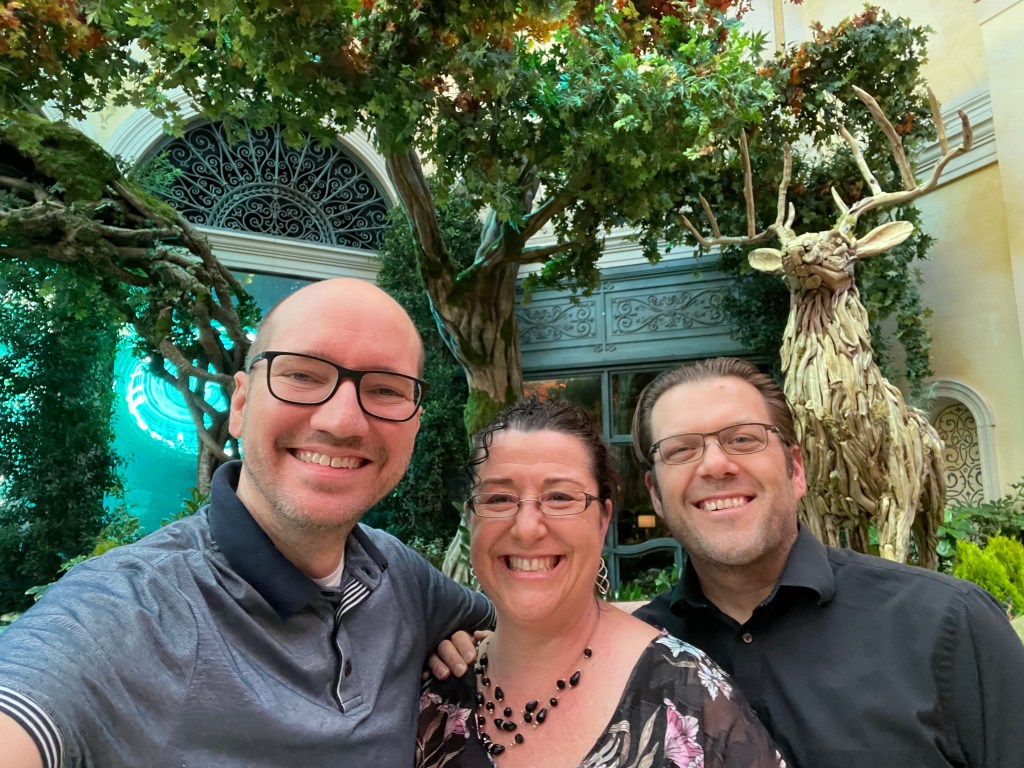
Our small group in a sea of people!
On our last night, we headed to Caesars Palace for dinner at Bobby Flay’s restaurant, Amalfi. The food was exquisite, and we had a wonderful time.
Overall, it was a very relaxing and fun week away, filled with great food, good company, and memorable experiences.
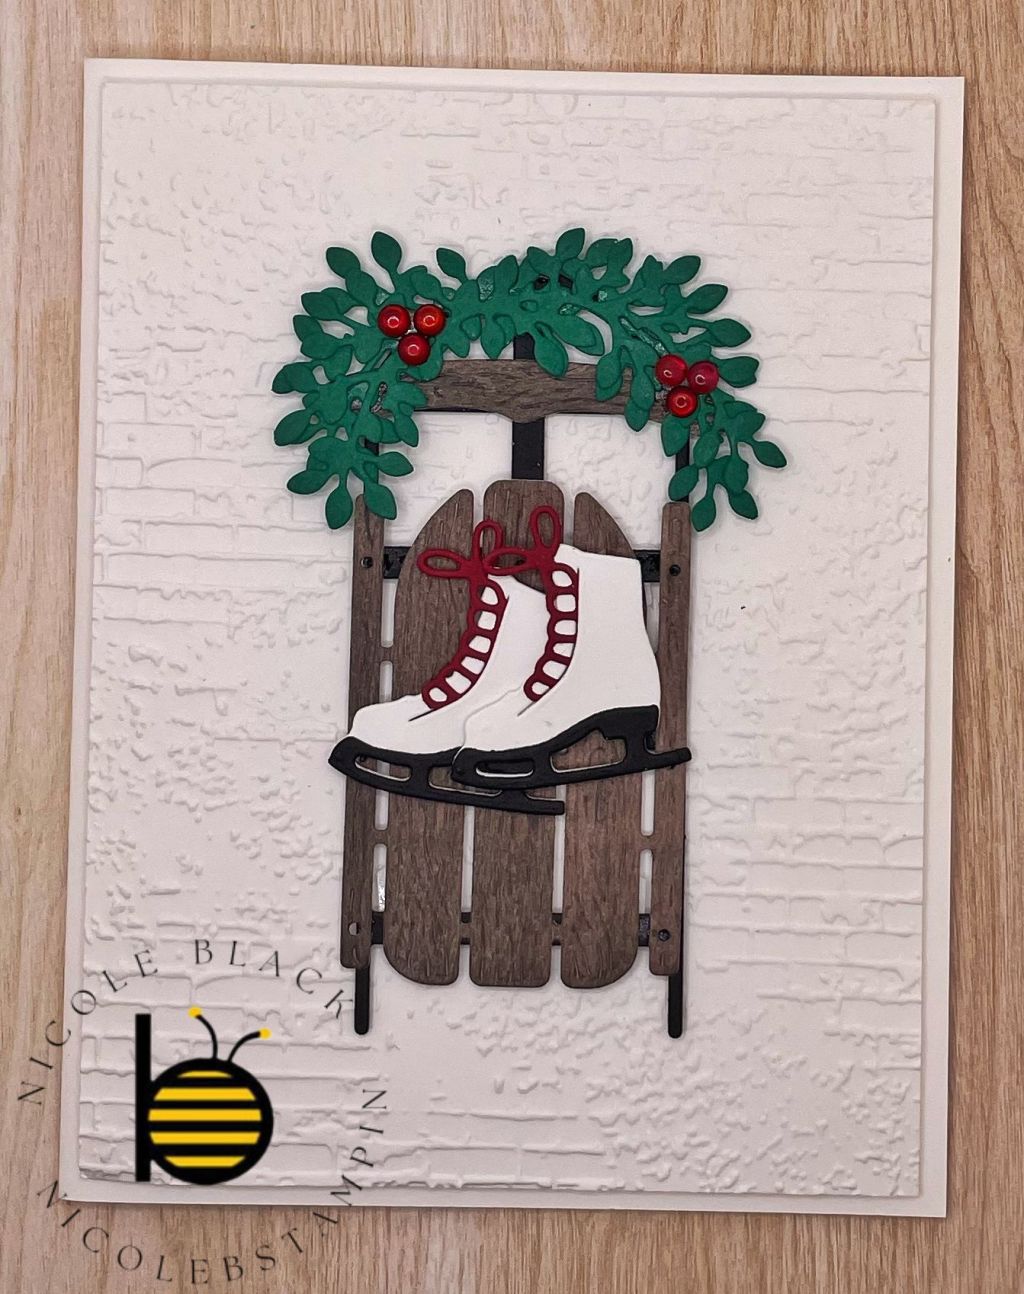
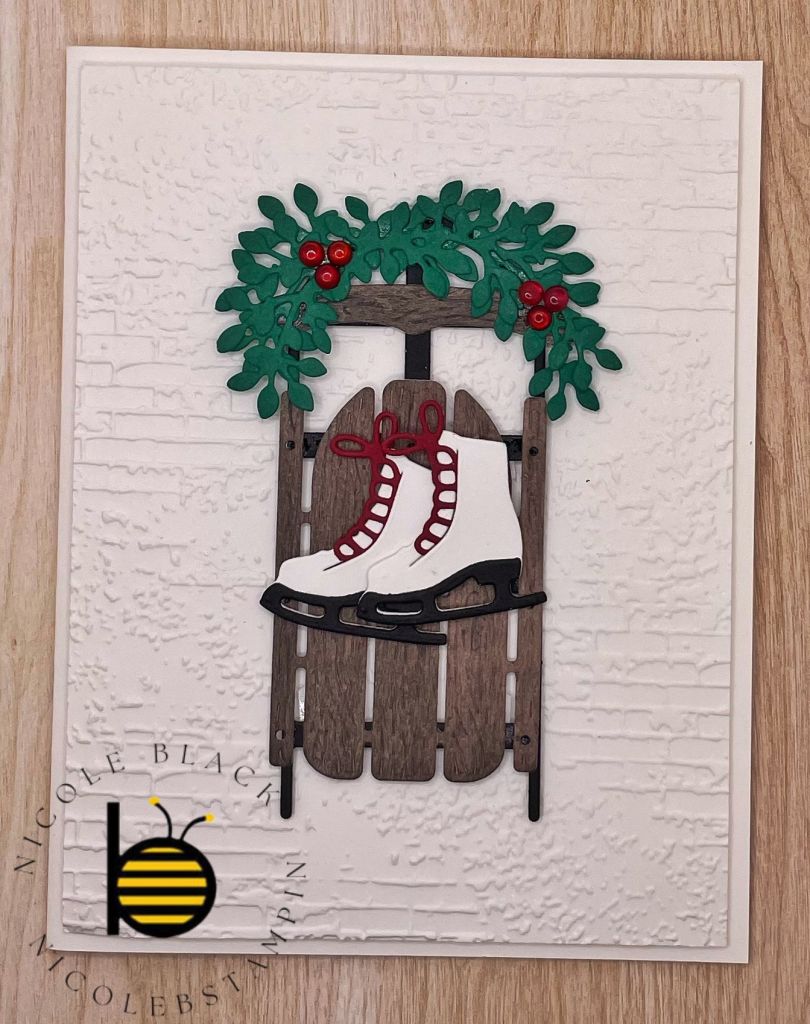
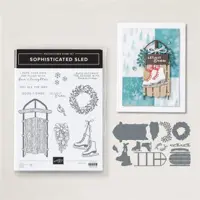
The Sophisticated Sled Bundle is an elegant set. I love the detail in the dies and the ability to build a sled. This card could be a winter card or a Christmas card. I hope you enjoy the details as much as I do!
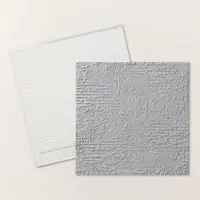
The card base is Basic White Thick and then is layered with Basic White embossed with the Exposed Brick Embossing Folder. I adhered the layer with Dimensionals. All the sled pieces are die cut from the Sophisticated Sled Dies. Check out the video on how to assemble.
Video Demonstration
Cardstock Cuts for this project:
Basic White Think – 8-1/2″ x 5-1/2″ card base scored at 5-1/2″
Basic White – 5-1/4″ x 4″ panel, Skates Die
Country Woods DSP – 2-1/2″ x 2-1/4″ for Sled Die
Basic Black – 4″ x 1-3/4″ for Sled Track Die
Shaded Spruce – Foliage Die
Cherry Cobbler – Laces Die
Stampin’ Up! products used to create this project:
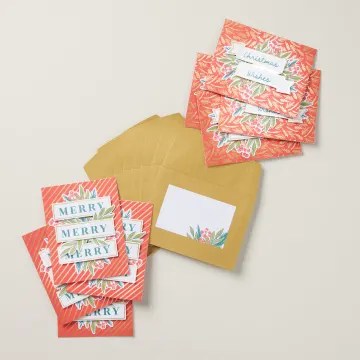
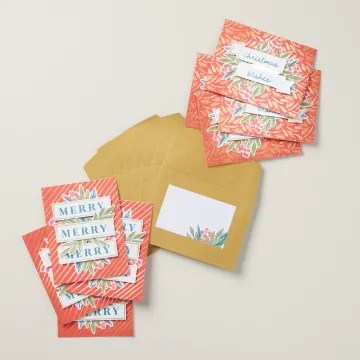
This Kit by Stampin’ Up! is all about Christmas Cards. At the holidays I find Stampin’ Up! Kits extremely helpful as it is always when we are the busiest and everything you need, along with directions, are in the box. Check out this Christmas Wishes Kit that has everything you need to make 8 cards with envelopes.
This kit comes with bright red card bases detailed with gold foil and coordinating gold, shimmer envelopes. Create your own Christmas cards using the precut paper pieces, the stamp set, and Stampin’ Spot. Use the included address labels to send your cards to your recipients!
Video from Stampin’ Up!
Stampin’ Up! products used to create this project:
I am a project manager by day and a crafter by night. I love Christmas and want to do it all every year. I will share with you how I do it and enjoy it too!