• Planning the Perfect Thanksgiving

    Are you hosting turkey day this year? If so, it’s time to kick off your planning. You’ll want to secure your turkey before they fly off the shelves and get a headcount so you can choose the right size bird for your gathering. Are you considering trying something new this year? Make sure you have all the necessary tools to pull off your culinary vision!

    At our house, Thanksgiving is a cherished tradition that can include not just immediate family, but friends and neighbors. We love to extend our invitation to those who might be spending the holiday away from their own families.

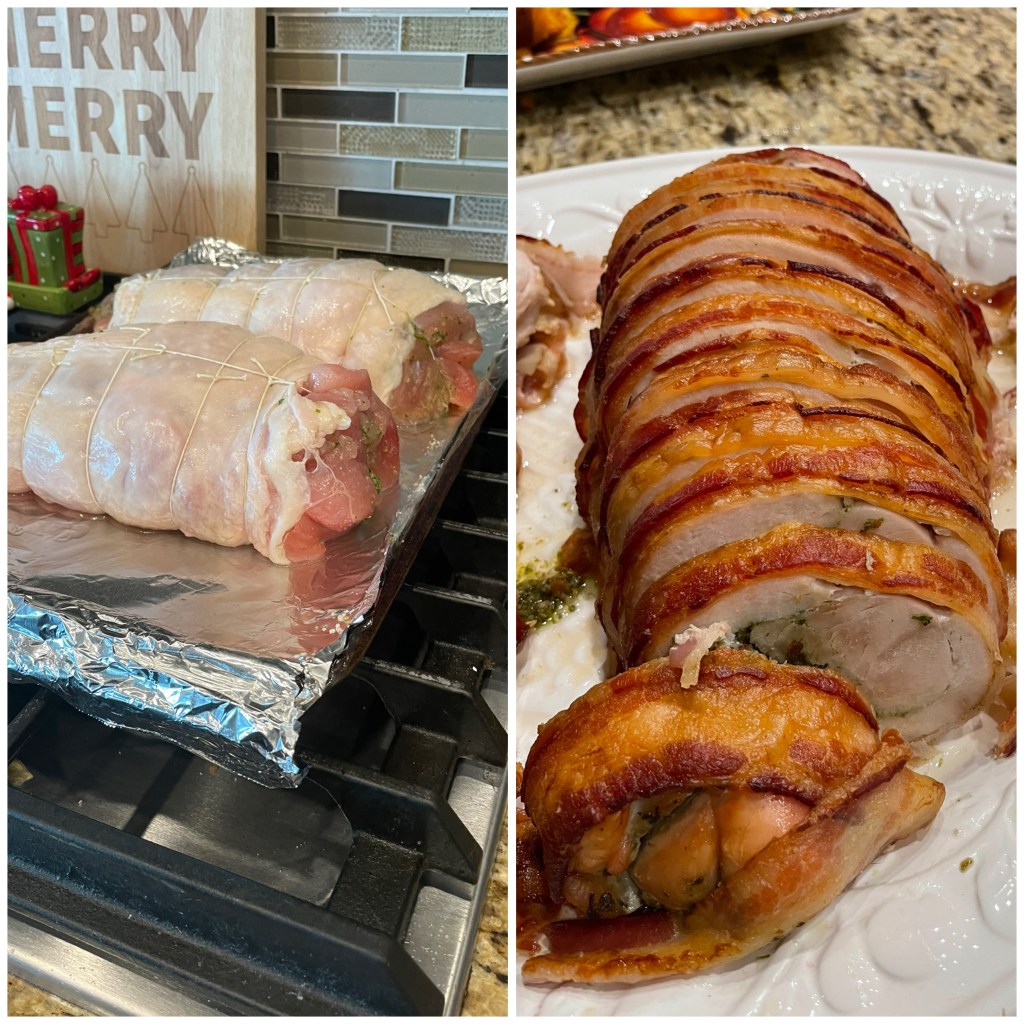
    We enjoy mixing things up each year, especially when it comes to cooking the turkey. Our approach varies from year to year, allowing us to keep the celebration fresh and exciting. One of my all-time favorites is the Best Thanksgiving Turkey recipe from Our Best Bites. Last year, we took a bold step and prepared our turkey Porchetta-Style (you can find the recipe here) – it was a hit!
    To stay organized, be sure to start your Holiday Menu Planner in the Celebrations section of your Christmas Planner. This tool will help you keep track of who’s coming, what activities you have planned, and, of course, your menu. Don’t forget to delegate dishes to your guests! Opting for a potluck-style dinner can significantly ease your workload.

    I also want to share a fun twist we tried last year. Instead of serving cranberries as a side dish, I made a Cranberry Cobbler with Brown Sugar Pecan Crust for dessert. It was a delicious change, though we still had the traditional cranberry sauce on the table (I was gently outvoted!). This easy recipe has quickly become a staple in our holiday menu, and I can’t wait to make it again.

    So, as you gear up for Thanksgiving, remember that planning ahead will make all the difference. Embrace the traditions, but don’t hesitate to add your unique flair to the festivities. Happy planning!
    Continue reading →: Planning the Perfect Thanksgiving
  • Spread Holiday Kindness with Christmas Countdown Kit

    Every year, Nathan and I find ways to give back during the holiday season, whether it’s sponsoring a family, donating Christmas dinners, supporting animal shelters, or performing random acts of kindness. This has become a cherished tradition of ours.

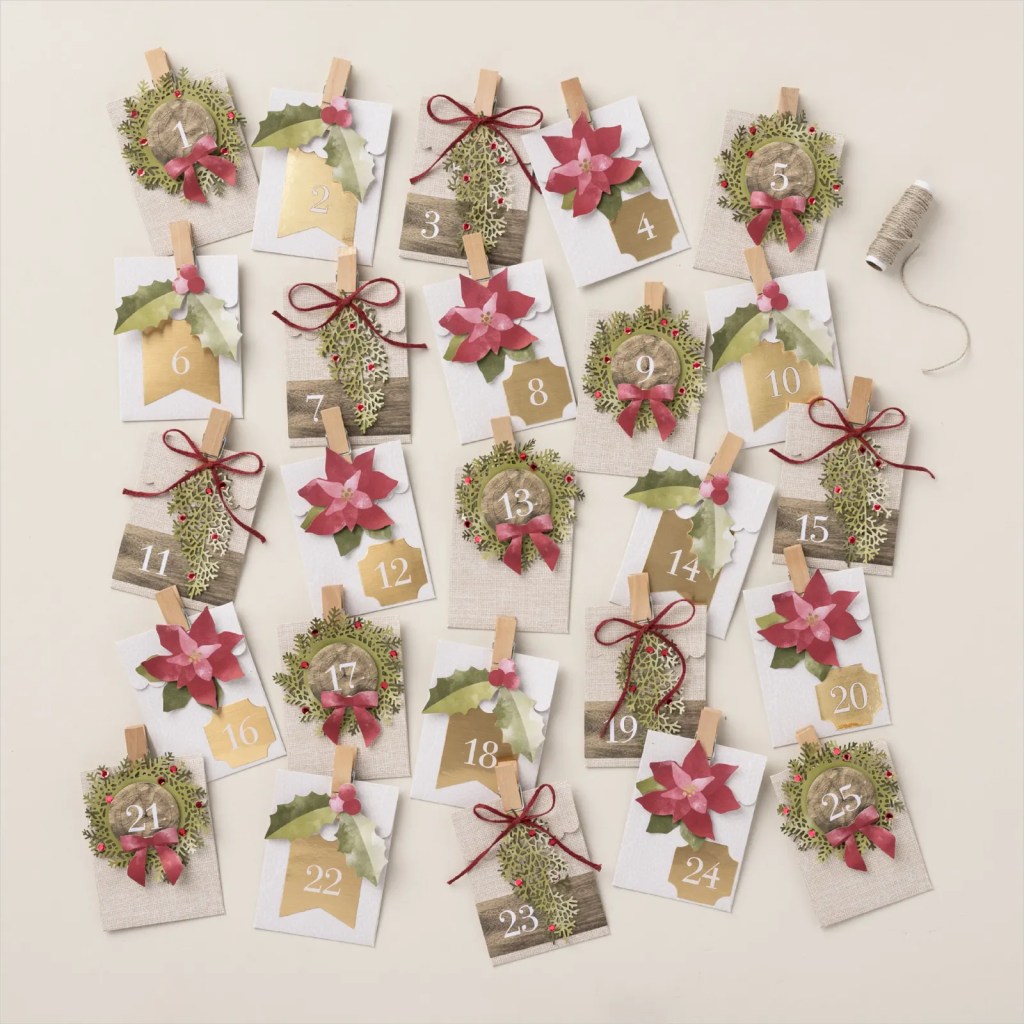
    Last year, I decided to put a unique spin on the Christmas Countdown Kit released by Stampin’ Up! Instead of using it to treat myself, I filled each compartment with a note of kindness and a little gift. Each day, I found someone who had done something kind for another person(or me) and I gifted them an envelope.

    The smiles I witnessed strangers received these small tokens of appreciation where heartwarming. It reminded me that even the simplest gestures can have a profound impact on someone’s day.

    This year, I encourage you to take on a similar challenge. The Stampin’ Up! Christmas Countdown Kit is still available, and you can easily adapt it to spread joy in your community. Your envelopes don’t have to be elaborate—a kind note can go a long way. The true gift lies in the act of giving.

    Here’s a glimpse of how I’ve revamped my kit this year so the numbers are hidden. I supplemented with a little Country Woods Designer Series Paper and Crumb Cake cardstock, however, you can probably do it without using anything extra.

    Let’s make this holiday season a little brighter for those around us. Who’s ready to spread some kindness?

    Stampin’ Up! products used to create this project:

    Continue reading →: Spread Holiday Kindness with Christmas Countdown Kit
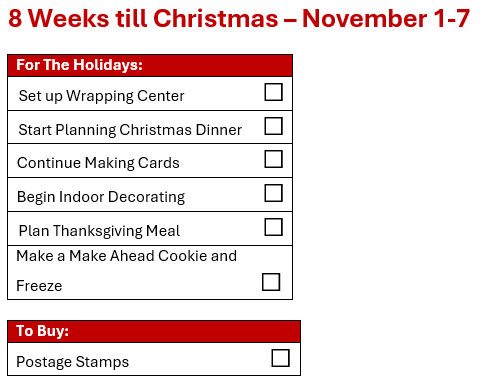
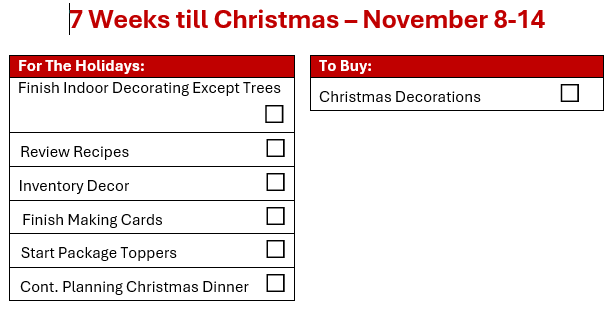
  • Can you believe it’s November already? This month, we’re breaking down the checklist by week, and I’ll be sharing the checklist in two-week increments. If you want the entire checklist, just check back to my August Post.

    November is all about wrapping up our crafting and planning, so when Thanksgiving arrives, we can focus on celebrating! Its the month were we truly start to enjoy the fruits of our labor.

    Plan Your Christmas Dinner

    I previously discussed our Christmas Eve Dinner tradition in my Christmas Celebration Ideas and Traditions post. This year, we’re going with a French theme. Nathan is diving into menu ideas while I research French Christmas traditions. I can’t wait to share the details with you in an upcoming post!

    If you’re hosting a Christmas event, now is the perfect time to start planning. Consider what will make your gathering special and jot down what you’ll need. Remember, some meats and specialty items require advanced ordering, so it’s essential to know what to get and when to secure everything so it is on time.

    Indoor Decorating

    You wont be surprised to hear that I start decorating for Christmas on November 1st! I’ve organized my decorations by room and have pictures from last year to guide me. If you haven’t established a routine yet, dont worry – I’ll share my “pack up” tips at the start of January to help you get ready for next year!

    When I decorate, I tackle one room at a time. I pack away the everyday decorations, spring clean, and then bring out the Christmas décor. I take my time to enjoy the process, replacing all knickknacks and pictures with festive items. My goal is to have the main tree and outside decorations be the last times to go up by the weekend after Thanksgiving, allowing December to be all about celebration!

    I’ll share photos of my decorating journey as I transform the house. Fun Fact: I have a Christmas tree in every room – some even have more than one!

    Inventory Décor and Buying Decorations

    As you decorate, take stock of what you have and identify anything you need to replace. Making a list while decorating will make shopping much easier later on. I often start my list when packing up decorations in January, so I’m ready to shop when stores begin rolling out their Christmas items. Trust me—if I don’t grab what I need from Costco right away, it often sells out by Thanksgiving!

    Review Recipes

    While we’ve already begun our make-ahead cookies, it’s time to think about the other treats! Each year, we make five different types of cookies, and we usually switch up one or two. This month, I’ll test a couple of new recipes to see if they hold up well and taste delicious.

    Here’s what we’re baking this year:

    You might notice I listed six cookies when we typically make five. That’s all part of the planning process! We can decide which one to cut later. This year, since I found I could make four of these ahead of time, we’re going for all six!

    Don’t forget, cookies aren’t the only baking to plan for. What will you be making for Thanksgiving or Christmas dinner? You will also want to start planning what you will be making for any parties you are hosting or attending. Planning ahead will help you identify what you can prep in advance, ensuring a smoother holiday season.

    Let’s embrace the holiday spirit together!

    Continue reading →: November: Let the Celebrations Begin!
  • Family Fun and Disney Magic: Our Weekend Adventure

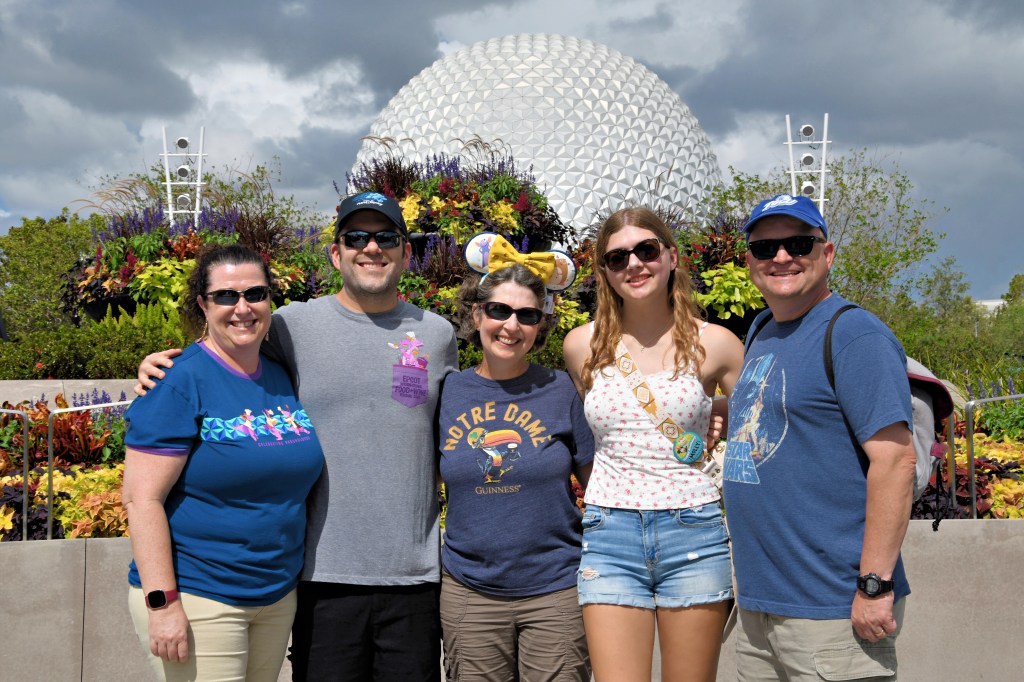
    Last week, we had the pleasure of hosting my cousin, Michelle, and her family, Chris and Molly, from South Bend, Indiana, for an exciting visit centered around a trip to see Mickey Mouse. We always cherish our time together, and this visit was no exception. It was an action-packed few days filled with laughter, fun, and unforgettable memories!

    They flew in to Orlando and we met up with them there on Friday evening. Saturday was a relaxing day of college football and Disney Springs.

    They arrived in Orlando on Friday evening, and we met them at the hotel, eagerly anticipating the adventures ahead. Saturday was a laid-back day, perfect for catching up while enjoying college football and exploring Disney Springs. The vibrant atmosphere, delicious food, and unique shops made it a great way to kick off our weekend.

    On Sunday, we dove headfirst into the magic of Hollywood Studios. We had an ambitious agenda and managed to experience nearly everything on our list—except for Rise of the Resistance. Unfortunately, after waiting in line for two hours, the ride broke down! Though disappointing, we didn’t let it dampen our spirits. We found plenty of joy in the day, exploring other attractions and making the most of our time together. Tip: the Cantina is a must do experience!

    Monday was extra special as we celebrated Molly’s 20th birthday at Epcot. We kicked off the day with the must-ride attractions and then leisurely made our way around the World Showcase. The Food and Wine Festival was a highlight, with its incredible culinary offerings. Sampling dishes from different countries while shopping up a storm was the perfect way to celebrate her milestone birthday.

    We wrapped up our trip with a visit to Magic Kingdom on Tuesday. Although Nathan and I had to leave a bit early to head home, we still enjoyed the enchanting atmosphere and some classic rides before we departed.

    Reflecting on our time together, I can confidently say it was a fantastic trip filled with family bonding and Disney magic. We’re already looking forward to our next adventure together!

    Continue reading →: Family Fun and Disney Magic: Our Weekend Adventure
  • Christmas Ornaments Kit by Stampin’ Up! – Easy Package Toppers

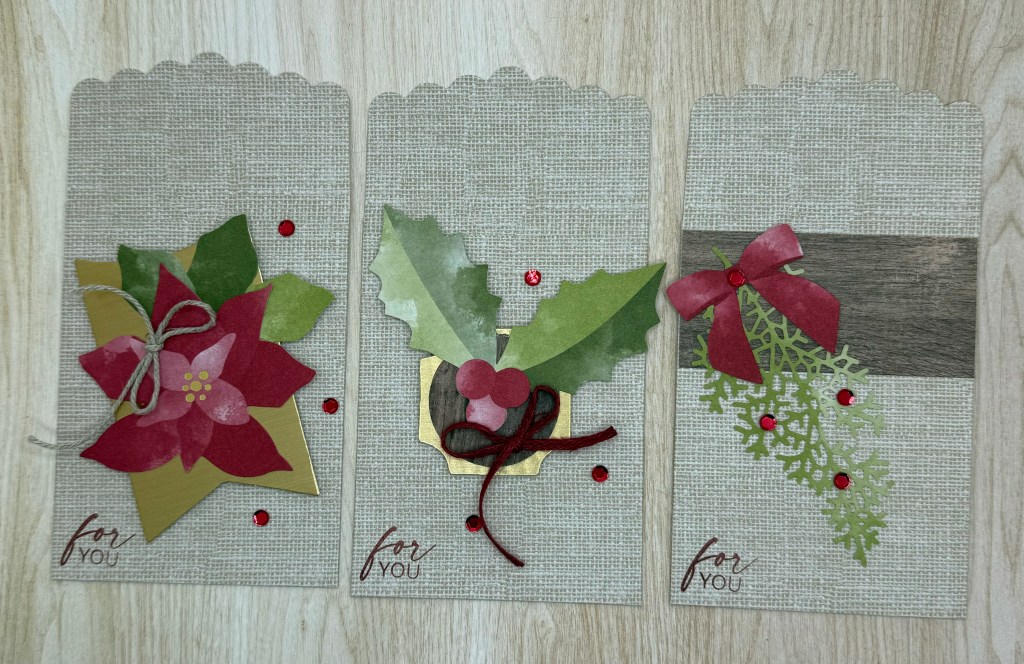
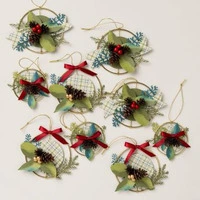
    This Kit by Stampin’ Up! creates beautiful ornaments.  Every year, I love to create small ornaments to adorn my gifts. The receiver can then add them to their Christmas Tree. This year, Stampin’ Up! has taken the effort out of ornament-making with their new kit, which includes everything you need to craft nine beautiful package toppers. This kit comes with metal rings, precut paper greenery, pinecones, bright berries, and festive details. 

    Video from Stampin’ Up!

    Stampin’ Up! products used to create this project:

    Continue reading →: Christmas Ornaments Kit by Stampin’ Up! – Easy Package Toppers
  • Another Hurricane, Another Cookie Adventure: Baklava Sugar Cookies

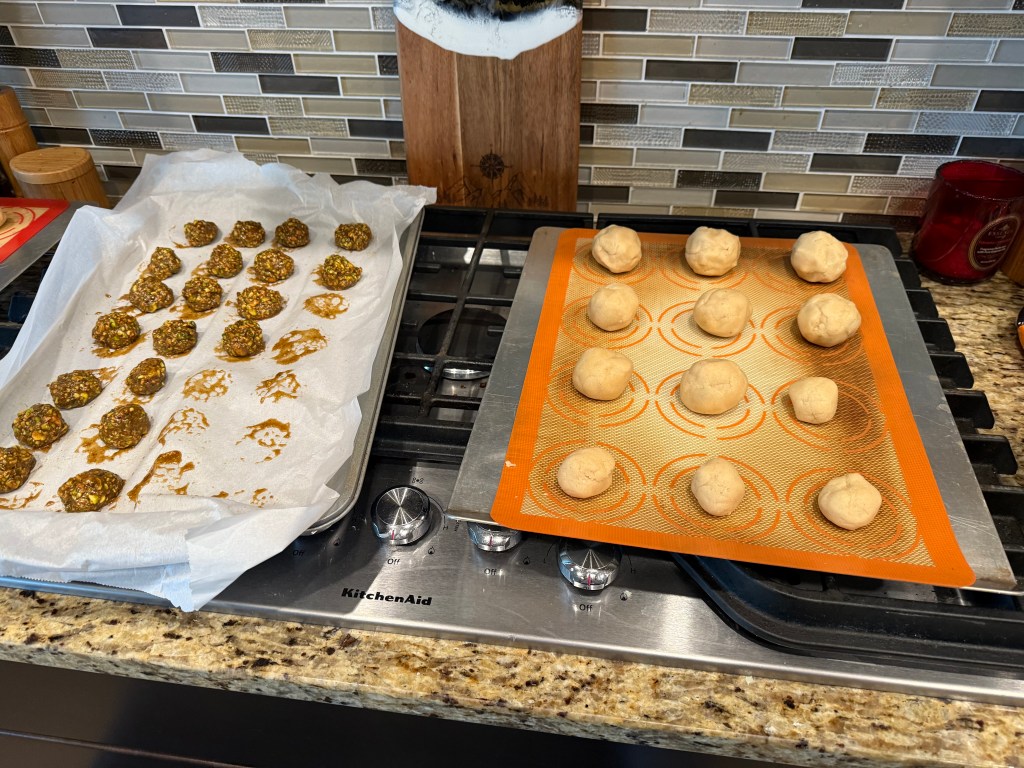
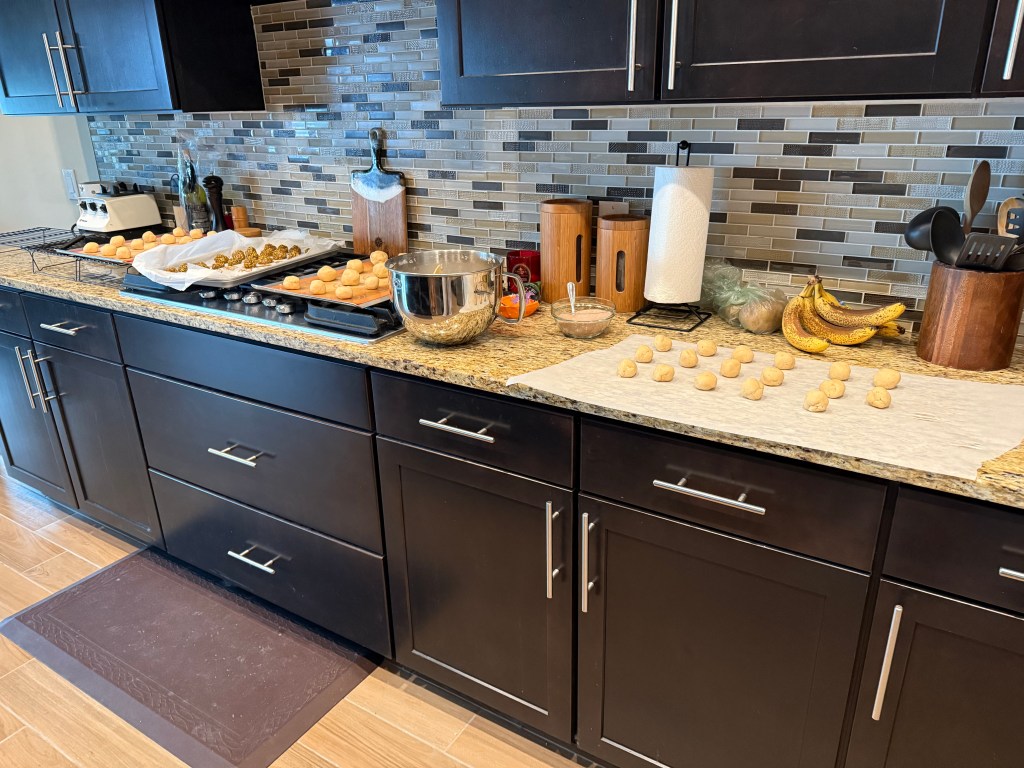
    Another hurricane for Florida! Just two weeks after the last hurricane, we were bracing for another round. We were lucky and sustained no damage again. I utilized my extra time to complete my fourth and final make-ahead cookie: Baklava Sugar Cookies!

    Nathan describes these cookies as a Snickerdoodle with a yummy Baklava center. Intrigued? You can find the recipe here: Baklava Sugar Cookies.

    A Few Tips and Lessons Learned

    Wile I followed the recipe closely, I discovered a few tweaks that made the process smoother:

    • Chilling the Baklava Center: After preparing the Baklava filling, I chilled it in the refrigerator for a couple of hours before forming it into balls. This extra chilling time helped the mixture firm up nicely.
    • Freezing for Later: I also decided to freeze the Baklava centers overnight. This way, they were perfectly ready to go when it was time to bake.
    • Size Matters: I made my cookies a bit smaller than the recipe suggested. This adjustment gave them a more traditional cookie size, making them perfect for sharing (or sneaking a few for myself!).
    • Batch Management: Since I was making multiple batches, I couldn’t bake them all at once. I wrapped each Baklava center immediately after preparing it, ensuring they didn’t thaw before getting enveloped in dough.

    While these cookies do require a bit more effort than your average batch, trust me—they’re absolutely worth it! The combination of the soft, sweet cookie and the rich, nutty Baklava filling is simply divine.

    So, if you’re looking for a fun baking project, give these Baklava Sugar Cookies a try. Stay safe out there, and happy baking!

    Continue reading →: Another Hurricane, Another Cookie Adventure: Baklava Sugar Cookies
  • Season of Elegance Suite – Four Our Home To Yours Card

    I’ve previously shared several cards featuring the Season of Elegance Suite, and my enthusiasm for this collection hasn’t waned. I was so inspired by the beautiful samples in the Stampin’ Up! catalog and online that I couldn’t resist creating more. This particular card involved a fun technique that I thoroughly enjoyed, despite a small mistake I made when I first tried it.

    To create this card, follow these steps:

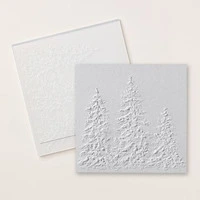
    1. Background: First, emboss the Basic Beige panel with the Painted Trees Embossing Folder. Then, using a Blending Brush, lightly go over the raised image with Mossy Meadow. I originally started with the Sponge Dauber; however, I kept getting blotches (see the top of the tallest tree?) I found a little brushing with the Blending Brushes worked much better.
    2. Stamping: Stamp the saying “love from our home to yours” and then use your Stampin’ Trimmer to cut it out.
    3. Heat Embossing: Heat emboss the word “Happy” with gold embossing powder on Pretty Peacock cardstock. Fussy cut it out with your Paper Snips.
    4. Die Cut: Die cut Christmas out of Cherry Cobbler and the Christmas outline out of Basic White.
    5. Assembly: Attach each of the word pieces to the front of the card using Mini Dimensionals for a bit of lift.
    6. Finishing Touch: Add a touch of sparkle with Gold Textured Adhesive-Backed Dots for a bit of festive bling.

    Here’s how I decorated the inside of the card: I stamped on the bottom with Pretty Peacock and added a coordinating design on the envelope. I stamped the sentiment in Cherry Cobbler.

    Cardstock Cuts for this project:

    • Pretty Peacock – 11″ x 4-1/4″ card base scored at 5-1/2″, scrap for the word “Happy”
    • Basic Beige – 5-1/4″ x 4″ panel (inside card), 5-1/2″ x 4″ panel
    • Basic White – 4″ x 1″ for Christmas shadow die, scrap for words
    • Cherry Cobbler – 4″ x 1″ for Christmas die

    Stampin’ Up! products used to create this project:

    Continue reading →: Season of Elegance Suite – Four Our Home To Yours Card
  • Black Cats and Halloween Decore

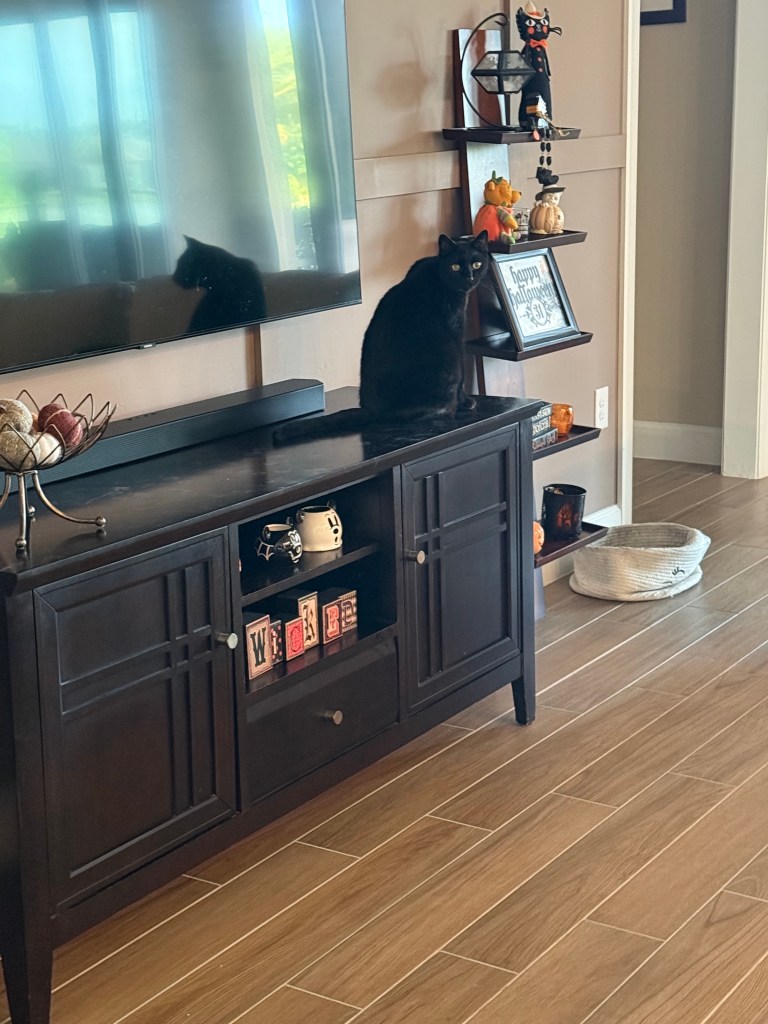
    As Halloween approaches, it’s the perfect time to introduce you tot he most important members of our household – out beloved cats! You’ve met my husband, but now it’s time for you to meet our furry babies. Since our last name is Black, you could say we have a little bit of a black cat theme going on here, with four black cats in total. We also have a gray-and-white handsome devil and a charming tortoiseshell.

    Olivia

    First up is Olivia, who joined our family this spring. At around 10 years old, she took a bit of time to adjust to her new home and our other cats, but now she’s thriving. Olivia adores people and is a certified cuddle bug. Honestly, if we could sit still long enough, I’m sure she’d happily snuggle with us all day!

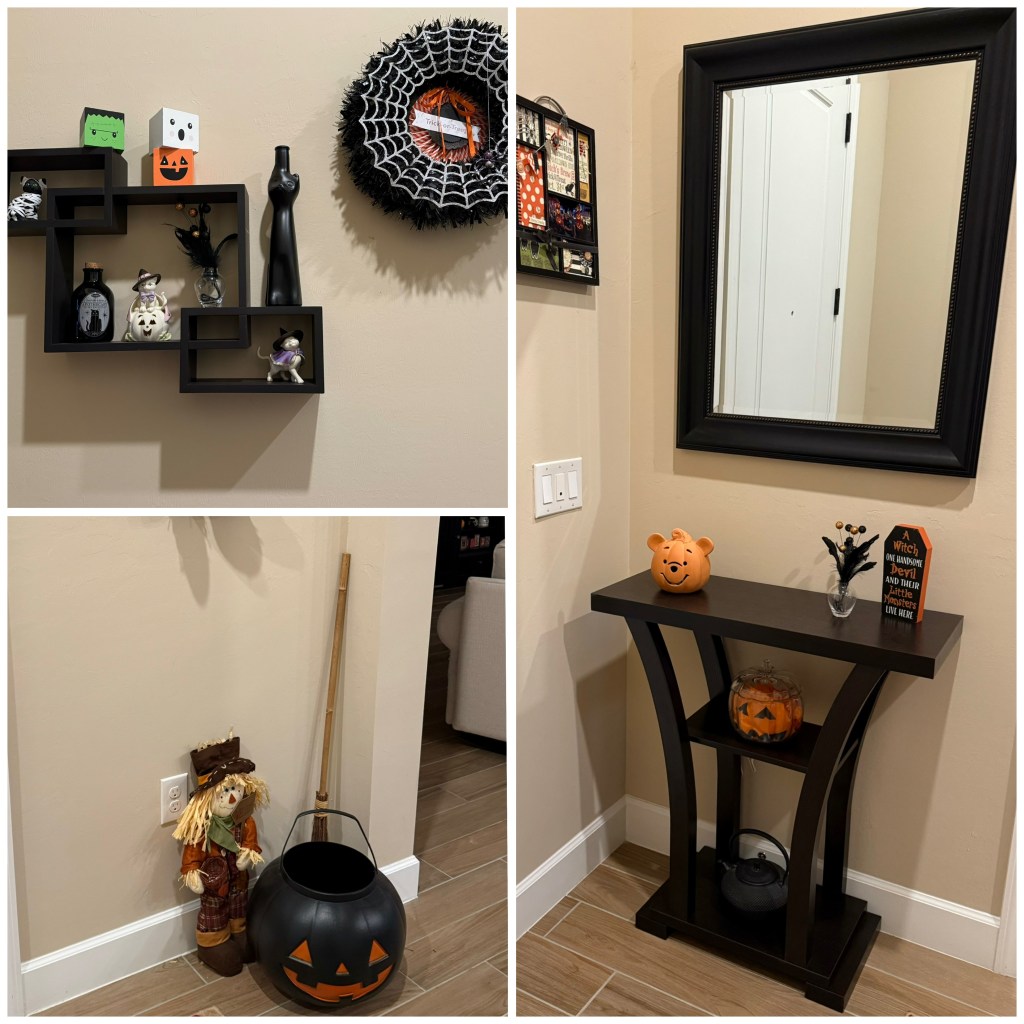
    While I don’t go all out for Halloween decorations like I do for Christmas, I do love adding some festive touches to our living room each year.

    Ortensia

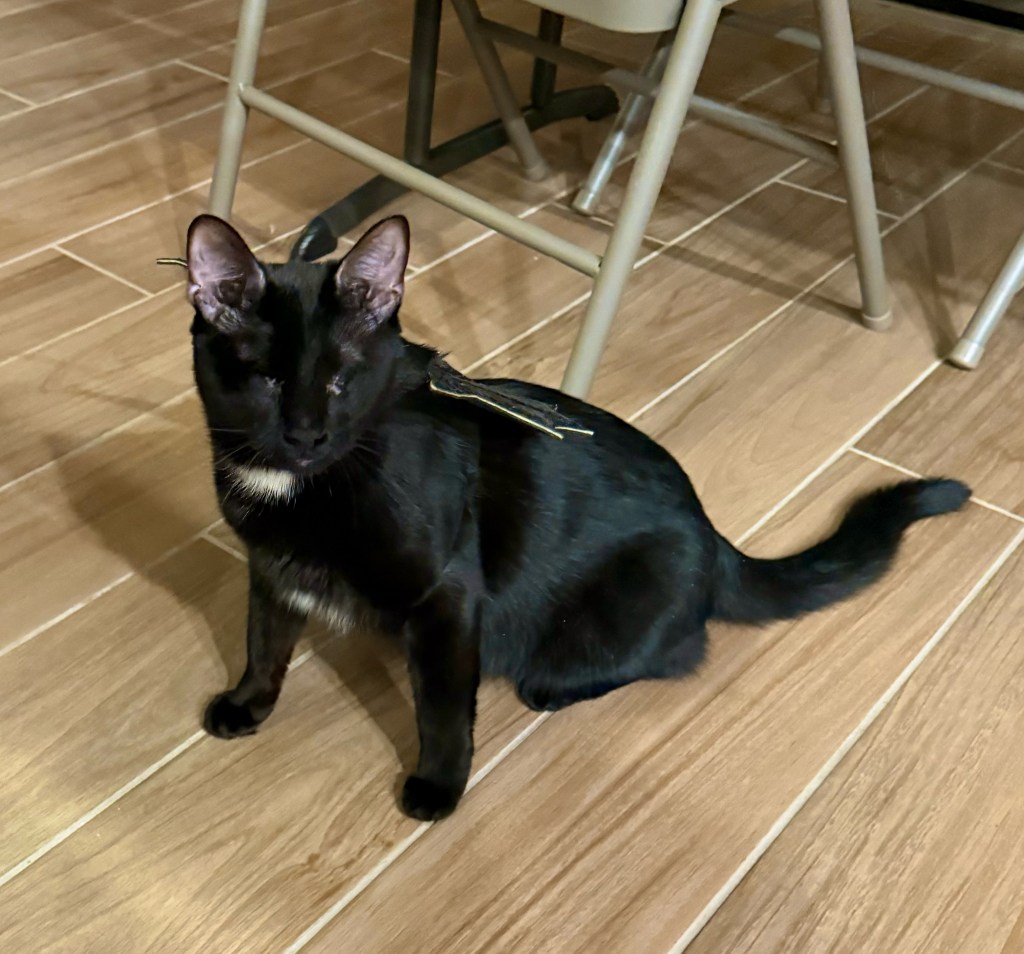
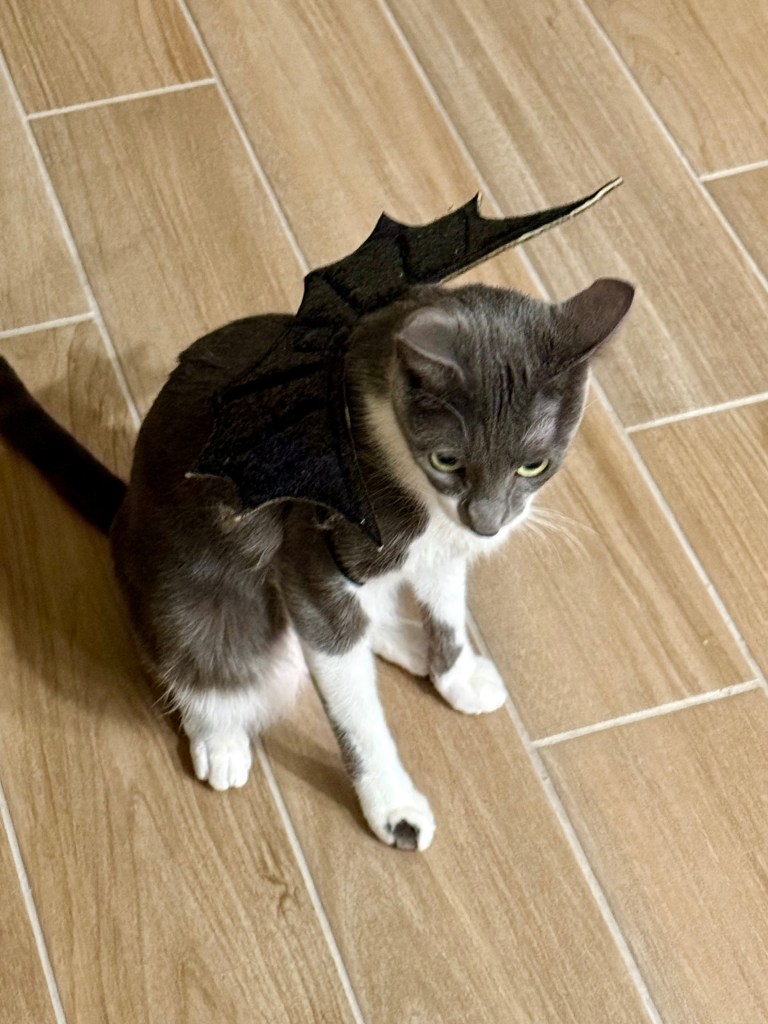
    Next is Ortensia, who became a part of our family last November. At just 1.5 years old, she’s already faced quite a journey. Born on the streets, she caught a disease that left her completely blind, leading to the removal of both her eyes. When we met her through a high-needs rescue, we fell in love instantly. She is a true testament to resilience and has a heart full of love.

    Watch Ortensia’s first reaction to her Halloween costume!

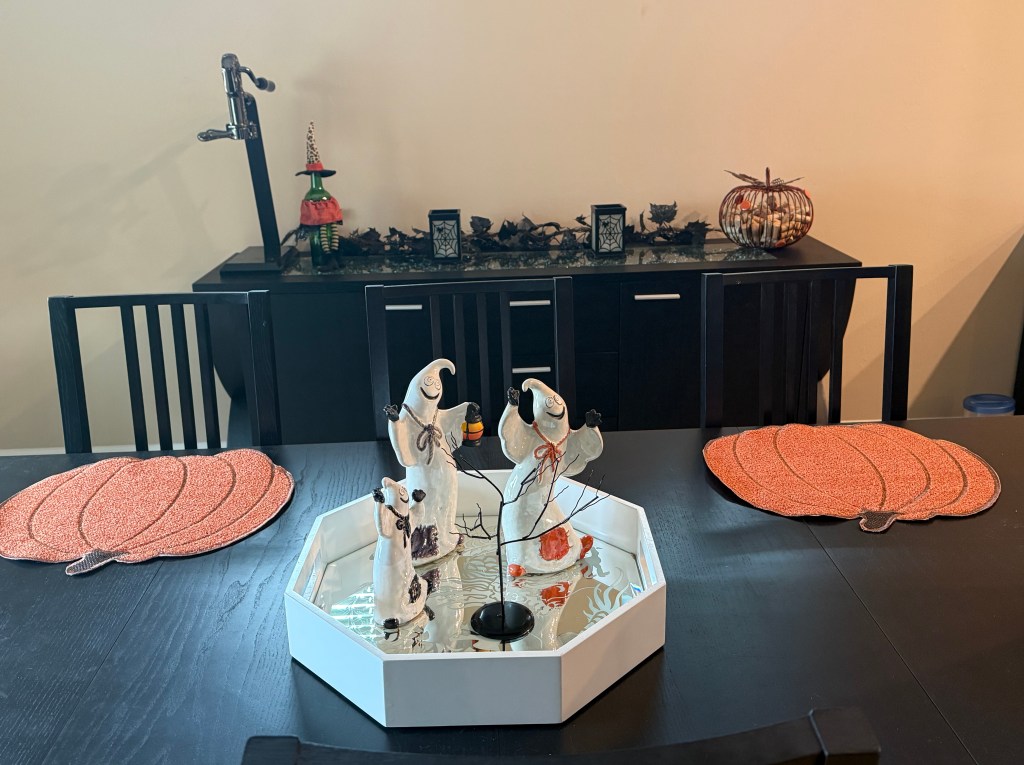
    II also decorate our dining room a bit for Halloween, keeping the spirit festive throughout the house!

    Thalia and Calliope

    Thalia and Calliope, our inseparable sisters, joined us in the spring of 2021. They were found abandoned in a Starbucks parking lot, and we were ready to welcome a couple of black cats into our family. Nathan had always wanted siblings for our pets, and these two were the perfect fit!

    We make sure to bring some Halloween cheer to our foyer as well, showcasing our festive spirit!

    Berloz

    Then there’s Berloz, our only male cat, who is 2 years old and still very much a playful kitten at heart. Our good friends rescued him from a storm drain shortly after Hurricane Ian in 2022. They knew we were cat lovers and called us right away. We were thrilled to welcome him into our family! Berloz and Ortensia share a special bond and have endless fun together.

    Mochi

    Last but certainly not least is Mochi, our wise old girl at around 15 years old. She made her entrance into our lives in 2016, appearing on our back porch looking a bit rough and hungry. After feeding her and bringing her inside, it became clear that she had once been loved. Though she prefers human company over her feline siblings, she tolerates them and finds a way to coexist happily.

    As Halloween draws near, I’m excited to celebrate with our quirky, lovable crew. Each of our cats has their own unique story and personality, making our family complete.

    Wishing you all a spooktacular Halloween filled with joy and cuddles from your furry friends!

    Continue reading →: Black Cats and Halloween Decore
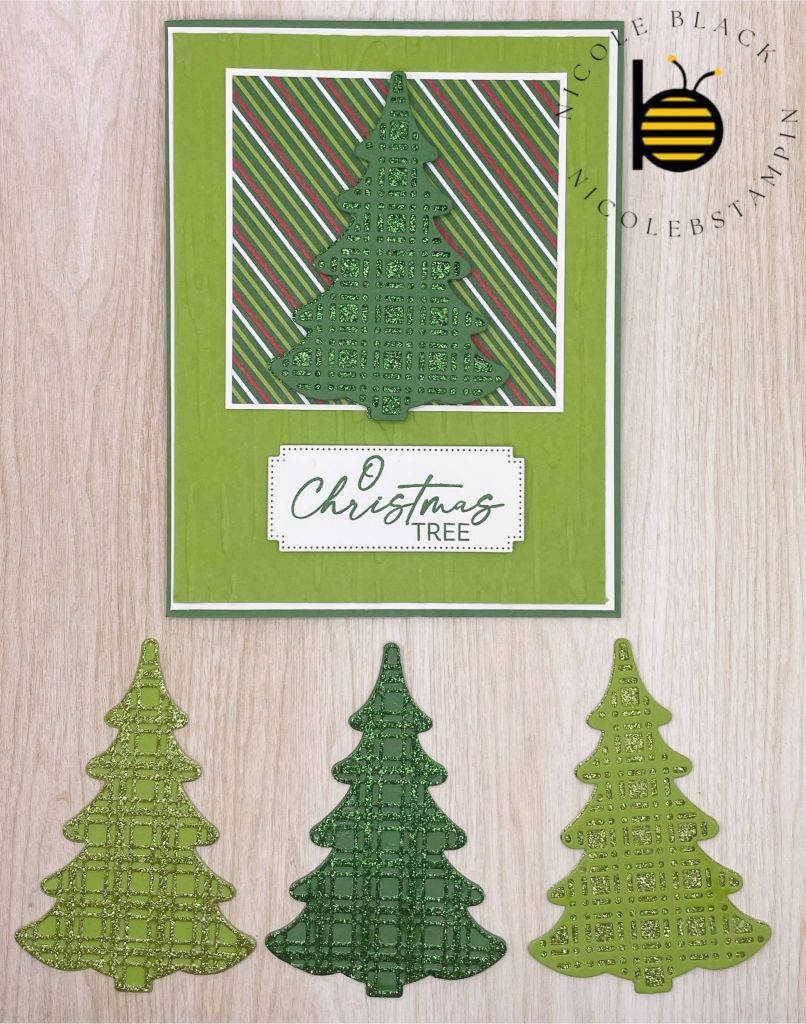
  • Whimsical Holiday Card with Decorative Trees Bundle: Step-by-Step Guide


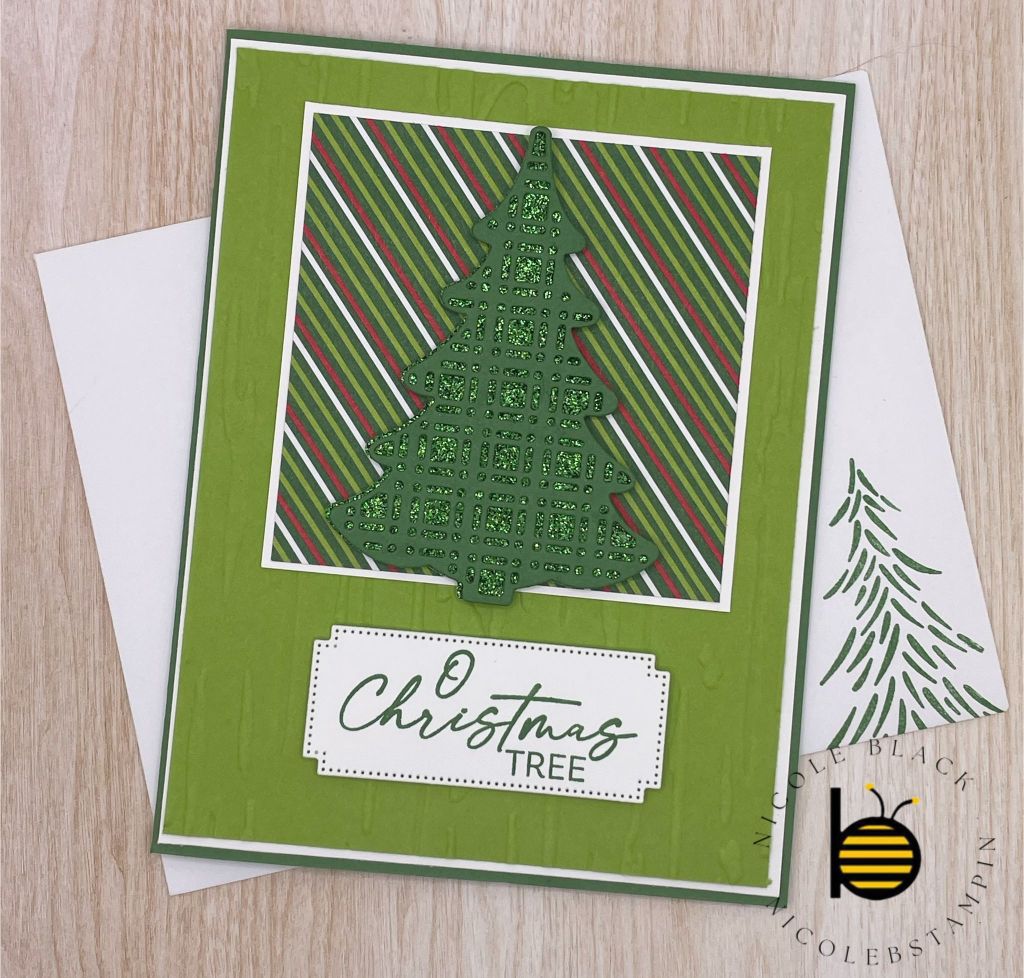
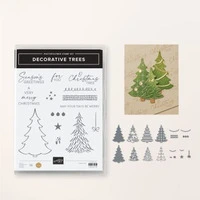
    I always enjoy creating at least one whimsical card during the holiday season. This year, I decided to use the Decorative Trees Bundle paired with some shimmering Glimmer paper to achieve that playful touch. This combination not only adds a fun and festive element but also offers great versatility, making it perfect for crafting a series of unique and eye-catching cards.

    Here’s how to create this whimsical card:

    1. Stamping: Stamp your chosen sentiment in Garden Green ink, then die-cut it using a Label Die.
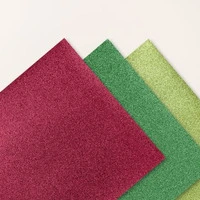
    2. Trees: Die-cut two trees—one with a pattern and one as an outline—from Garden Green and Granny Apple Green Glimmer papers. Use fine-tip glue to adhere the layers together.
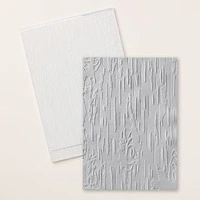
    3. Embossing: Emboss a Granny Apple Green panel with the Birch Embossing Folder for added texture.
    4. Assembly: Attach the stamped label and the trees to your card using Mini Dimensionals to give them a bit of dimension.

    And there you have it—a bright and whimsical card ready to share!

    You can add versatility to your card in several ways. By using Festive Glimmer Paper along with Garden Green and Granny Apple Green cardstock, you can mix and match layers and colors to create a variety of looks. Additionally, you can explore different tree patterns from the Decorative Trees Dies to further customize your design.

    With the Give a Bow DSP, you have the flexibility to choose from a variety of patterns for your 3″ x 3″ square. Each design adds its own charm, so feel free to select any pattern that complements your card beautifully.

    Here’s how I decorated the inside of the card: I stamped trees along the bottom edge and added a matching design on the envelope, all in Garden Green. For the sentiment, I used Granny Apple Green ink to keep the look cohesive and vibrant.

    Cardstock Cuts for this project:

    • Garden Green – 8-1/2″ x 5-1/2″ card base scored at 4-1/4″, 3-1/2″ x 2-1/2″ Tree Die
    • Basic White – 5-1/4″ x 4″ panel (inside card), 5-3/8″ x 4-1/8″ panel, 3-1/8″ x 3-1/8″ panel, Label Die
    • Granny Apple Green – 5-1/4″ x 4″ panel,
    • Take A Bow DSP – 3″ x 3″ panel
    • Festive Glimmer – 3-1/2″ x 2-1/2″ Tree Die

    Stampin’ Up! products used to create this project:

    Continue reading →: Whimsical Holiday Card with Decorative Trees Bundle: Step-by-Step Guide

I’m Nicole

I am a project manager by day and a crafter by night. I love Christmas and want to do it all every year. I will share with you how I do it and enjoy it too!

Join the fun!