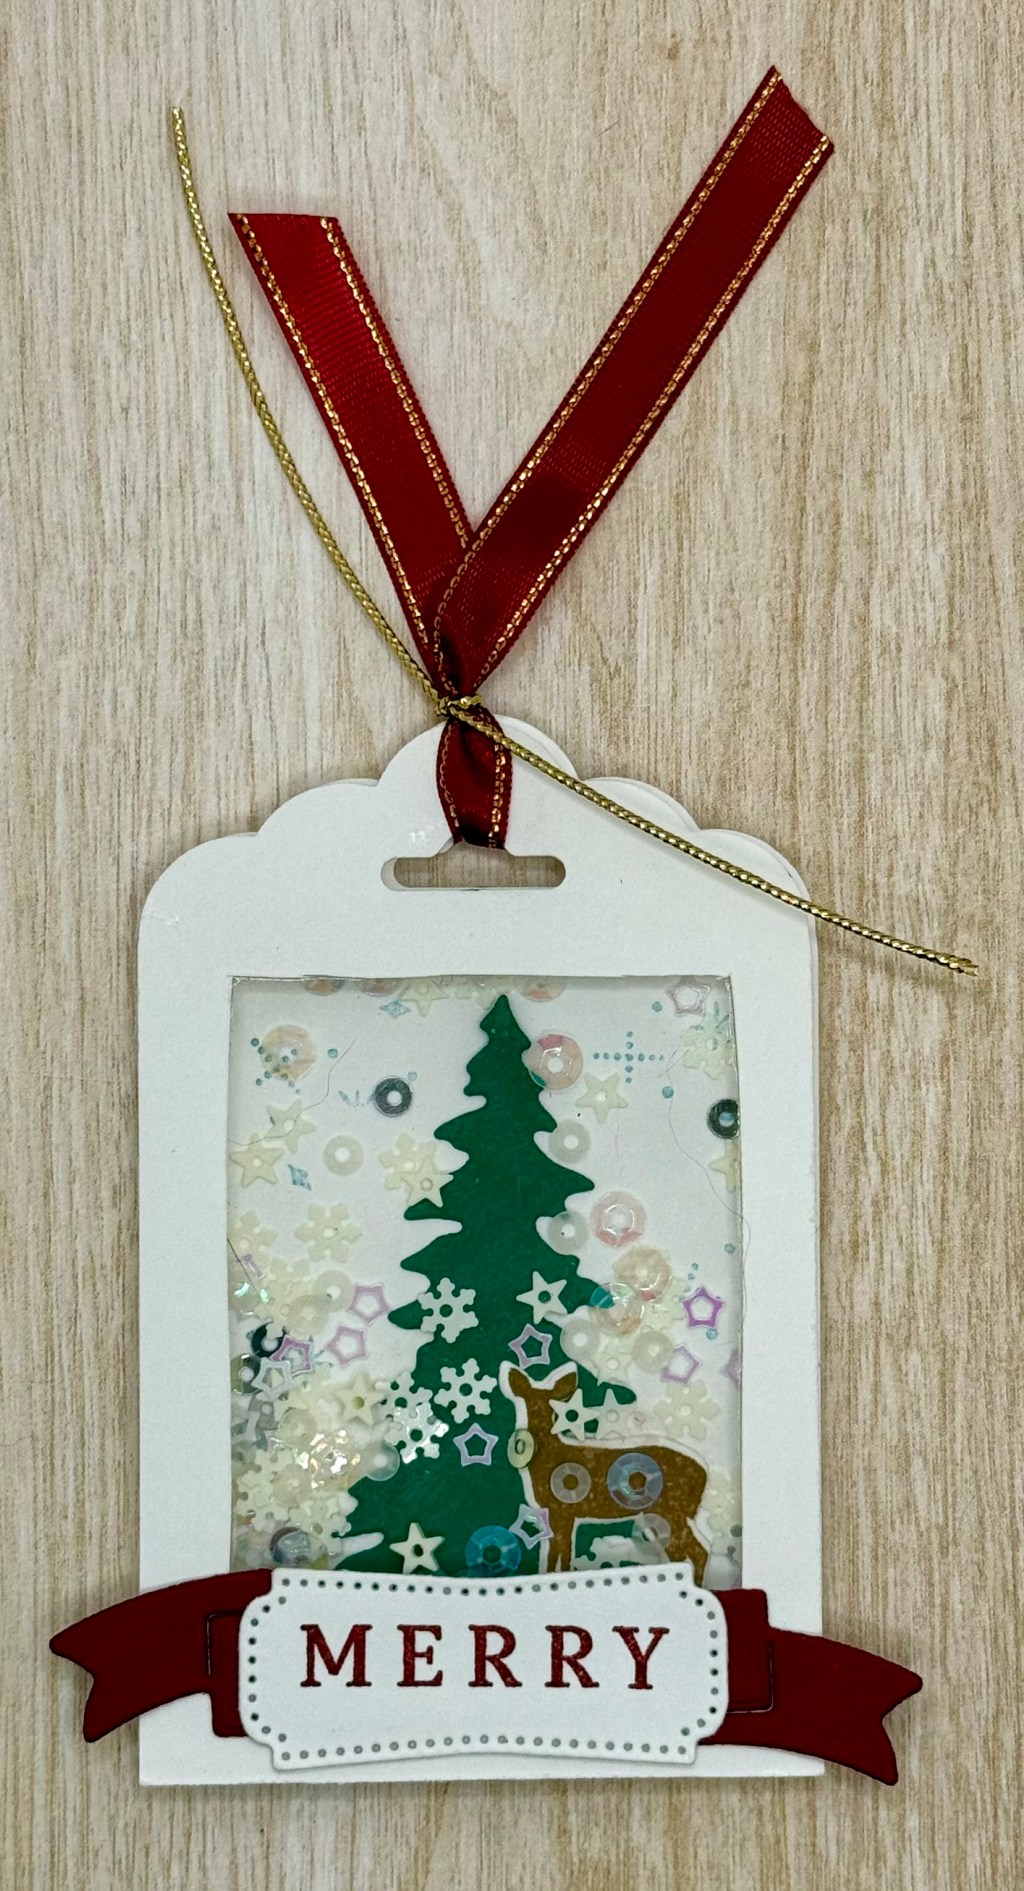
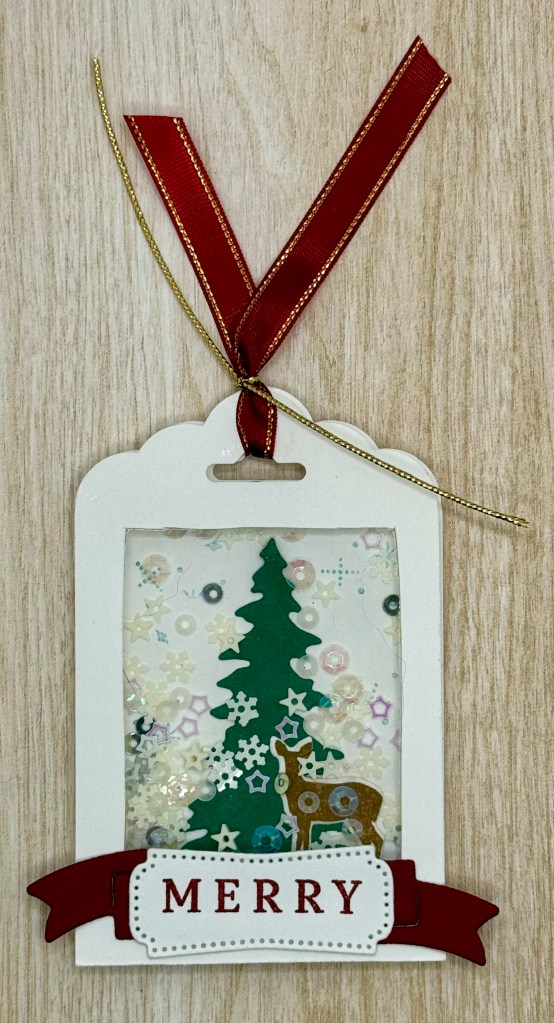
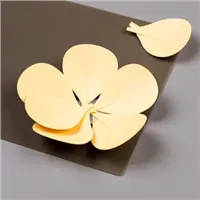
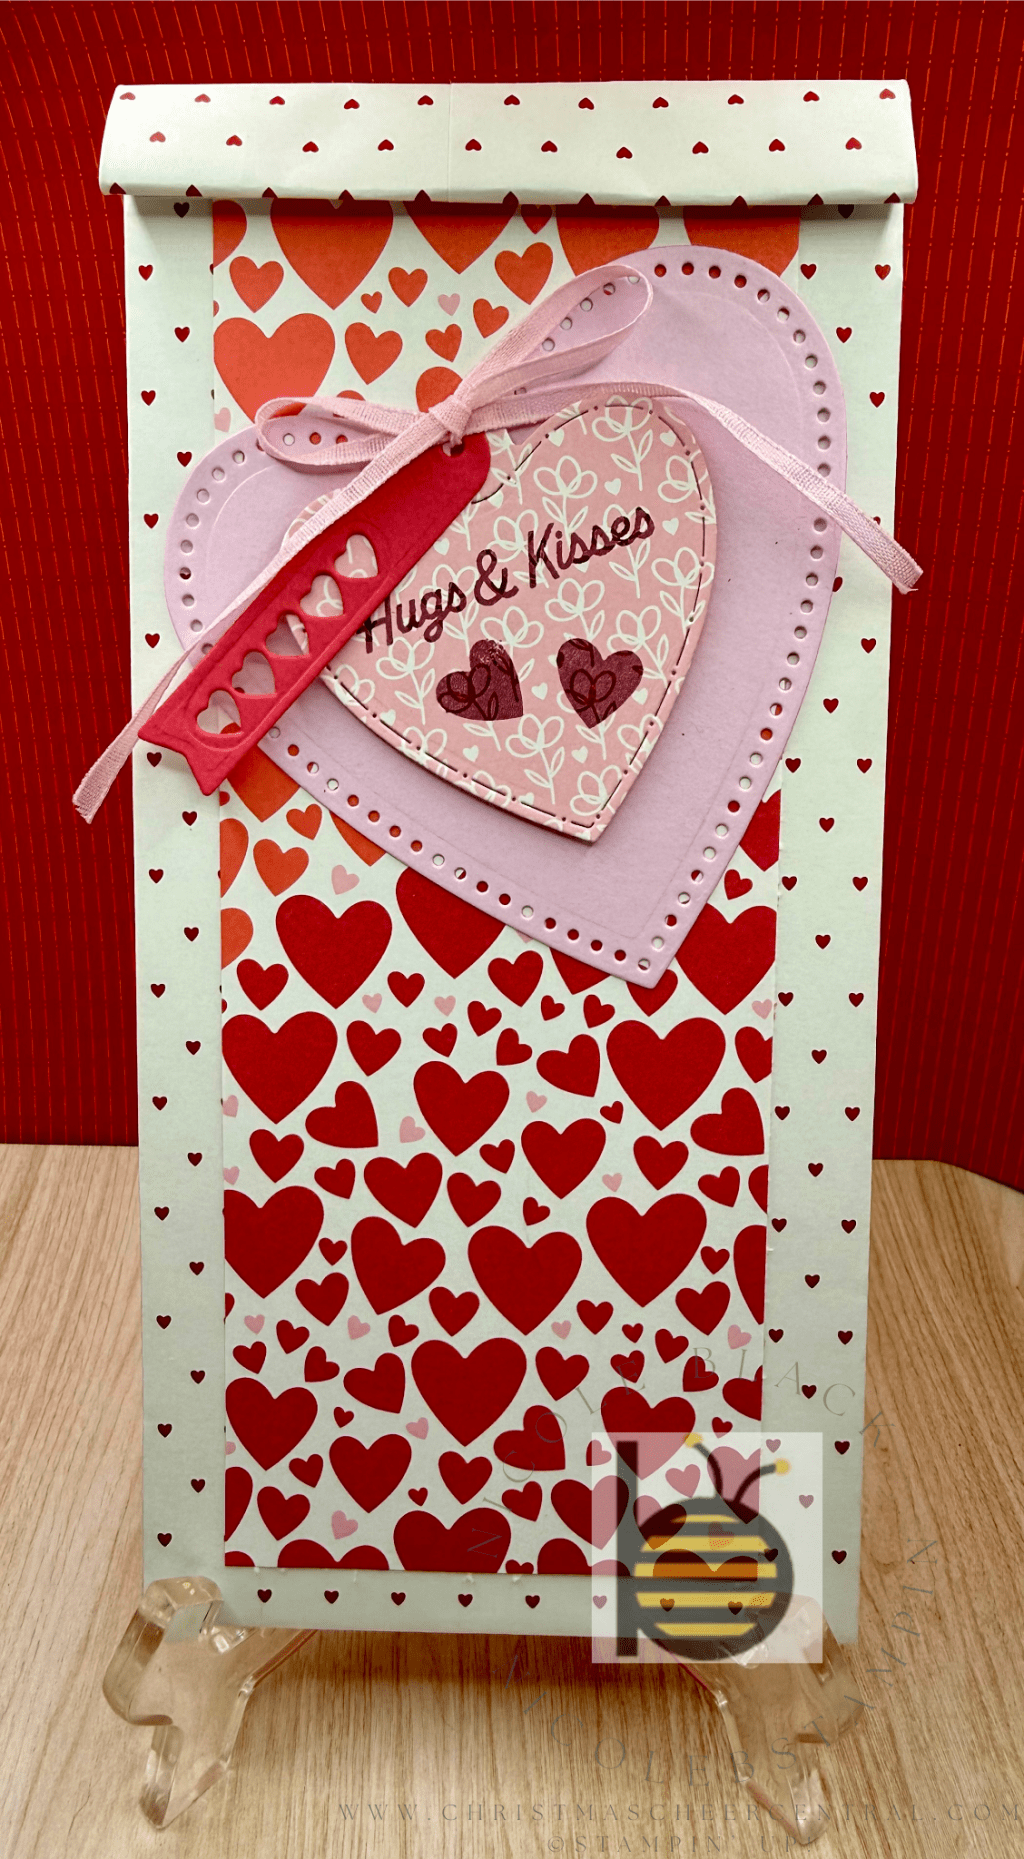
Recently, I shared how you could use Stampin’ Up!’s kit as a festive package topper, however, it was similar to my topper from last year and I wanted to try something fresh and fun this time around. So, after browsing Pinterest for inspiration, I came up with this adorable shaker package topper!
I had a blast making these! They add such a playful touch to any gift, but I will admit, they can be a bit tricky to assemble. If you’d like to try your hand at it, don’t worry—I’ve got you covered. Check out my video for a step-by-step guide on how to create your own cute shaker topper!
Cardstock Cuts for this Project:
Basic White – 3-1/4″ x 2″ front of tag, 3-1/4″ x 2″ back of tag, 2-1/8″ x 1-1/2″ for template, scrap for decorative extras
Window Sheet – 2-1/2″ x 1-7/8″ window
Garden Green – scrap for decorative extras
Cherry Cobbler – scrap for decorative extras
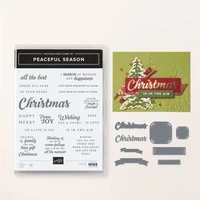
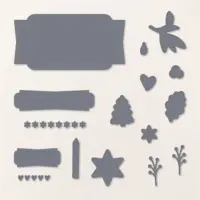
Stampin’ Up! products used to create this project:
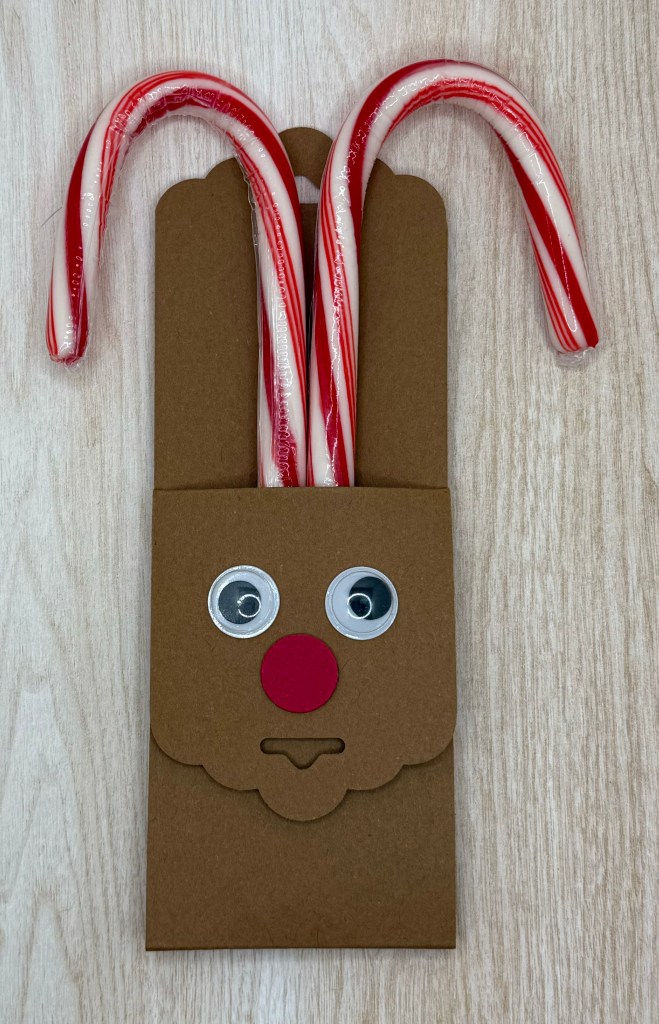
As the holiday season approaches, it’s always handy to have a simple, inexpensive craft gift ready for colleagues, kids’ school parties, or neighbors. Last year, I made these adorable Reindeer candy holders, and they were a hit! The best part? They’re quick and easy to make.
Here’s how to create them:
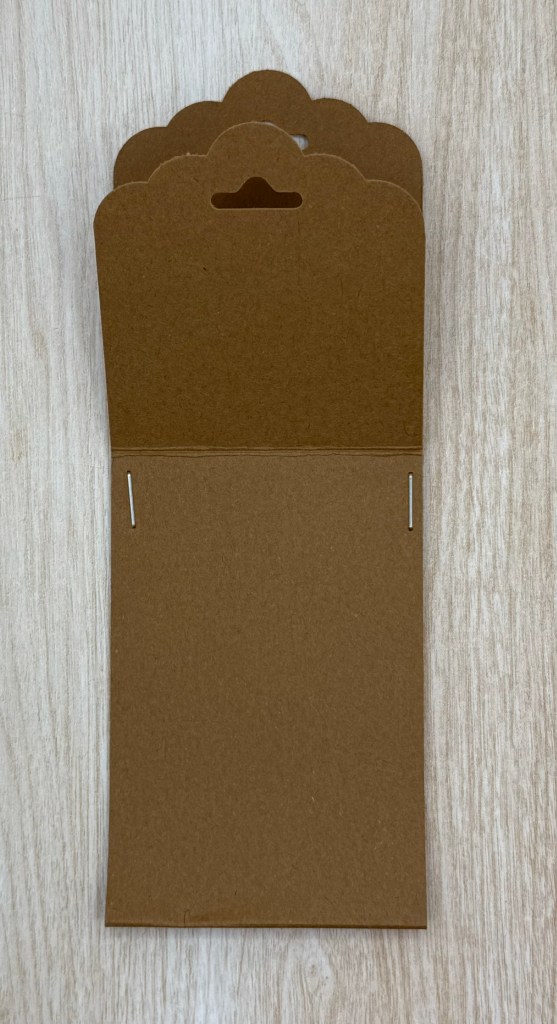
Start with the Base: Cut a 2″ x 11″ strip of Pecan Pie cardstock. Score the strip at 2-1/4″, 5-1/4″, and 5-1/2″ to create the folds. I used a retired Stampin’ Up! label punch to add decorative ends, but any label punch you have on hand will work. Fold the cardstock at 5-1/4″ and 5-1/2″ to create a base.
Assemble the Reindeer: Staple just below the 2-1/4″ score line to secure the bottom and fold down the top flap toward you. Now, it’s time to bring your reindeer to life! Add googly eyes and a 1/2″ circle punched from Real Red cardstock for the nose. Alternatively, you can use a small red pompom for a cute, textured look.
Finish with Candy Canes: Gently puff out the pocket to give it some dimension, and slide in two candy canes to form the reindeer’s antlers. And just like that, your festive, fun craft gift is ready to go!
These reindeer are perfect for spreading a little holiday cheer without breaking the bank. Plus, they’re so easy to put together, you can make a bunch in no time! Whether you’re handing them out at the office or at school parties, they’re sure to bring a smile to everyone’s face.
Cardstock Cuts for this Project:
Pecan Pie – 2″ x 11″ strip scored at 2-1/4″, 5-1/4″, and 5-1/2″
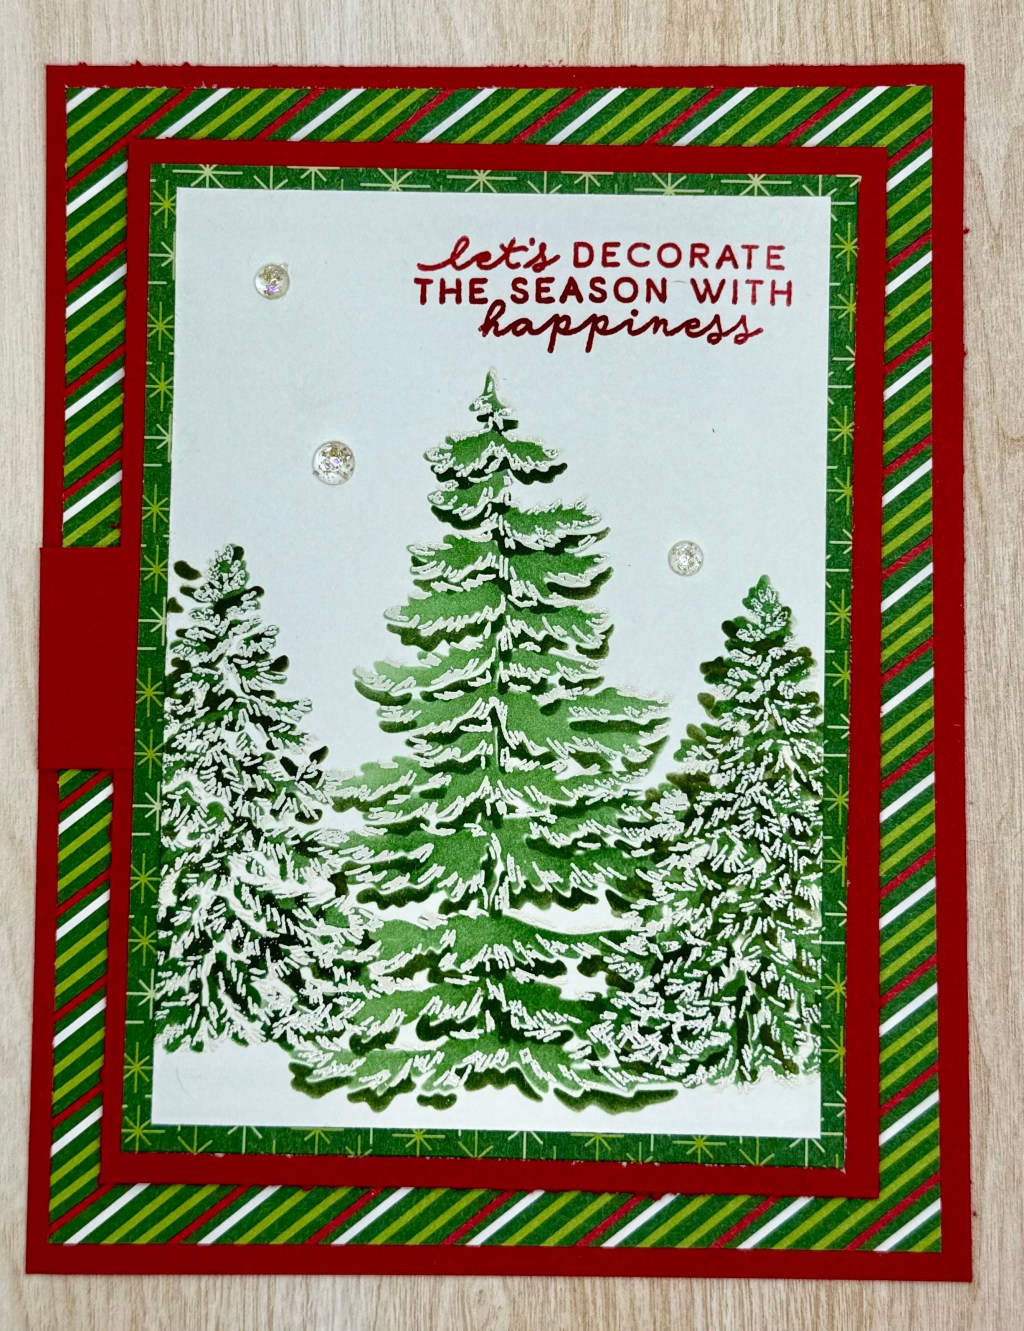
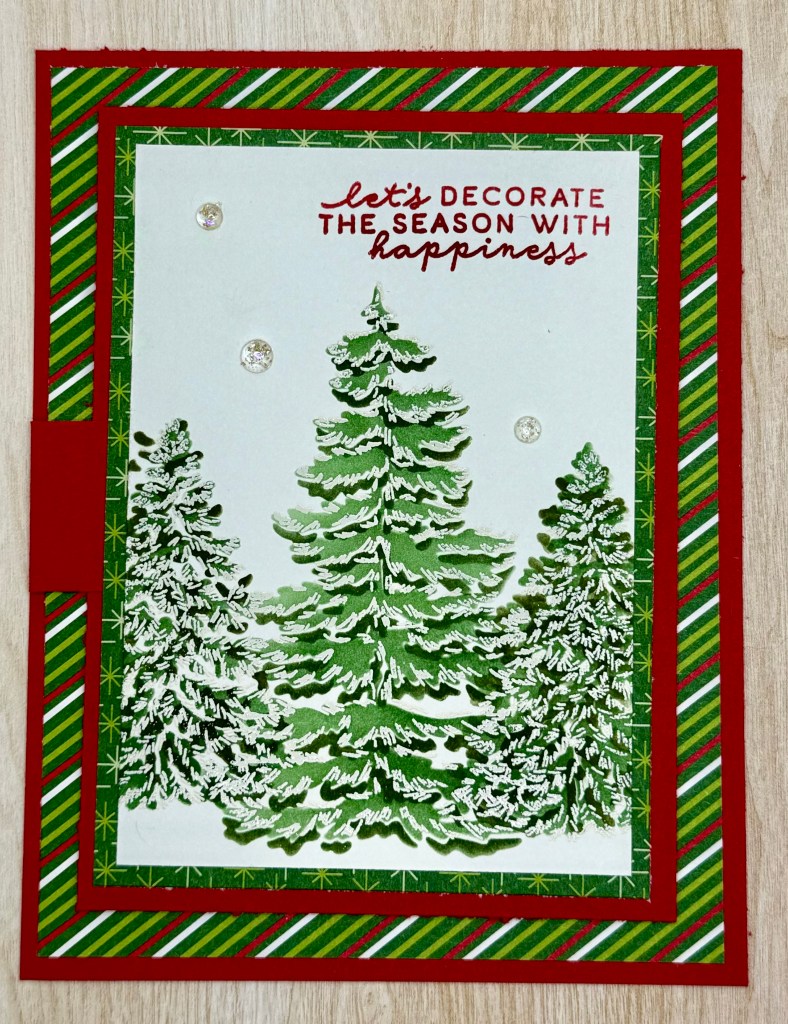
As we near Thanksgiving, I’m excited to share my final Christmas card design of the year. This one’s what I’d call an “above and beyond” card—a little extra special for those who truly appreciate the creative effort that goes into it!
This card incorporates two distinct techniques: Masking and a Fancy Fold. These add a unique touch, making it perfect for anyone who enjoys that extra bit of artistry in a handmade card. I’ve included short video tutorials for each technique below to make it easy to follow along.
Creating This Card: A Step-by-Step Guide
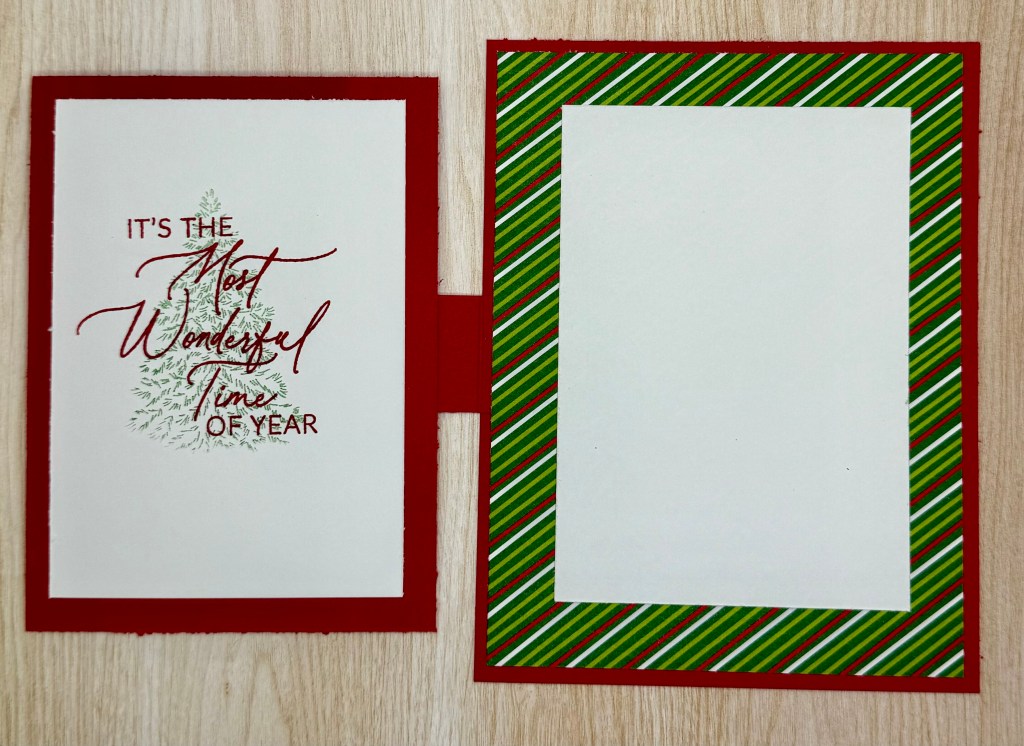
Fancy Fold Assembly
The fancy fold layout gives this card its standout structure. I’ve created a quick video to walk you through the assembly process, showing you just how simple it is once you get started.
Stamping the Inside
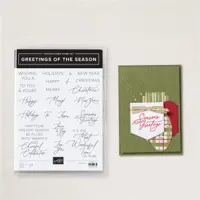
Left Side Panel: I used the Greetings of the Season stamp set in Real Red for a festive message. To add a subtle holiday touch, I inked the small pine tree from Forested Forest in Garden Green, stamped it off twice, and then layered it over the sentiment for a soft watermark effect.
Right Side Panel: I left this blank to provide space for a personal message. You can also add a sentiment or watermark here if you’d like.
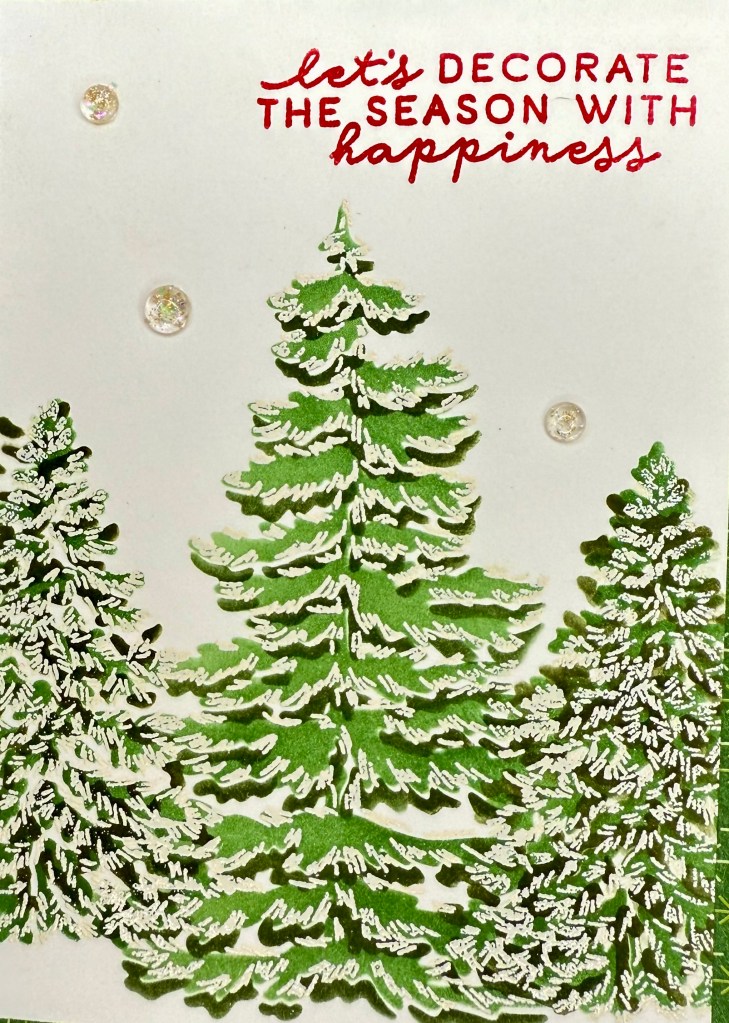
Masking Technique for the Front Panel
For the front panel, I used a masking technique to create a layered look, adding depth and dimension to the trees. I also included embossing to make the design pop. Check out the video tutorial below for a quick walkthrough of these techniques.
Finishing Touches
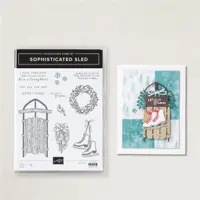
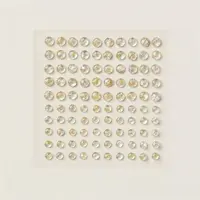
To complete the card, I added a sentiment from Sophisticated Sled in Real Red and used Iridescent Foil Gems for a touch of sparkle.
I hope you love this card as much as I do! Once you get the hang of the fancy fold, you’ll see how easy and enjoyable it is to make a card that feels just a little different from the usual.
Cardstock Cuts for this project:
Real Red – 5-1/2″ x 4-1/4″ card base, 4-3/4″ x 3-1/2″ panel, 5″ x 1″ panel scored at 2″
Take a Bow Designer Series Paper – 5-1/4″ x 4″ panel, 4-1/2″ x 3-1/4″ panel
Basic White – 3 panels of 4-1/4″ x 3″
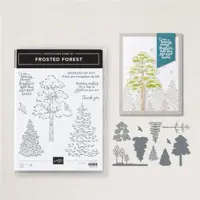
Stampin’ Up! products used to create this project:
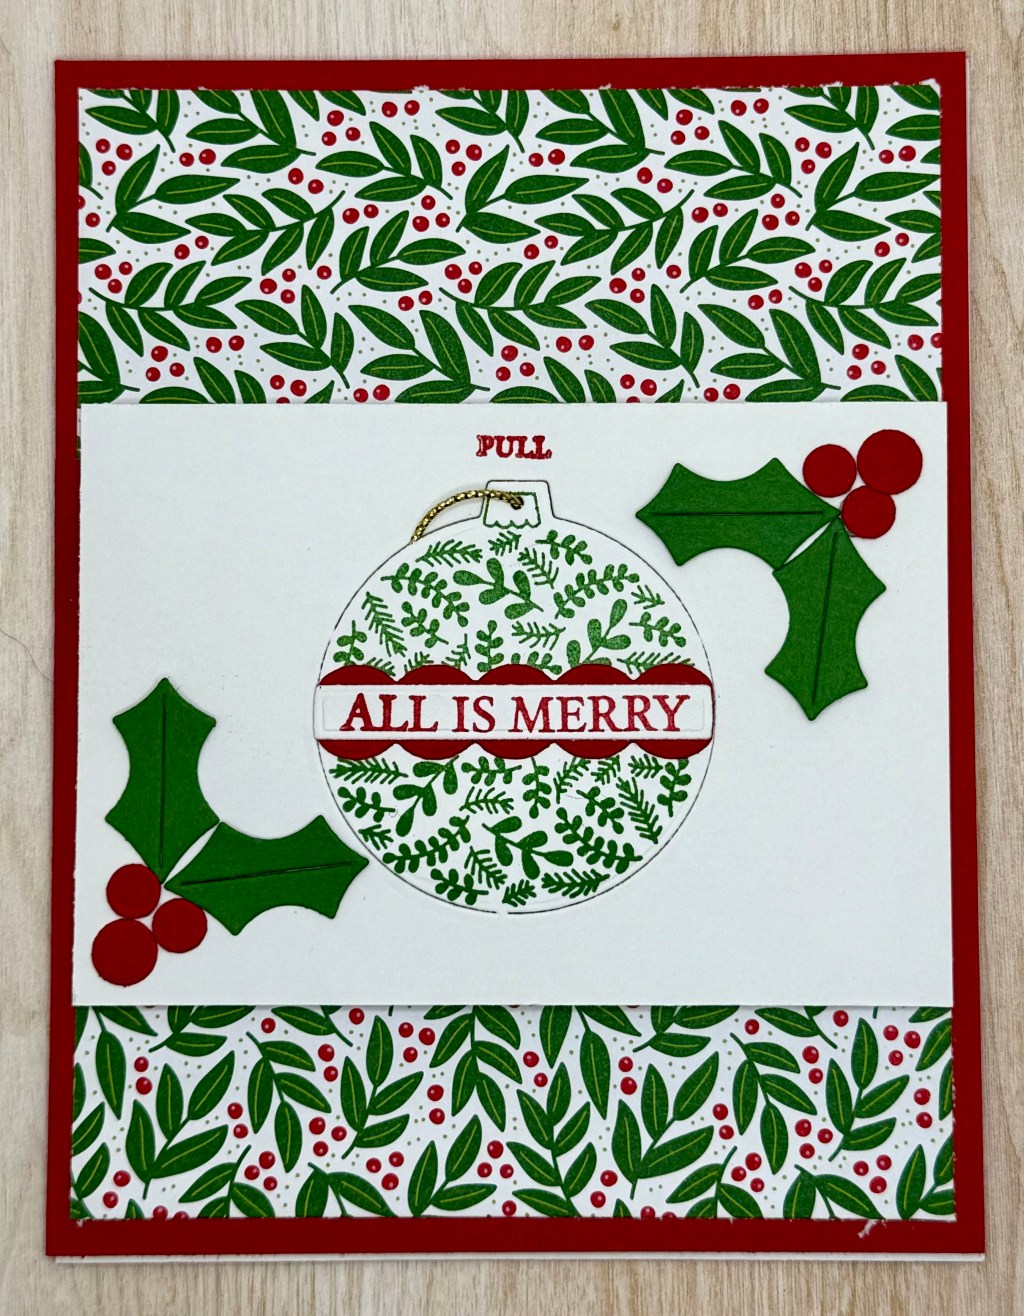
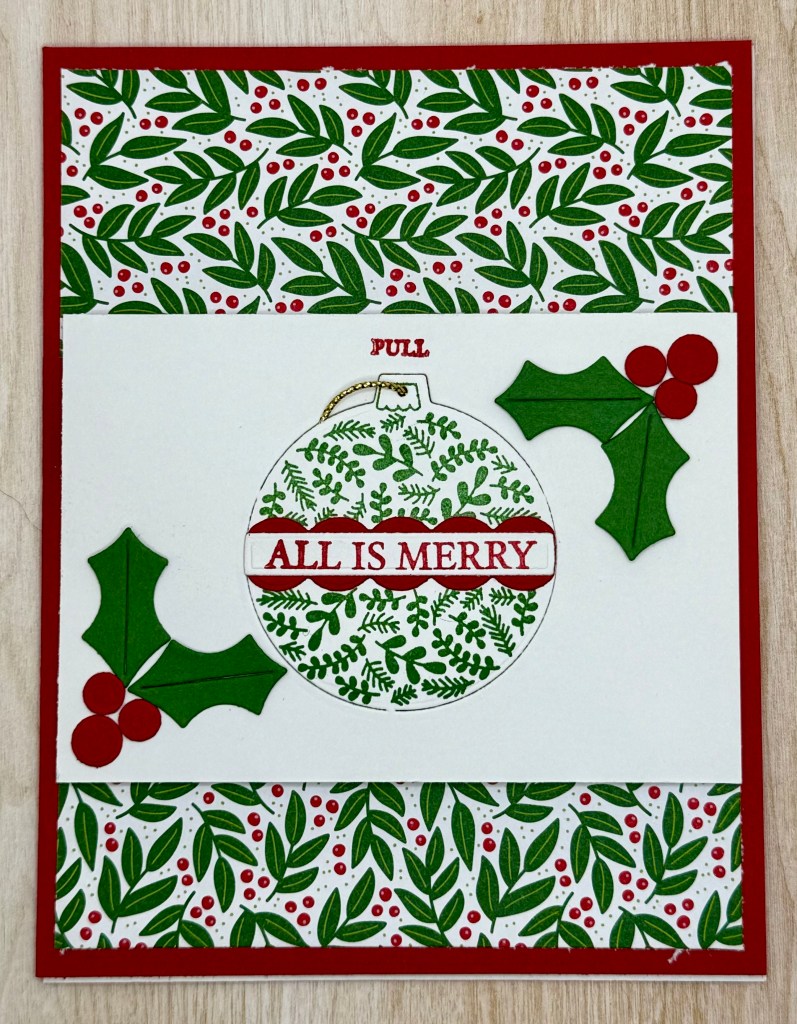
As we hit mid-November, I hope your holiday cards are coming along nicely! Today, I’m excited to share a special card that I’d call an “Above and Beyond” design. This one is a bit more involved but truly worth it—especially since it doubles as both a card and a keepsake ornament for your recipient to hang on their tree!
I’ve included a video to guide you through the steps for the front panel and ornament, as it’s easier to show than to explain in just words.
Assembling the Card: Step-by-Step
Front Panel and Ornament
The front of the card includes a beautiful ornament that’s easy to detach and hang on the tree. The video below will walk you through the process of assembling this interactive piece. It adds a unique, personal touch that makes this card a memorable holiday gift.
Inside of the Card
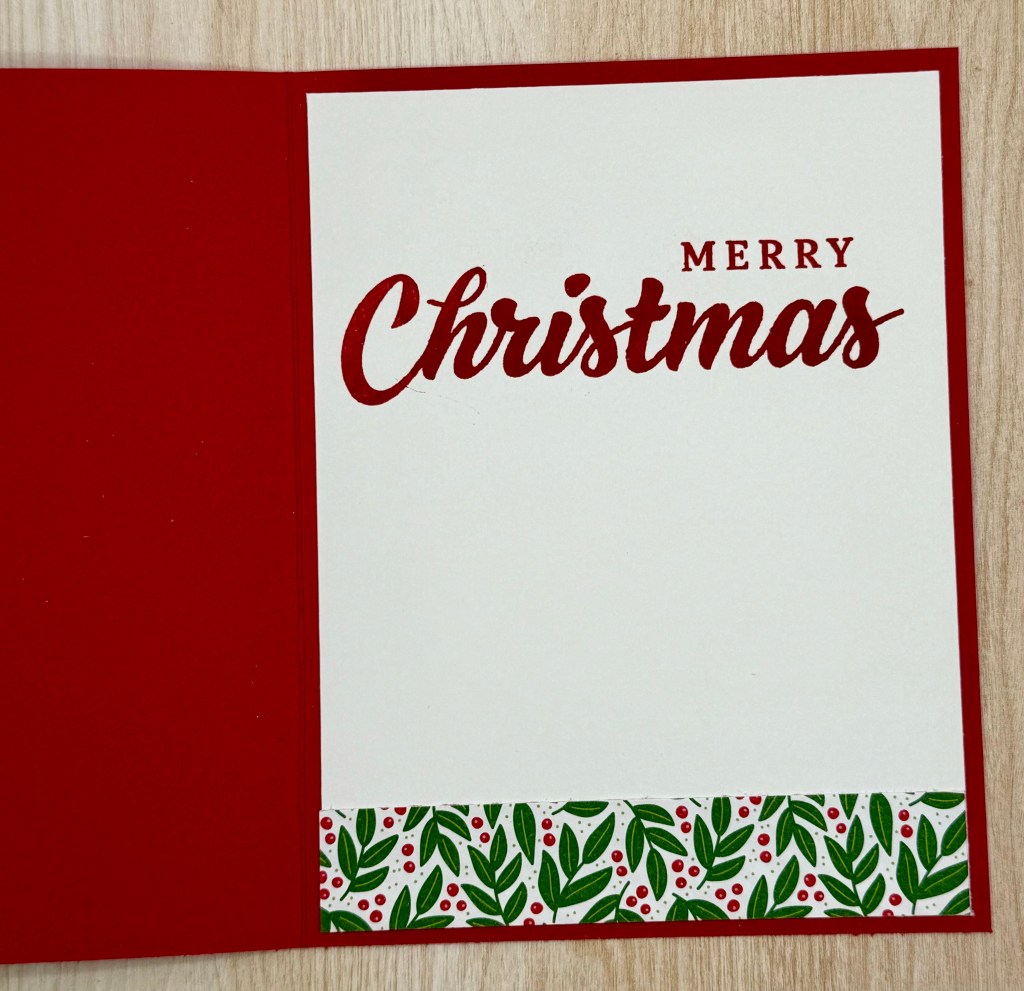
For the inside, I stamped the sentiment from the Greetings of the Season set in Real Red. I also added a strip of Designer Series Paper (DSP) along the bottom edge for an extra bit of flair and color contrast.
This card is fun to make and even more fun to give—a card and ornament all in one! I hope this design inspires you to go “above and beyond” with your holiday cards this year. Happy crafting!
Cardstock Cuts for this project:
Real Red – 8-1/2″ x 5-1/2″ card base scored at 4-1/4″, scrap for Banner and Berries Dies
Basic White – 5-1/4″ x 4″ panel (inside card), 4″ x 2-3/4″ panel, scrap for Banner Die
Take a Bow Designer Series Paper (DSP) – 4 x 3/4″ panel (inside), 4″ x 1-3/4″ (top), 4″ x 1-1/4″ (bottom)
Garden Green – Scrap for Holly Leaves Die
Stampin’ Up! products used to create this project:
As the holidays approach, I always make sure to have some cute, inexpensive gifts ready to go for neighbors, co-workers, and unexpected visitors. With the hustle and bustle of December, it’s great to have something prepared so you’re not scrambling last minute!
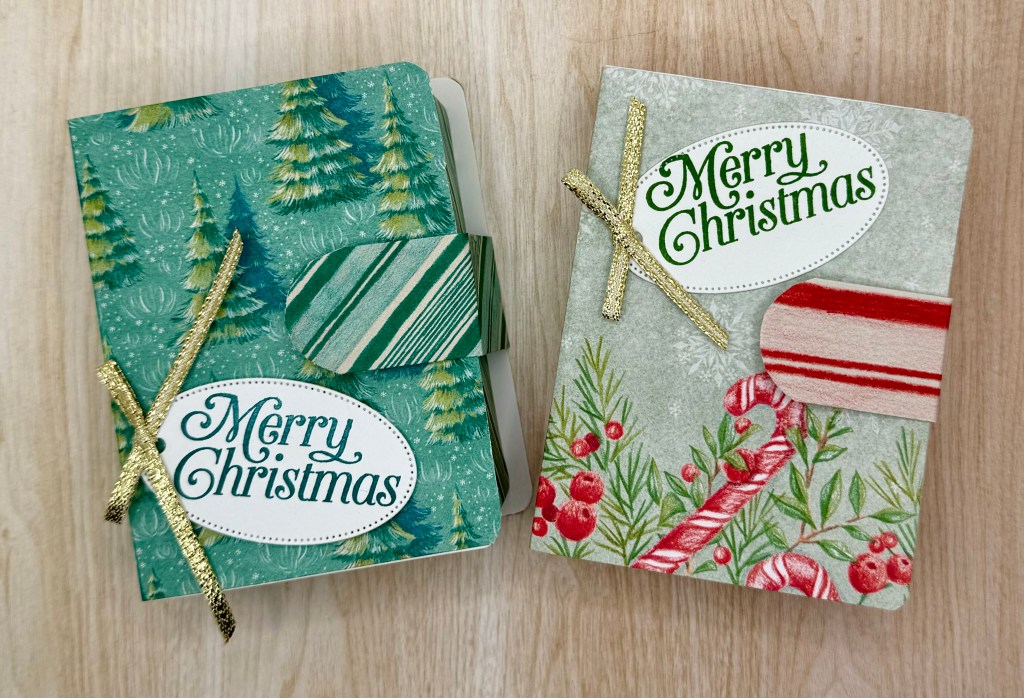
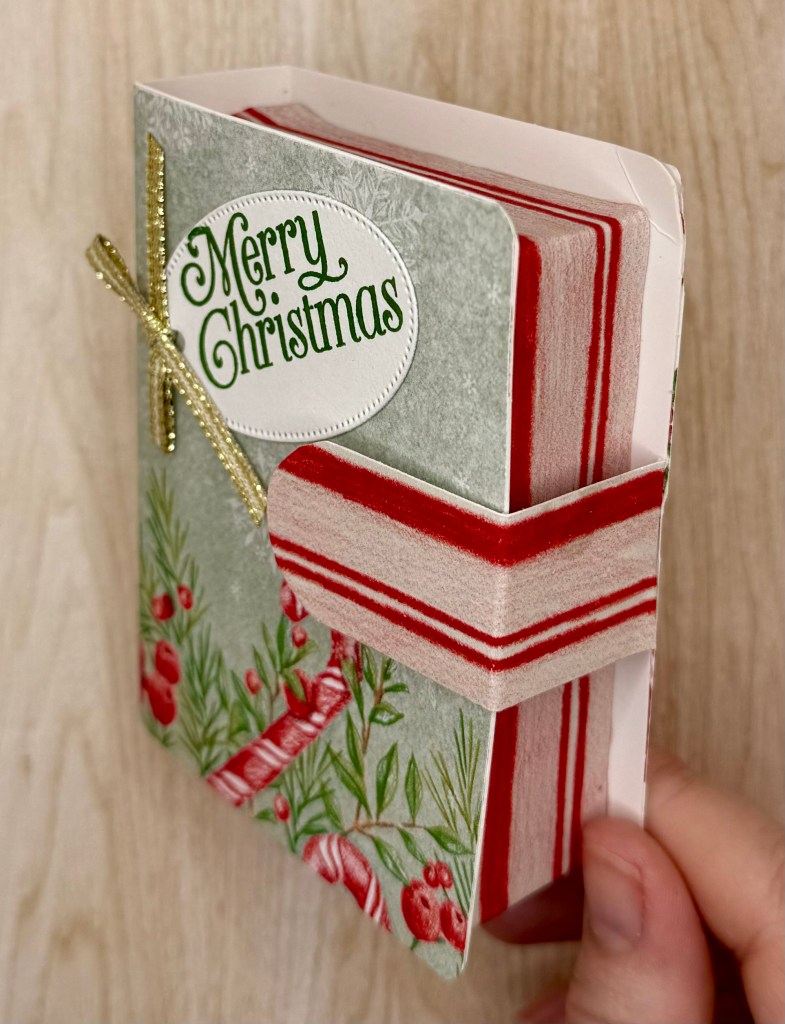
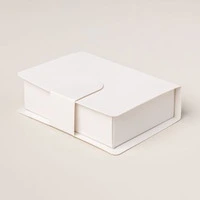
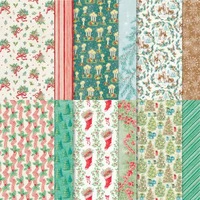
This year, I’m all about Book Treat Boxes! They’re easy to assemble, customizable, and perfect for a variety of holiday treats. You can use any holiday-themed designer series paper, which means you can match your style or add a personal touch. Plus, decorating the front is a lot of fun – you can keep it classic, go vintage, or make it whimsical!
Here’s How to Create Your Own Book Treat Boxes:
Materials & Dimensions
Top piece (cover): This serves as the “book cover.”
Two strips: One for the side of the book and one as the tab to close it.
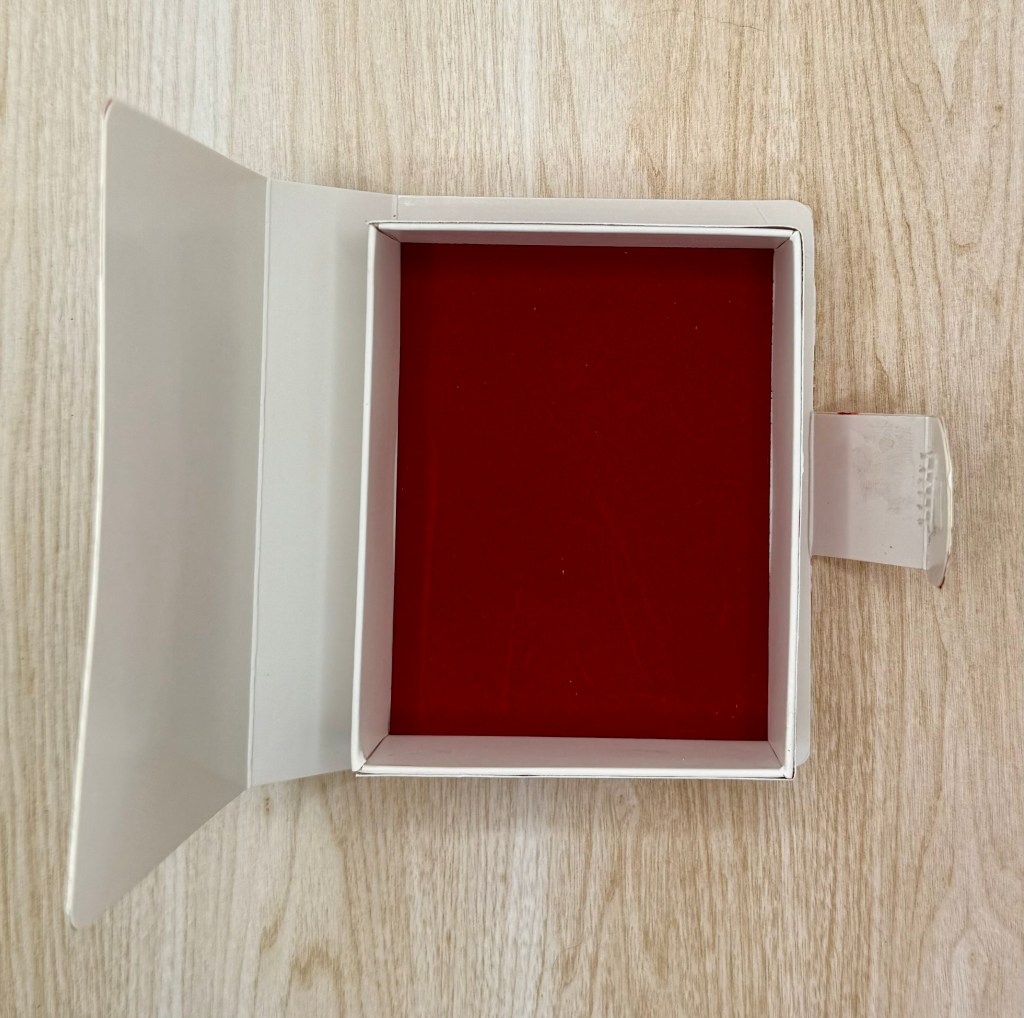
Solid cardstock: Used to create the “pages” inside the book.
For a coordinated look, I used two different holiday designs that complement each other, along with a matching solid cardstock to tie it all together.
Check out this video where I show how to assemble the book, layer the cardstock, and adhere everything together. Watching the steps makes it super easy to follow along!
Why You’ll Love These Treat Boxes:
Each package comes with 10 books, so you’ll have plenty for those spontaneous gift-giving moments. They’re quick to put together, and once done, you’ll have charming little gifts on hand for anything that comes up this season.
Cardstock Cuts for this project:
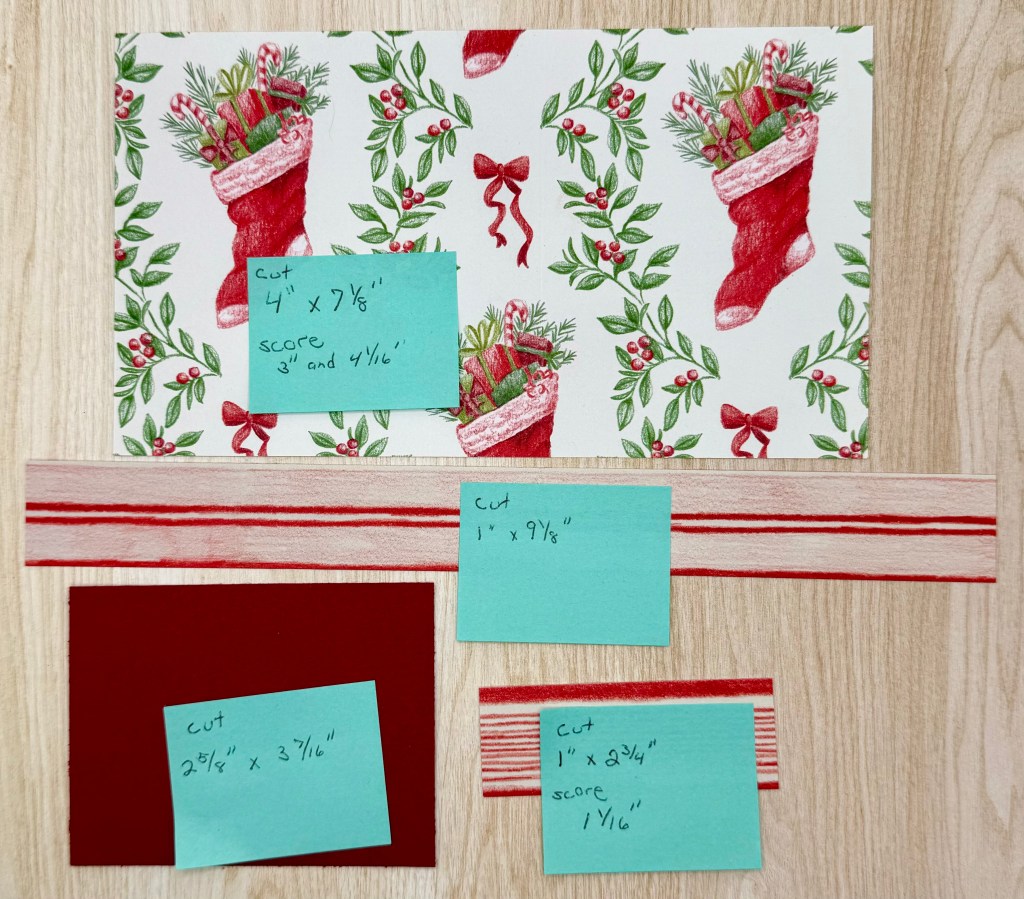
Sentimental Christmas Designer Series Paper – 7-1/8″ x 4″ scored at 3″ and 4-1/16″; 9-1/8″ x 1″; 2-3/4″ x 1 scored at 1-1/16″
Cherry Cobbler – 3-7/16″ x 2-5/8″
Stampin’ Up! products used to create this project:
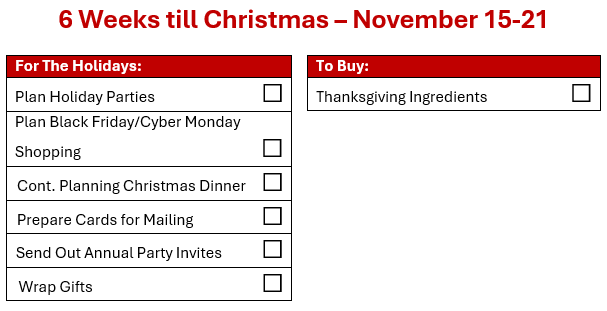
Can you believe Christmas is just around the corner? With only six weeks to go, we’re in the final stretch before the festive celebrations truly begin! How’s your holiday checklist coming along? Now’s the time to wrap up your crafting projects, finalize your plans, and shift into celebration mode!
Plan Your Holiday Parties and Send those Invites
Are you hosting a holiday party (or two) this year? If so, now’s the perfect time to start planning! Think about your party theme—will it be a cozy gathering, a formal affair, or maybe an ugly sweater party? Whatever the theme, make sure to get those invites out soon—calendars fill up quickly this time of year.
And if you’re not hosting but attending several holiday parties, be prepared! Do you need a festive outfit? Maybe your favorite ugly sweater? Don’t forget to ask if you should bring a treat or a gift, and always remember a little something for the host. One of my go-to hostess gifts (as a crafter at heart) is dressing up a bottle of wine—simple, thoughtful, and always appreciated!
Shopping and Sales
Back in July, we started brainstorming gift ideas—so by now, you should have a nice, organized list… right? Just kidding—I’m still working on mine, too! Even with the best intentions, gift planning can be a challenge.
While Black Friday and Cyber Monday aren’t as monumental as they once were, the sales have been creeping in since October, with Amazon Prime Days and other early deals. Take advantage of these early sales to stick to your Christmas budget!
Going through sales ads is not only a great way to find deals on items already on your list but also a source of inspiration for those hard-to-buy-for friends and family. I love flipping through the ads to get ideas—there’s always something that sparks a new gift idea or two!
Living in Florida during Christmas can sometimes feel a little different, especially when it comes to making holiday cards. After 18 years here, I’ve grown used to the warm weather, but I still love creating winter-themed cards. The only problem? It can feel a bit odd to send a snowman card from sunny Florida! That’s why I get so excited when Stampin’ Up! releases a holiday set that fits our sunny climate.
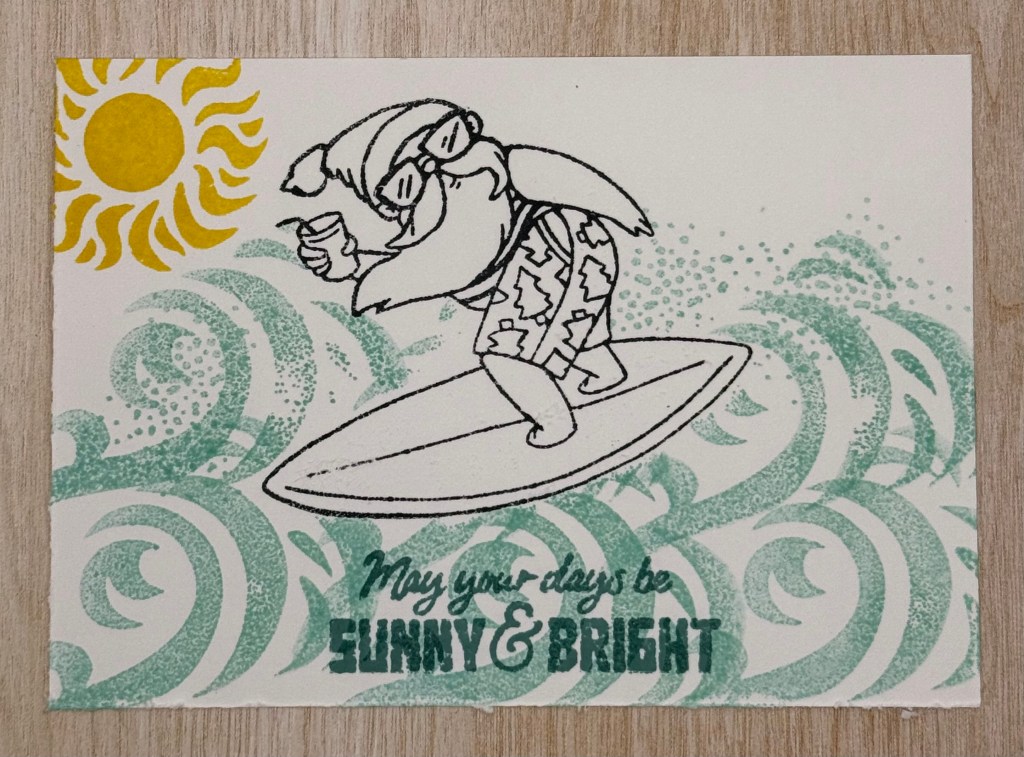
This year, I’ve fallen in love with the Surfing Santa set—it’s perfect for a tropical twist on Christmas cards!
Here’s how I created this card:
Background Stamping: I used the same wave stamp for both the background and the card front, stamping it in Pool Party. The sun was stamped with Daffodil Delight, I used Lost Lagoon for the sentiment, and I stamped Santa with Memento Black ink.
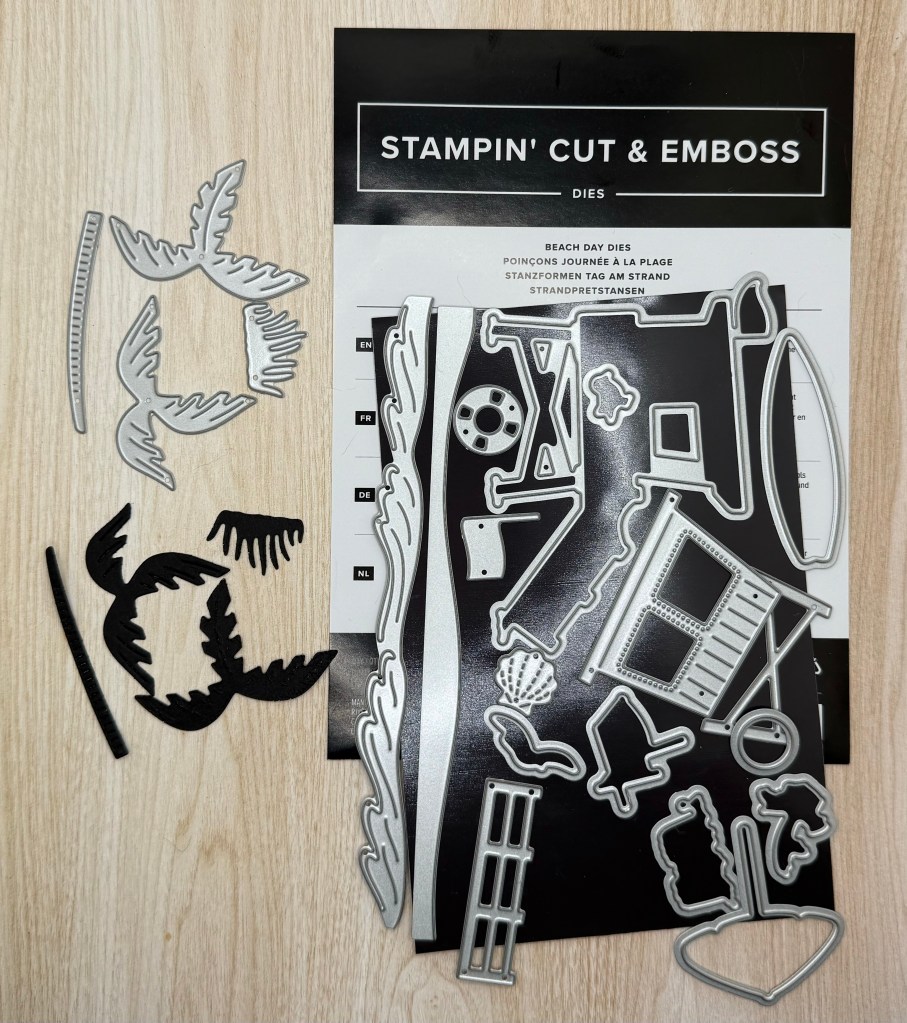
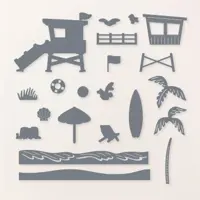
Adding the Palm Tree: The palm tree is from the Beach Days Dies. To give it a shadow effect, I die-cut the tree in black cardstock. After assembling the pieces, I glued the tree to the card front for that perfect beachy vibe.
Masking Technique for Santa: To place Santa on the waves, I used the masking technique. First, I stamped Santa on Masking Paper and carefully cut out the surfboard and part of Santa. Then, I placed the mask over the stamped image of Santa on the card front and stamped the waves and spray dots using Pool Party. Once the stamping was complete, I removed the mask, revealing Santa perfectly positioned on the waves!
Coloring Santa: The final touch was coloring in Santa using Stampin’ Blends. I used Daffodil Delight, Real Red, Shaded Spruce, Basic Black, and Ivory to bring Santa to life.
I had so much fun making this card, and I love how it captures the sunny, festive feel of a Florida Christmas. If you live somewhere warm like me, or just want to try something different, this set is a great way to put a fun twist on your holiday cards!
Cardstock Cuts for this project:
Basic White Thick – 8-1/2″ x 5-1/2″ card base scored at 4-1/4″
Pool Party – 5-1/4″ x 4″ panel, 4-1/2″ x 3-1/4″ panel
Basic White – 4-1/4″ x 3″ panel
Basic Black – 2-1/2″ x 2-1/2″ for Palm Tree
Stampin’ Up! products used to create this project:
I’m so excited to share a special surprise “gift” I’ve crafted for my husband this year! But before I get into all the details, let me take a moment to brag about him—because he’s truly earned it. On November 3rd, Nathan completed the New York Marathon, his very first World Major Marathon, and he absolutely crushed it. He crossed the finish line in 4 hours, 30 minutes, and 17 seconds—his second-best marathon time! I’m beyond impressed and so proud of his dedication and accomplishment.
Now, let’s talk about the gift. Last year, I watched the Hallmark movie 12 Dates of Christmas. It was cute and festive—a perfect holiday flick—and it sparked an idea: why not create my own “12 Dates of Christmas” experience? So, I set out to design 12 unique dates for us, each inspired by one of the “12 Days of Christmas.”
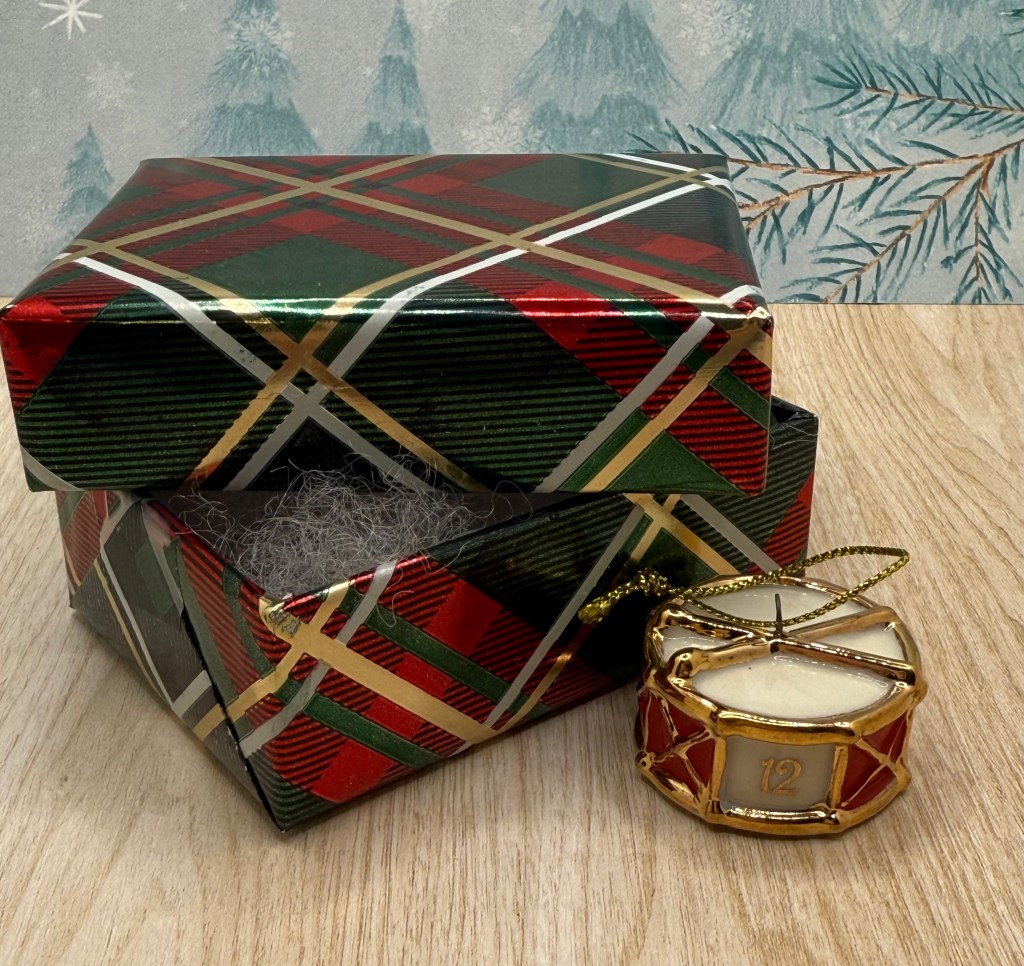
To make it special, I bought the Lenox 12 Days of Christmas ornament set and wrapped each ornament in a small jewelry box alongside a clue hinting at each date. I used ChatGPT for a little help in crafting the clues—adding an extra layer of mystery and fun! Each date, I’ll present Nathan with a box containing the ornament and a rhyme, leaving him to guess what kind of adventure awaits us.
Since December always brings a whirlwind of holiday events, I started early in November. This way, we can average about two dates per week without cramming everything into the last hectic weeks of December. Nathan has no idea when these dates will pop up, what order they’ll come in, or what each date will involve.
Our first date kicked off with a clue about the overall “game”:
On the first day of Christmas, My true love gave to me, a date to 12 Drummers Drumming? Yes, that’s right, The order may stray, But enjoy these dates, As we count down the holiday!
For our “12 Drummers Drumming” date, I took him to see a Rolling Stones cover band and enjoy dinner at Bar Tulia in Naples. The clue read:
Twelve drummers drumming, a rhythm so fine, Where live tunes echo and spirits entwine. A Mercato Shops, where the music’s in demand, Find the lively spot with classics from a legendary band!
Then, just this past Sunday, we had our second date, themed around “Two Turtle Doves.” We savored lattes and chocolate turtles at Norman Love—perfect for a cozy Sunday afternoon.
If you’re curious to see how the rest of the dates unfold, follow along on Facebook, where I’ll be sharing each one. It’s a festive journey I’m so thrilled to take with Nathan, counting down the days and celebrating love along the way!
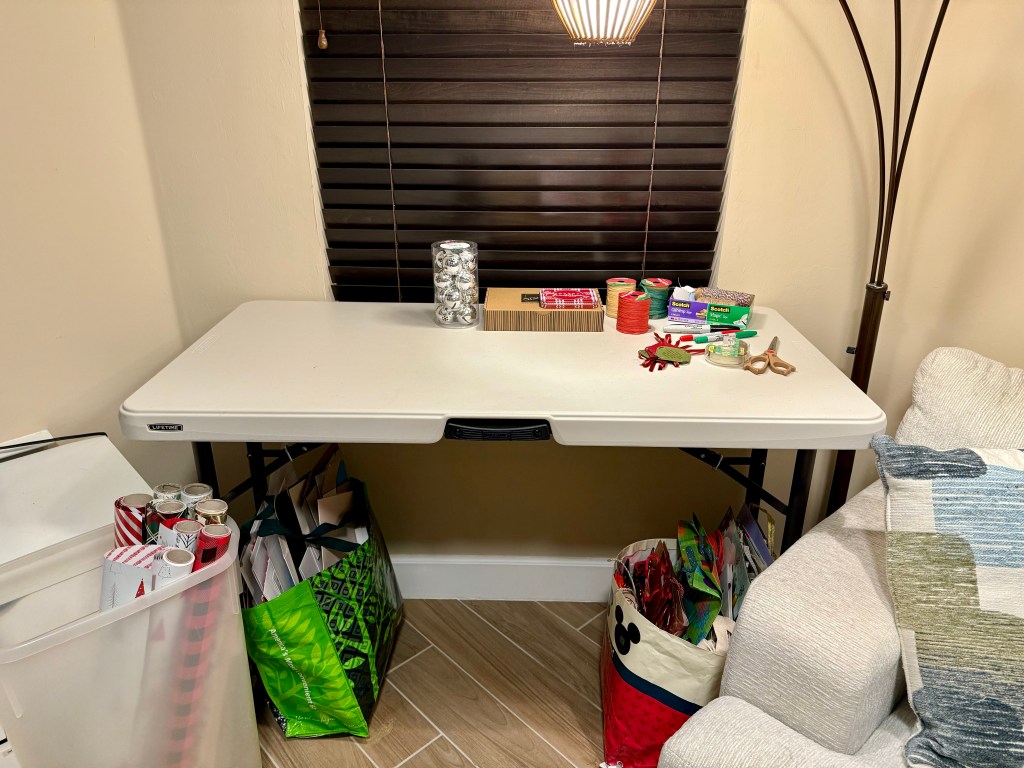
Over the years, I’ve discovered that setting up a dedicated wrapping center in November can be a real game-changer during the holiday season. By organizing everything you need in one place, you can quickly wrap gifts as you buy them. This prevents a massive pile-up right before Christmas, when things tend to get the busiest.
Key Items for Your Wrapping Center:
Make sure you have plenty of the essentials ready to go:
Wrapping paper
Tissue paper
Boxes
Gift bags
Tape
Ribbon
Gift tags
If you followed our October inventory checklist, you should have already stocked up on these items. And if you’re making your own gift tags, now is the perfect time to check that off your list! If you missed my previous post, I shared how I made my own custom gift tags.
Other Must-Have Items:
Scissors: I recommend keeping a couple of pairs handy—I always seem to misplace them!
Package toppers: I love adding a personal touch by making something that doubles as an ornament for each gift. If you’re looking for ideas, Stampin’ Up! offers a great kit for making package toppers. You can check out my post about it here.
By setting up your wrapping center early and keeping it well-stocked, you’ll be able to breeze through your holiday wrapping and avoid the last-minute rush. Happy wrapping!
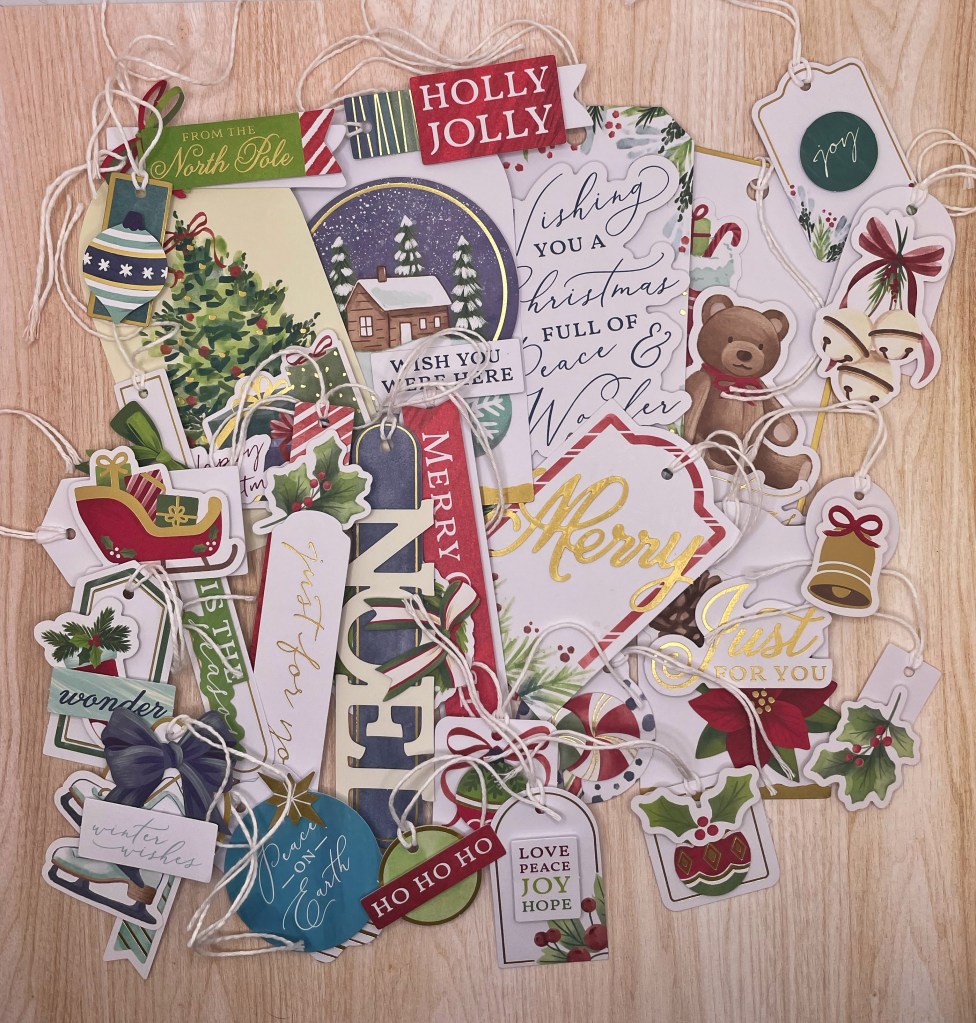
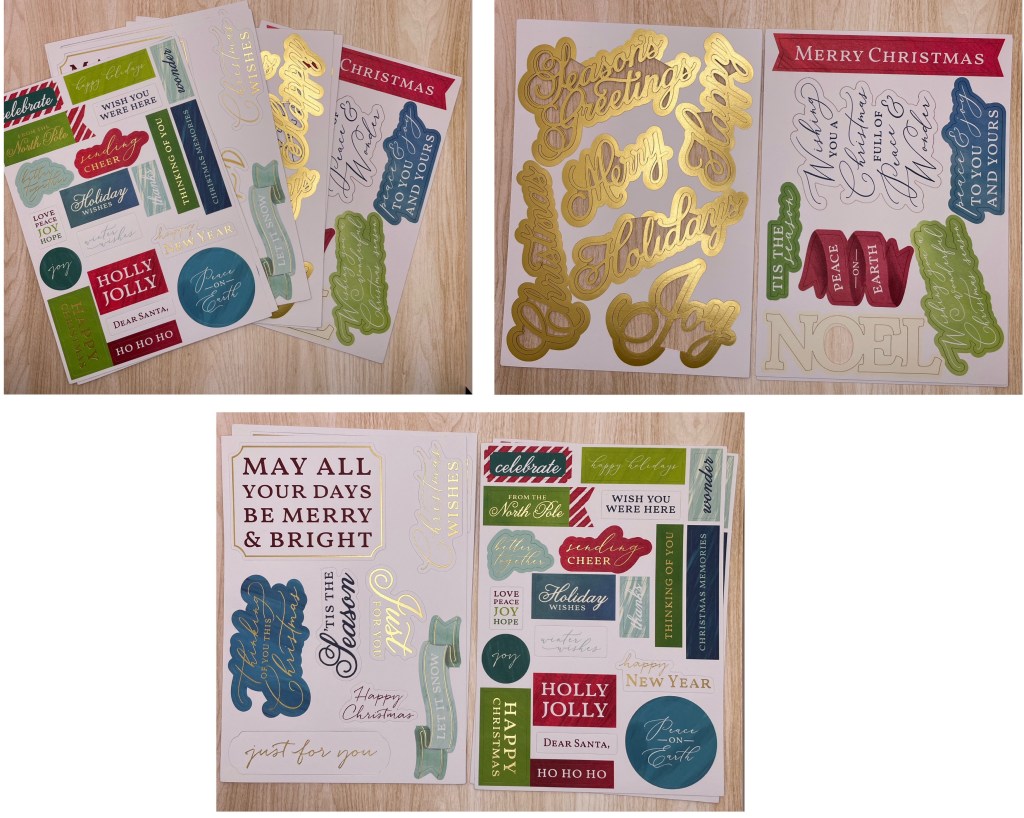
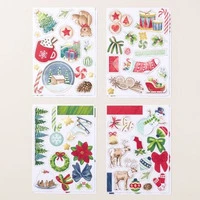
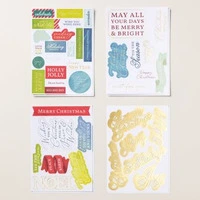
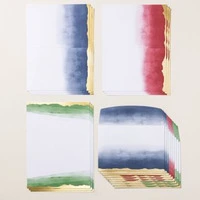
In this year’s Mini Catalog, Stampin’ Up! introduced Mix and Match Ephemera Packs. These are so great for the busy person that still wants to make some Christmas cards or gift tags. I like them because I always find I need one more card or I run out of tags. These let me create quick and easy!
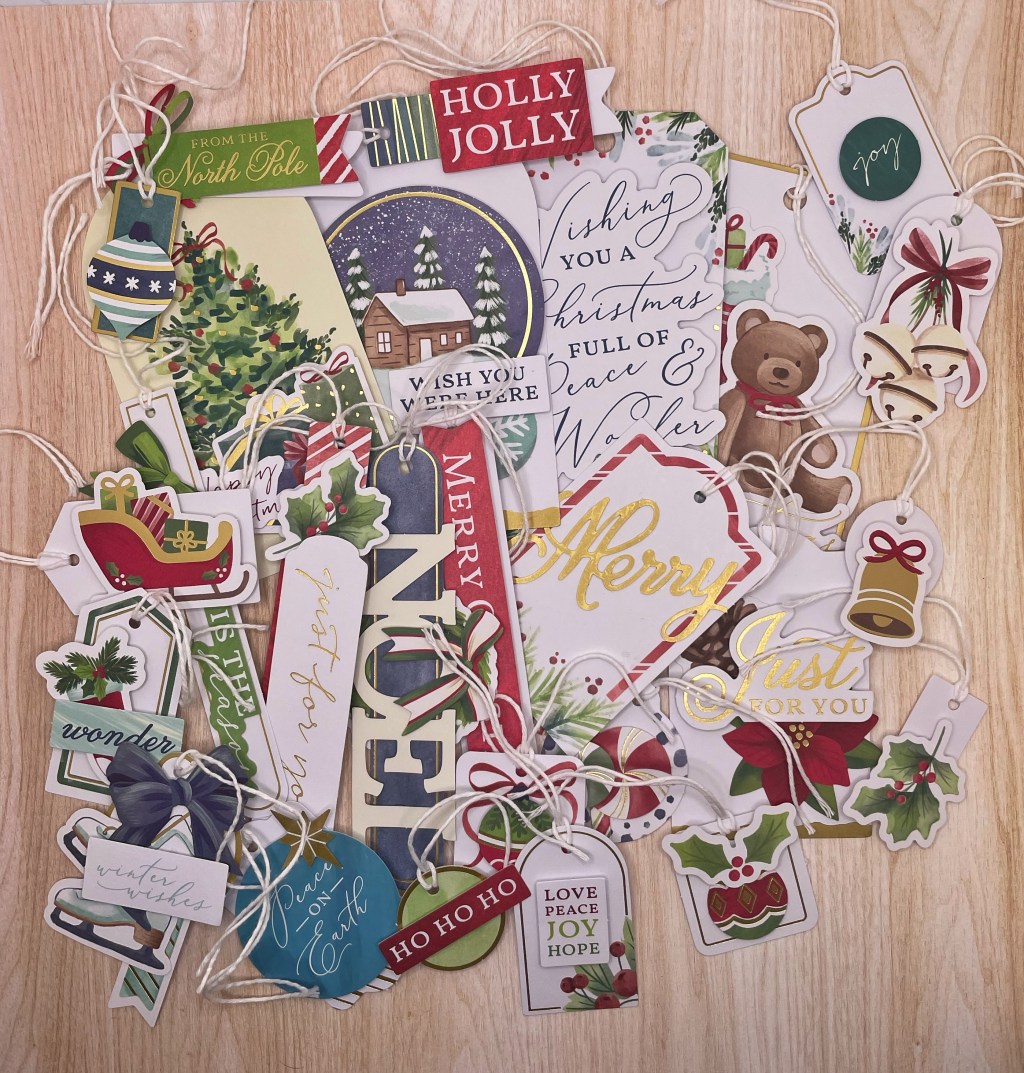
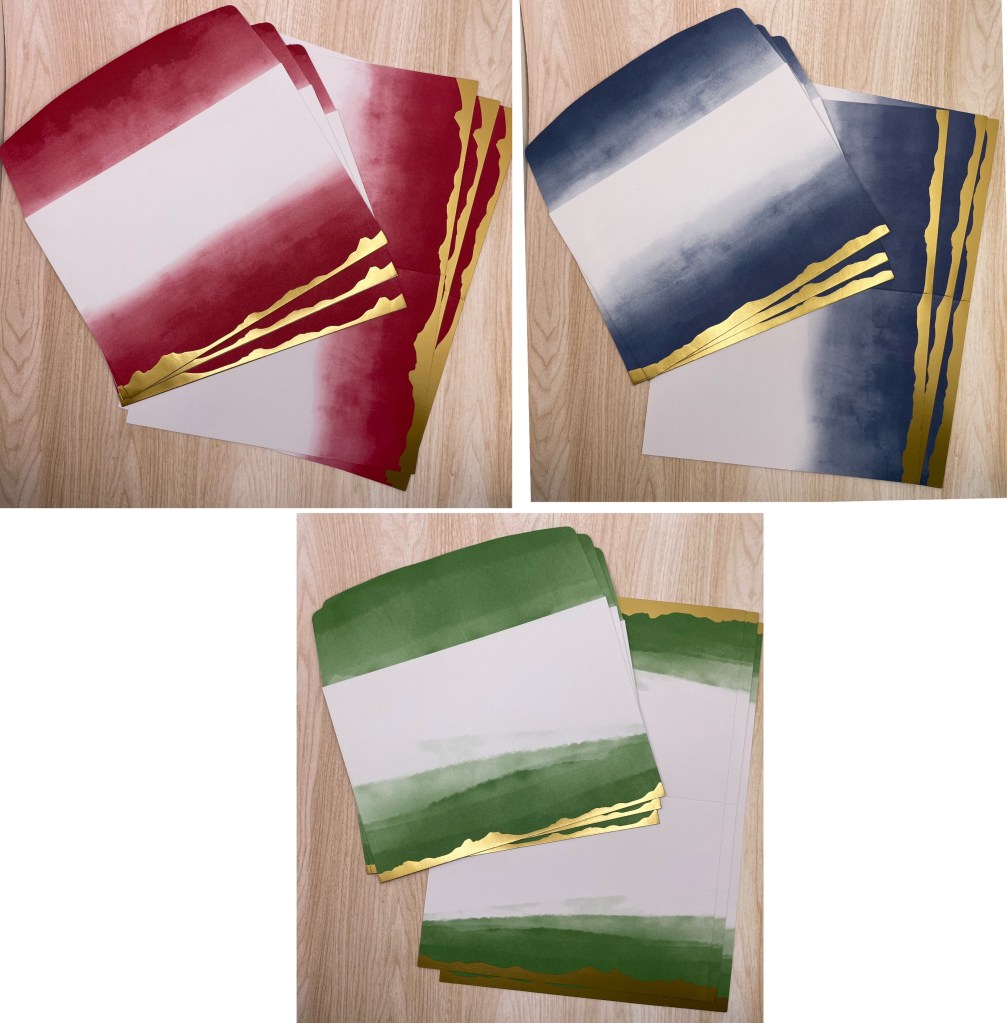
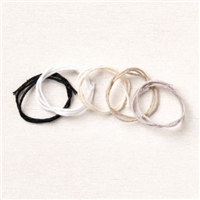
Using just these 4 Ephemera Packs, White Bakers Twine, and adhesives, I was able to make 52 gift tags and 9 cards. I didn’t even have to create from scratch; I just used the layouts and designs included in the catalog. Check out my video to see the products a little closer and all that I made with them!
Each of the three Ephemera Packs comes with 8 sheets of precut images: 2 each of 4 designs.
Tags for the Season Mix & Match Ephemera Pack
Joyful Images Mix & Match Ephemera Pack
Joyful Sayings Mix & Match Ephemera Pack
The fourth Mix & Match product is Gold Dipped Cards & Envelopes. You get 9 card bases and 9 envelopes.
Video Show and Tell
Stampin’ Up! products used to create this project:
I am a project manager by day and a crafter by night. I love Christmas and want to do it all every year. I will share with you how I do it and enjoy it too!