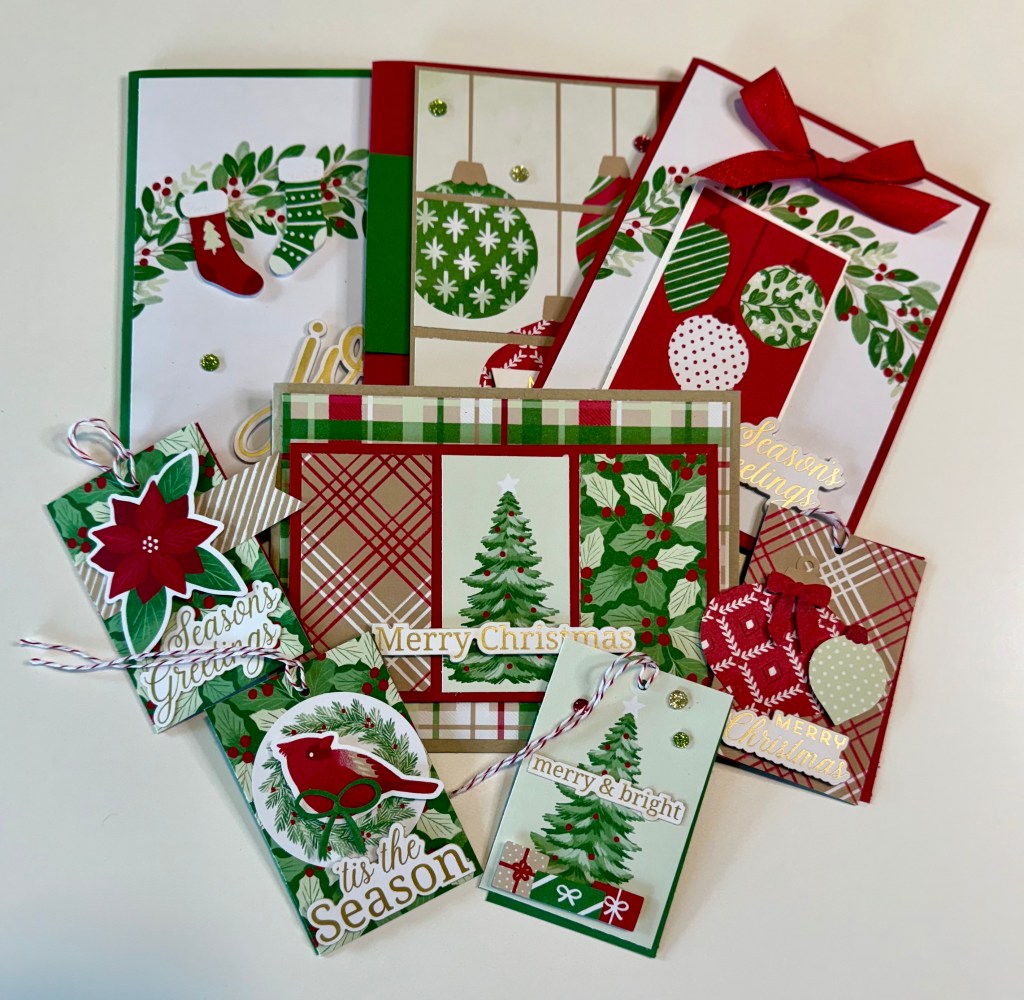
Every year, I love making my own gift tags, and this season is no exception. I’ve already shared a couple of potential designs, but I had to post one more—because these might be the simplest (and most flexible!) tags yet. They come together incredibly fast, which is perfect because without fail, I always seem to run out of tags during those last few days of wrapping and need to whip up a few more.

What I love about the Patterned Tags Dies is how versatile they are. You can truly use any cardstock you already have on hand and mix and match the tag shapes however you like. Add a bit of ribbon, and you’re done! And if you’re in the mood to add a little extra flair, the coordinating decorative elements make it easy to step things up with minimal effort.

Handmade touches make gift-giving feel even more special, and these quick, customizable tags are a perfect way to add personality without spending hours crafting. Whether you’re wrapping early or racing the clock on Christmas Eve, these simple tags are a lifesaver. I hope you enjoy making them—and that they make your gifts shine a little brighter this holiday season!
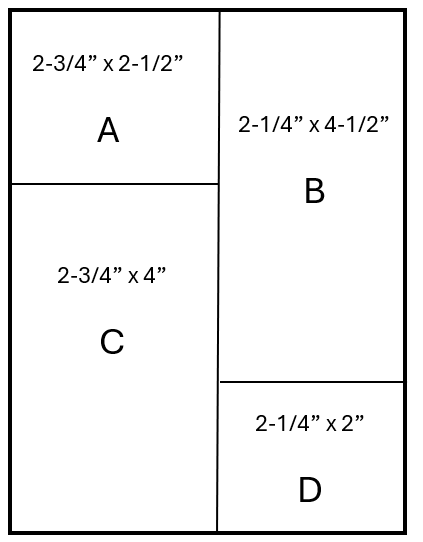
Cardstock Cuts for this project:
- Tag – 3-1/2″ x 2″ each
- Bow – 2″ x 2″ each