I hope you had a wonderful Christmas filled with joy, laughter, and all your favorite traditions. Now take a deep breath and relax—but don’t even think about packing up the holidays yet! The festive season isn’t over. Keep the lights glowing, enjoy the leftovers, and soak in those cozy vibes as we get ready to ring in the New Year.
For us, the celebration continues in a big way. As many of you know, I’m an Ohio State Buckeye and Nathan is a Miami Hurricane, which means our New Year’s plans revolve around football—specifically the Cotton Bowl. There’s nothing quite like closing out the year cheering on your team, and this matchup should be a lot of fun to watch.
Here’s to stretching the holiday magic just a little longer and kicking off the New Year with excitement, friendly rivalry, and plenty of team spirit.
Our Christmas trip this year took us to Asheville, North Carolina and the iconic Biltmore Estate—and it truly was the perfect destination for festive fun. Asheville and its surrounding towns go all out for the holidays, offering something magical for everyone, from cozy small-town celebrations to grand, elegant traditions.
We began our trip in Franklin, where we spent a few wonderful days visiting our friends Beth and Newman. It was such a gift to slow down, catch up, and simply enjoy time together. Their home is nestled into the side of a hill (or mountain!) and the views are absolutely breathtaking—one of those scenes you could admire every single day and never tire of.
From there, we headed to Asheville and jumped right into the holiday cheer. We explored the neighboring town of Black Mountain during their Holly Jolly Celebration, admired the sparkling displays at the Arboretum’s Winter Lights, and of course, spent time at the crown jewel of the area—the Biltmore Estate.
One of the highlights of our stay was dinner at The Dining Room at The Inn on Biltmore Estate. The views were incredible, the atmosphere was elegant, and the food was outstanding—truly a memorable evening.
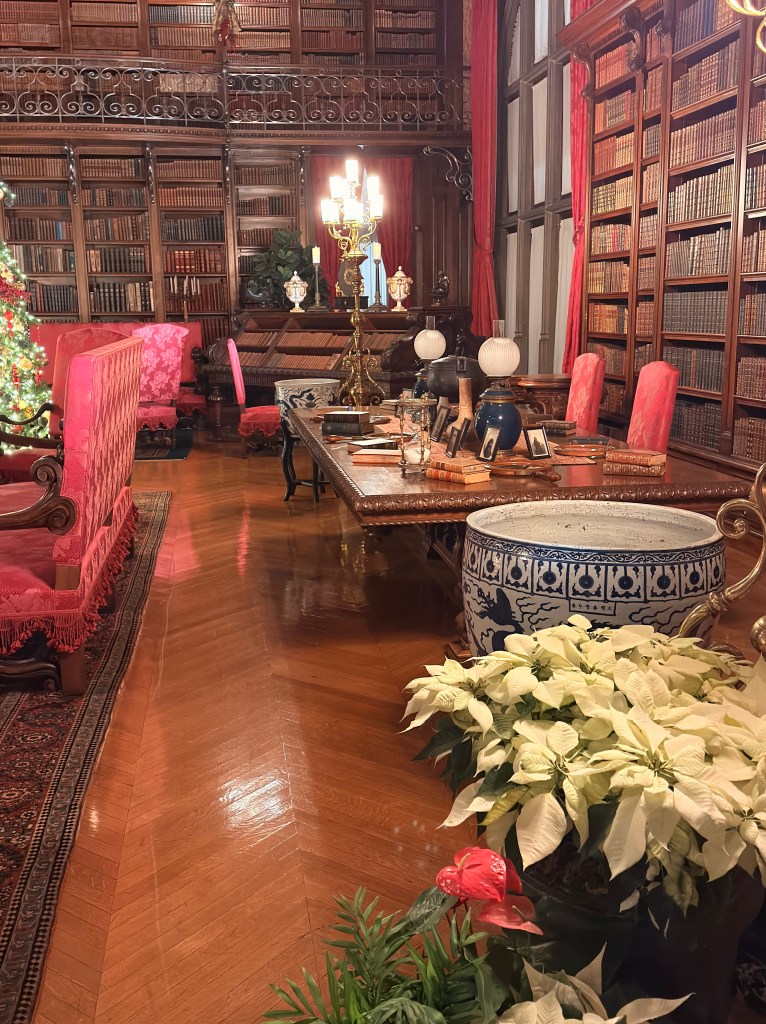
Later that night, we experienced the Candlelight Christmas Tour of the Biltmore House. Seeing the estate illuminated by candlelight, adorned with stunning Christmas décor, was nothing short of magical.
The next day, we returned to the Biltmore Estate in daylight to explore more at a relaxed pace. We enjoyed lunch at Village Social, then made our way to the winery to sample their wines—a perfect way to round out our time on the estate.
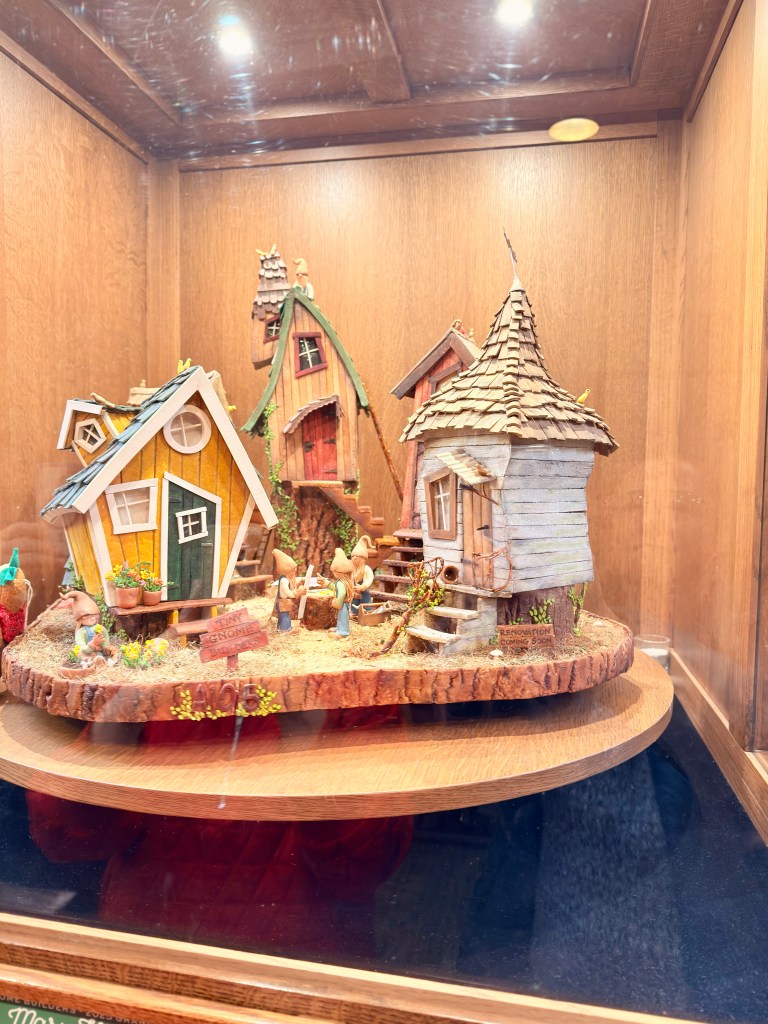
While in Asheville, we also visited The Omni Grove Park Inn to see the entries for the National Gingerbread House Competition. The Inn itself is breathtaking, built into the side of a hill so that you enter on the 10th floor. Out back, stairs wind down the hillside and lead to a scenic golf course below.
The gingerbread displays were unbelievable—each one more detailed and creative than the last. I truly don’t know how the judges choose a winner!
The lobby’s two massive fireplaces immediately drew us in, and we couldn’t resist grabbing a snack and a drink to enjoy fireside. Being able to cuddle up in front of a roaring fireplace is something I especially miss during the holidays while living in Florida.
We also made sure to indulge in some spectacular hot chocolate—because what’s a Christmas trip without it?
Overall, our Asheville Christmas trip was absolutely amazing. Between spending time with great friends, enjoying delicious food, and soaking in so many beautiful holiday traditions, it was a getaway we’ll treasure for years to come. Asheville truly knows how to do Christmas, and this trip left us feeling full of joy, gratitude, and holiday spirit.
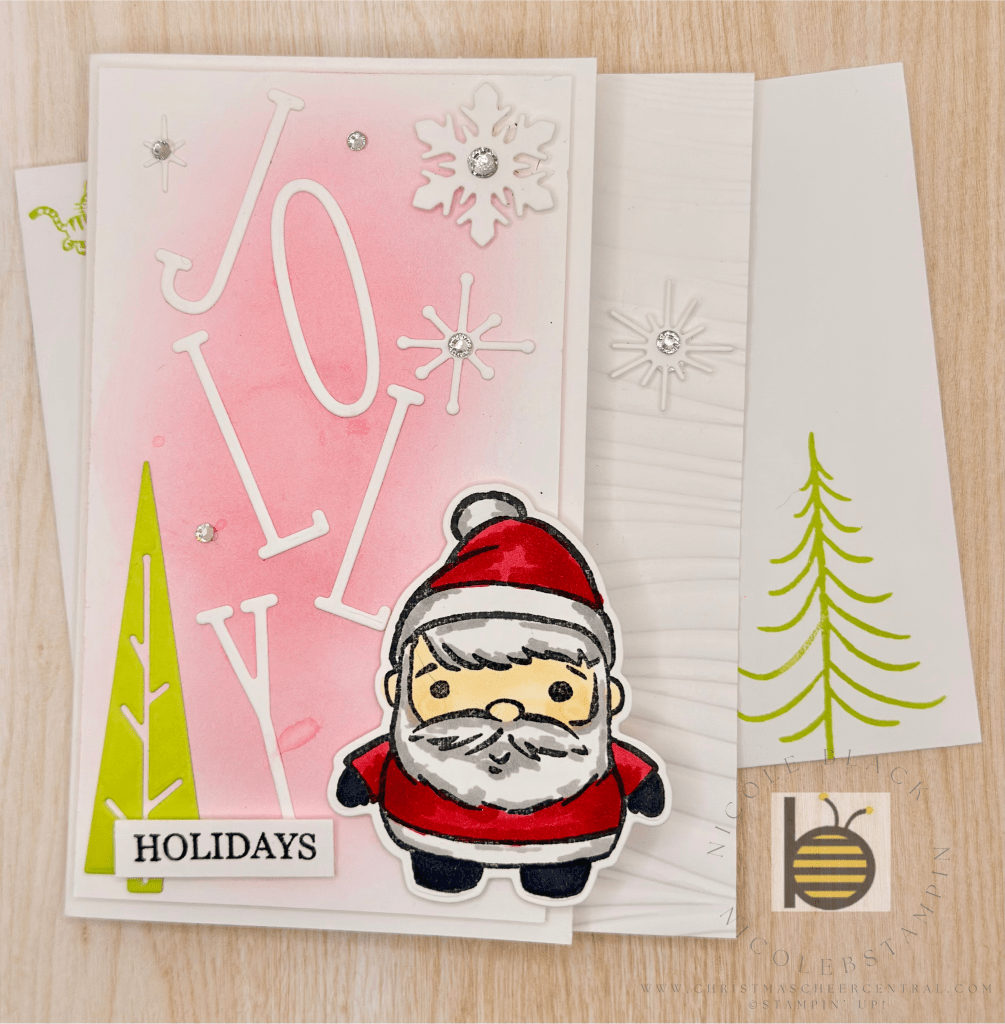
One week before Christmas—can you believe it? As the season winds down, I wanted to share my final Christmas card of the year, the one I sent to my Stampin’ Up! friends. This card truly captures everything I love about holiday crafting: color, texture, whimsy, and just the right amount of sparkle.
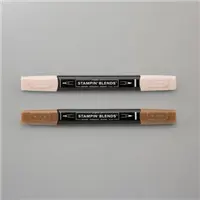
I had so much fun coloring the Santa images using Stampin’ Blends. Bringing them to life with shading and dimension is always one of my favorite parts of card making. For the background, I brushed Real Red ink onto the cardstock using Blending Brushes, and I absolutely love the soft, almost pail tone that emerged. It pairs beautifully with the Lemon Lime Twist tree, giving the card a fresh, modern twist on traditional Christmas colors.
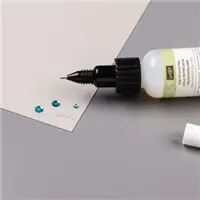
There was a bit of die cutting and gluing involved, but that’s part of the fun—and of course, I couldn’t resist adding a little bling! A few Rhinestones were the perfect finishing touch to make everything sparkle.
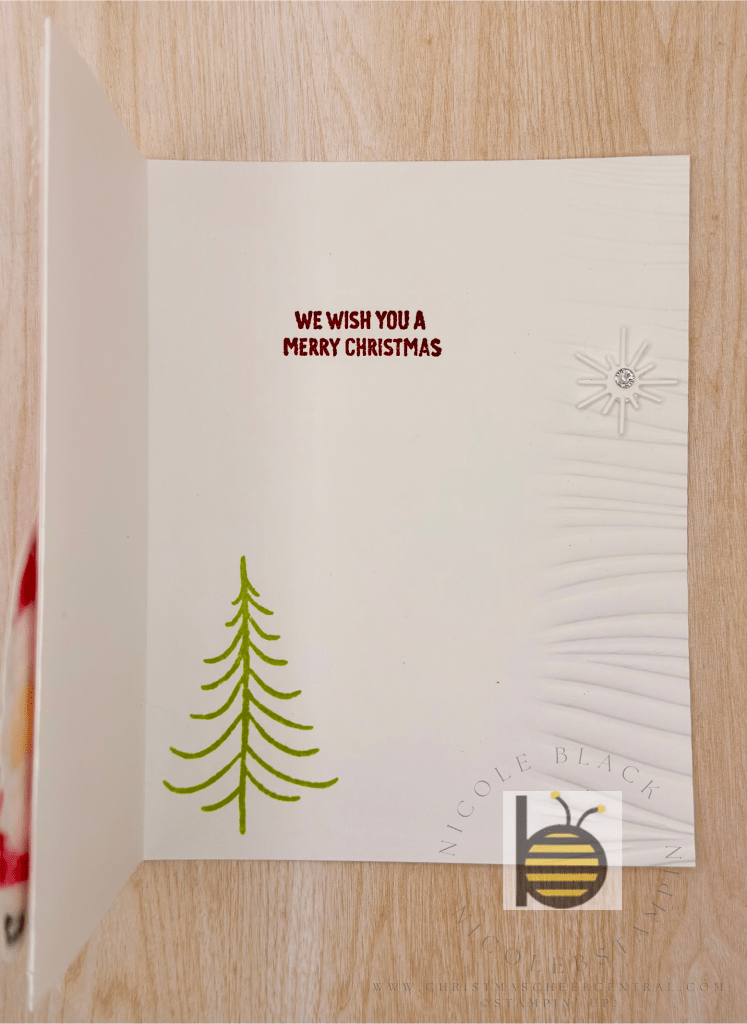
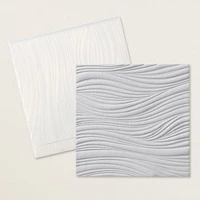
One of my favorite design elements is the shortened card front. I embossed the inside edge using the Soft Waves Embossing Folder, which is such a simple technique but really elevates the entire card. It’s an easy way to add texture and interest without a lot of extra effort.
Overall, I just love the whimsy of this card—you can’t help but smile when you look at it! And for those of you who like to plan ahead for next year’s Christmas cards, this design is definitely one I recommend saving.
Cardstock Cuts for this project:
Basic White Thick – 7-1/2″ x 5-1/2″ scored at 4-1/4
Basic White – 5-1/4″ x 3″ panel; 3″ x 2-1/4″ for Santa die, 5″ x 1-3/4″ for Letters and Snowflake dies; 1-3/8″ x 1/4″ for “Holidays” stamp
Lemon Lime Twist – 3″ x 1″ for Tree die
Stampin’ Up! products used to create this project:
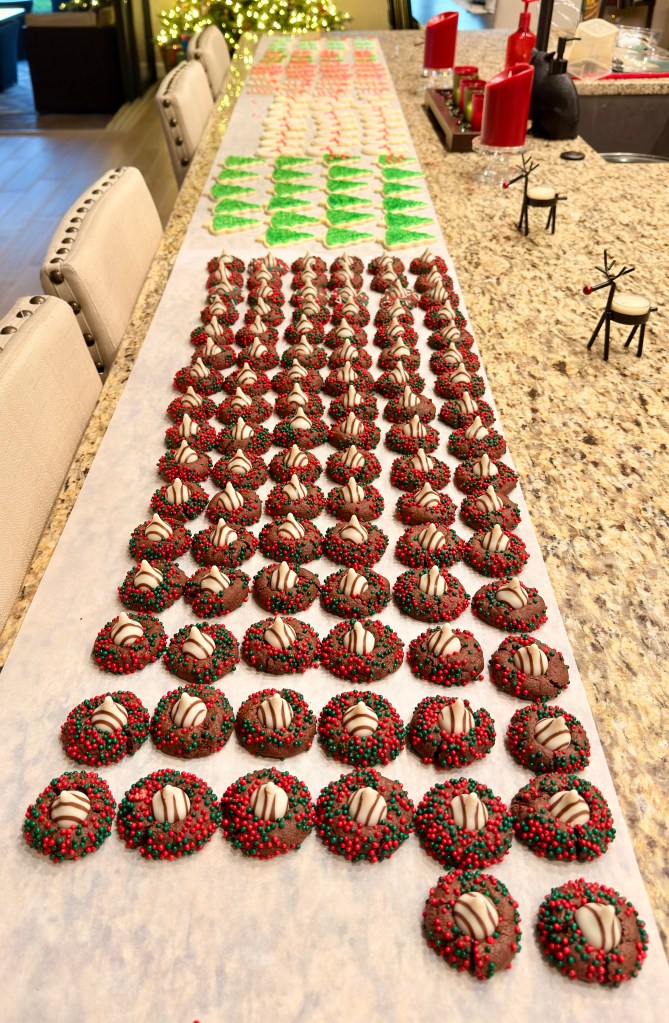
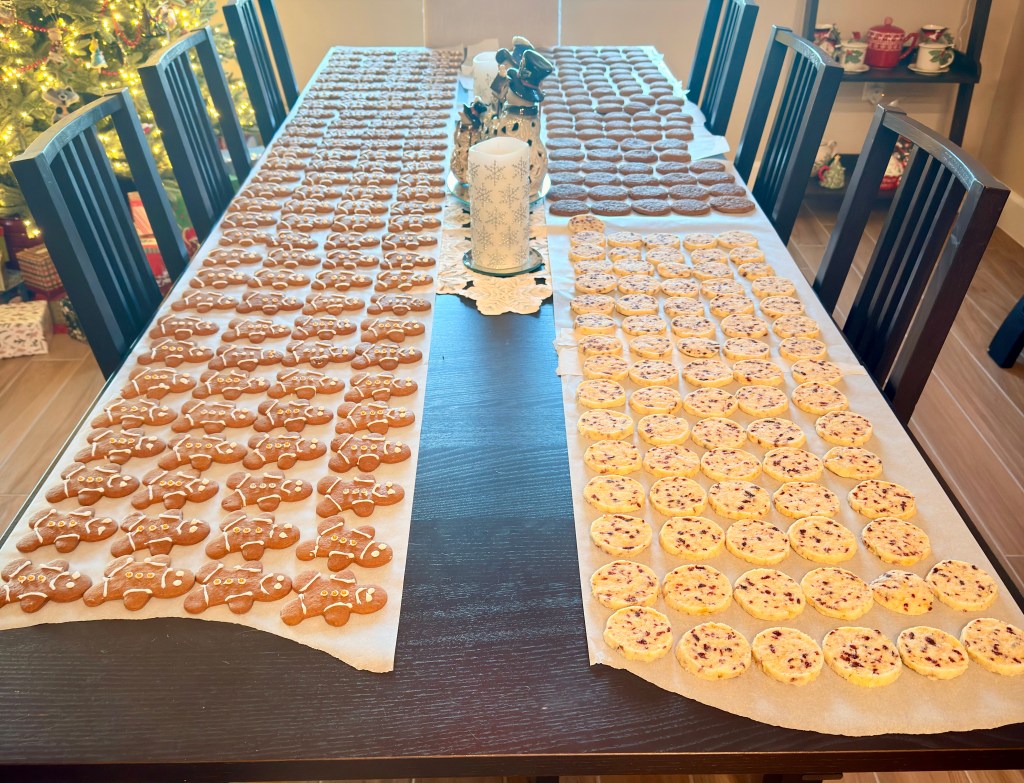
The Christmas cookie baking for 2025 is officially complete, and it feels so good to check this one off the list! Everything came together beautifully, right down to the adorable bakery boxes topped with the sweetest Gingerbread Man tags.
Last weekend, we wrapped up our baking marathon by making Christmas Kiss Cookies and Pumpkin Chocolate Chip Cookies (not pictured—because somehow I forgot to snap a photo!). Both batches came out absolutely perfect. We also iced our Cutout Cookies, which is always one of our favorite traditions. There’s something so fun about turning simple cookies into little works of edible art.
Once everything was baked and decorated, we laid out all the cookies and got to work boxing them up for delivery. In total, we made 570 cookies—enough to fill 22 gift boxes, two large bins for the office, and we still managed to save a few for ourselves.
Overall, I’d call this cookie season a huge success. The baking is done, the boxes are packed, and now it’s finally time to slow down, share the love, and enjoy the sweet rewards of all that hard work.
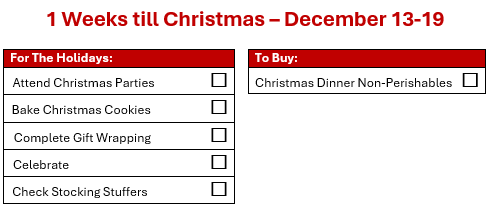
We’ve made it, friends—this is the part of the season we’ve been working toward! With just one week until Christmas, it’s time to shift gears from preparation to pure enjoyment. The lists, planning, and organizing have led you right here, and now the focus is all about savoring the magic.
At this point, the big tasks are mostly wrapped up, and what’s left are the joyful touches that make the holiday feel special. Maybe you’re adding ribbon to those last few gifts, sharing sweet moments in the kitchen, or curling up under a blanket to revisit your favorite Christmas classic. These are the moments that make the season feel alive.
And here’s your gentle reminder: perfection is not the goal—presence is. The charm of the holidays lies in the imperfect, heartfelt details. A slightly crooked bow, a cookie that baked a minute too long, or lights that don’t blink quite in sync… these are the things we remember and cherish.
You’ve poured so much love into creating a beautiful season. Now it’s time to receive it. Breathe, smile, and soak in every sparkle and song. Christmas is almost here—enjoy every magical second!
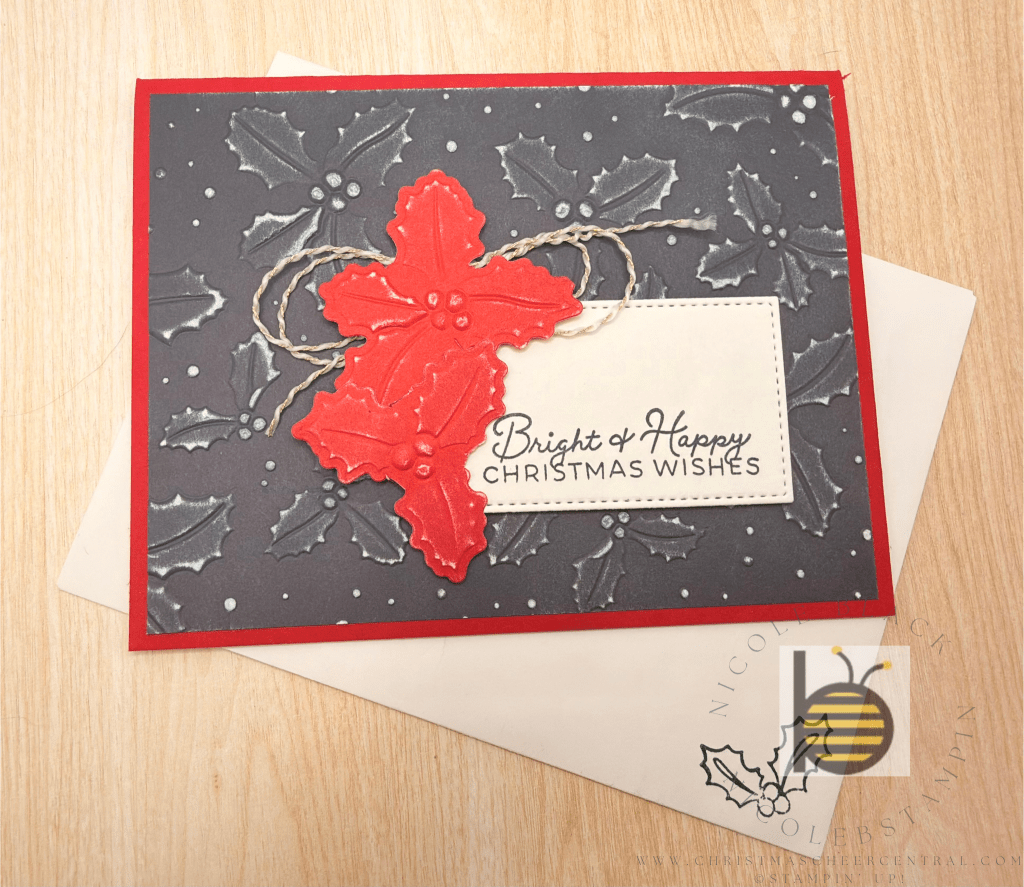
As we step fully into December, most of us are (hopefully!) nearing the end of our Christmas card lists. But just in case you’re still crafting—or simply want one more beautiful design to add to the mix—here’s a simple, festive idea to finish the season strong.
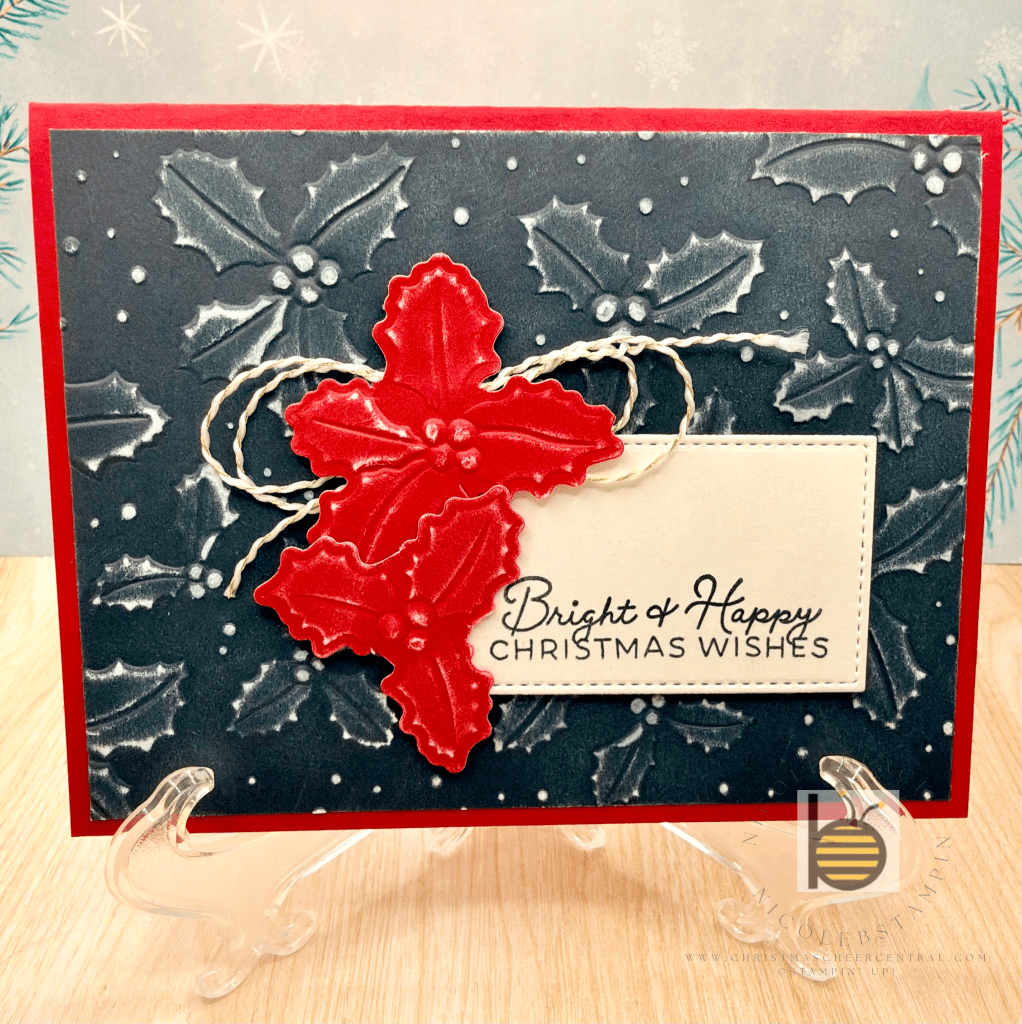
This card combines texture, color, and a touch of rustic charm using the Keeping Traditions Two-Toned Cardstock, which embosses beautifully and reveals a soft white core when distressed. The result is understated, classic, and perfect for sharing a little Christmas cheer.
This design is both quick and impactful. Embossed poinsettias add bold texture, while sanding the two-toned cardstock gives each flower a soft, weathered look—like frosted petals dusted with winter magic. A bit of Baker’s Twine and layered elements bring the card together without making the process complicated.
Instructions:
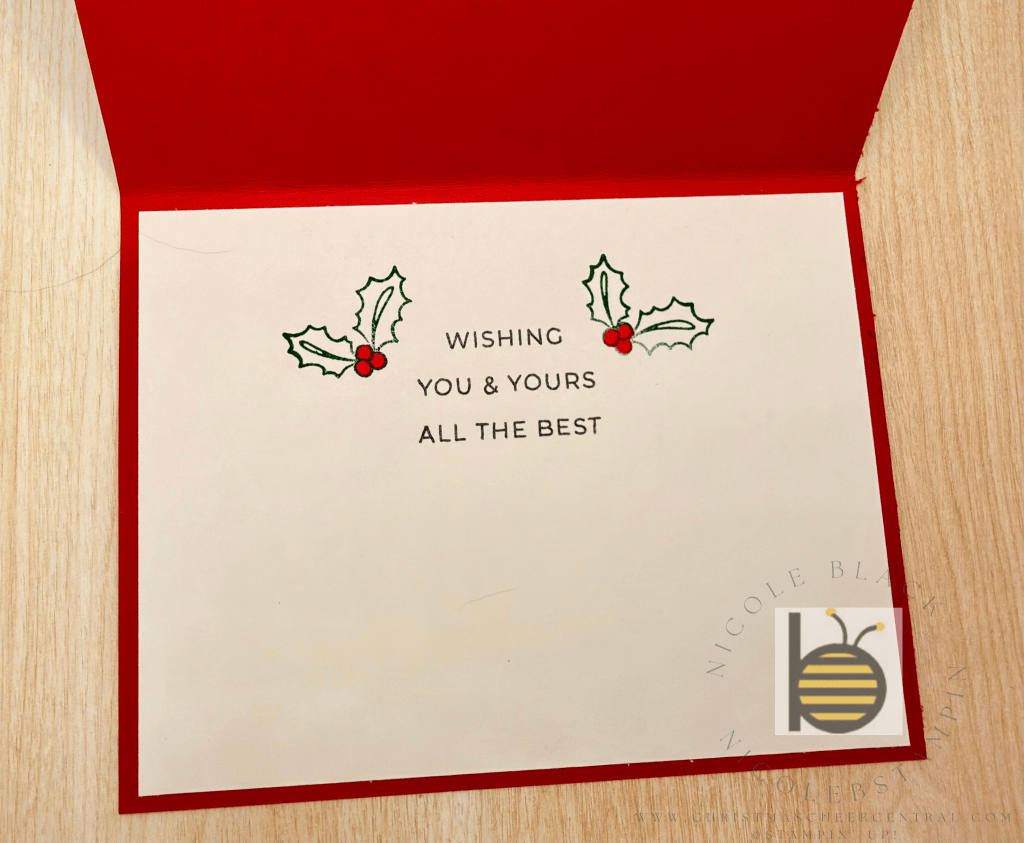
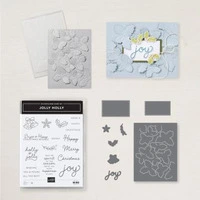
Emboss the Secret Sea Two-Toned cardstock using the Jolly Holly Embossing Folder.
Emboss and die cut the Real Red Two-Toned cardstock at the same time by placing the matching die inside the Jolly Holly Embossing Folder before running it through your machine.
Die cut the small label from Basic White cardstock.
Stamp your sentiment on the white label, and stamp any additional words or images on the inside panel.
Lightly distress the blue and red poinsettias using a nail buffer or very soft sandpaper.
Tape the base layer to the card base.
Add Dimensionals to the label and adhere it to the card front.
Snip two poinsettias from the red cardstock.
Wrap Baker’s Twine around your fingers a couple of times, pinch it in the center, and secure it to the back of one poinsettia with Scotch tape.
Use Dimensionals to attach the poinsettias to the card front.
Adhere the inside panel to the inside of the card.
This card is the perfect blend of simple techniques and elegant results. Whether you’re finishing your last batch of Christmas cards or just squeezing in a little extra crafting joy, this poinsettia design is quick to assemble and full of festive charm. The distressed two-toned cardstock adds a unique touch that makes the project feel special—proof that even a last-minute card can be beautiful.
Cardstock Cuts for this project:
Real Red – 8-1/2″ x 5-1/2″ scored at 4-1/4
Basic White – 5-1/4″ x 4″ inside panel; 3″ x 2″ for Label die
Keeping Traditions Two-Toned Cardstock – 5-1/4″ x 4″ of Secret Sea for panel, 5-1/4″ x 4″ of Real Red for Holly Leaves die
Stampin’ Up! products used to create this project:
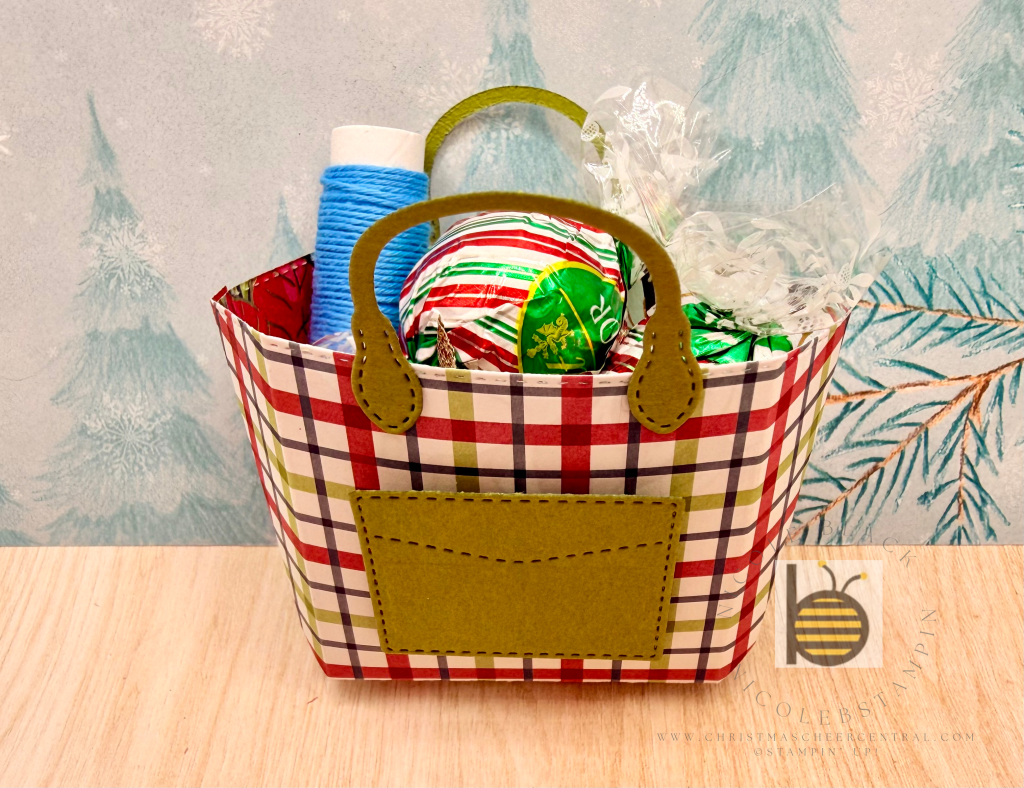
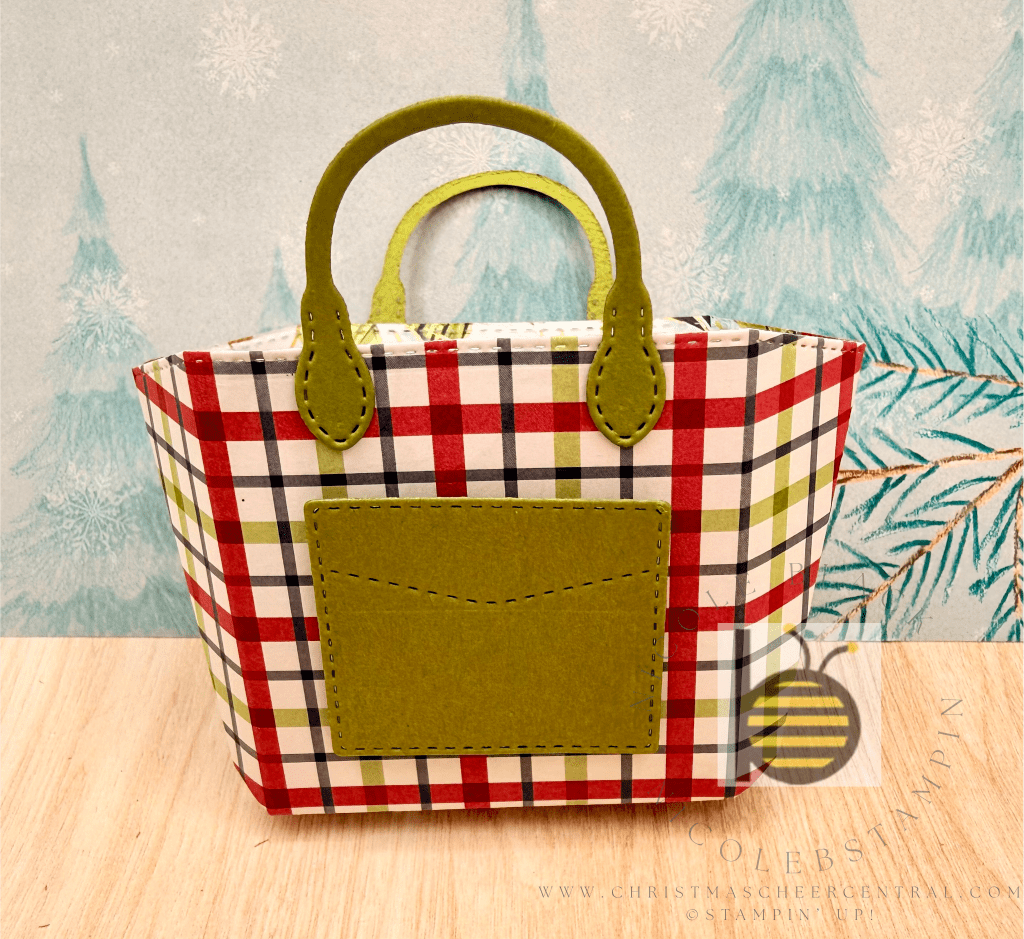
I love putting together little treat gifts for the office, and this year’s project might be my favorite yet. I kept seeing the Notes & Totes Dies used to make adorable craft-style bags, and I thought—why not turn them into festive Christmas totes?
Once the bags were assembled, I was amazed by how much I could fit inside! I made a few for my crafting friends and filled them with Baker’s Twine, candies, and even a tiny Christmas bell. They’re just as fun to make as they are to give!
These mini totes are surprisingly easy to assemble, and I’ve included step-by-step instructions below, along with a video tutorial to guide you through the process.
Instructions
1. Die Cut Die cut two craft bag pieces, two handles, and one pocket.
2. Fold Fold along all the score lines on both bag pieces.
3. Assemble the Bag Use Tear-N-Tape to adhere the bag together. Add tape to one bag piece along the three outer sections (two sides and the bottom). Overlap the matching sections from the second bag and press to secure. Tuck in the two bottom tabs.
4. Add the Handles Use Glue Dots to attach the handles to the front and back of the tote.
5. Add the Pocket Attach the pocket to the front of the bag using Dimensionals for a raised, polished look.
Video Tutorial:
Watch the full assembly process step-by-step!
These little Christmas totes are the perfect mix of practical, adorable, and easy to personalize. Whether you’re making them for coworkers, friends, or as holiday party favors, they’re guaranteed to bring a smile. I hope you have as much fun creating and gifting them as I did!
Stampin’ Up! products used to create this project:
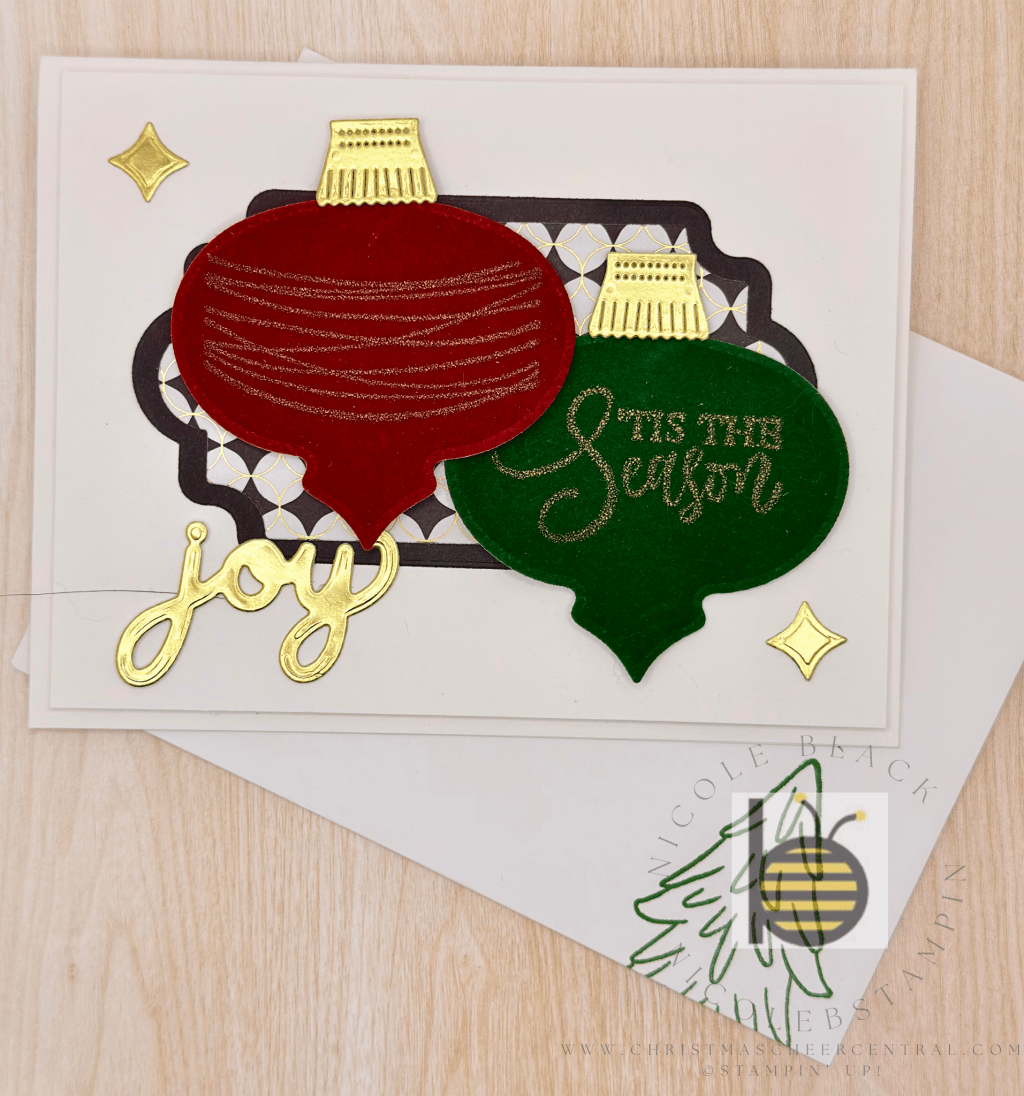
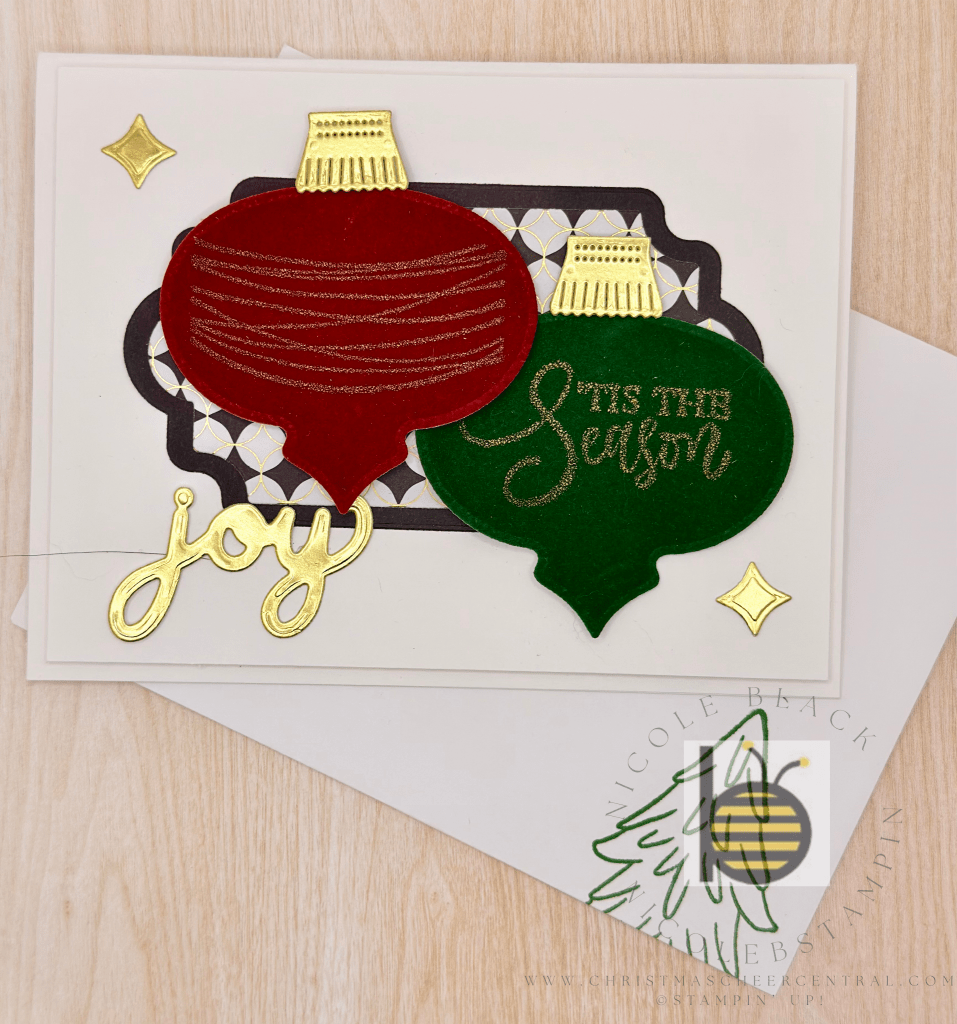
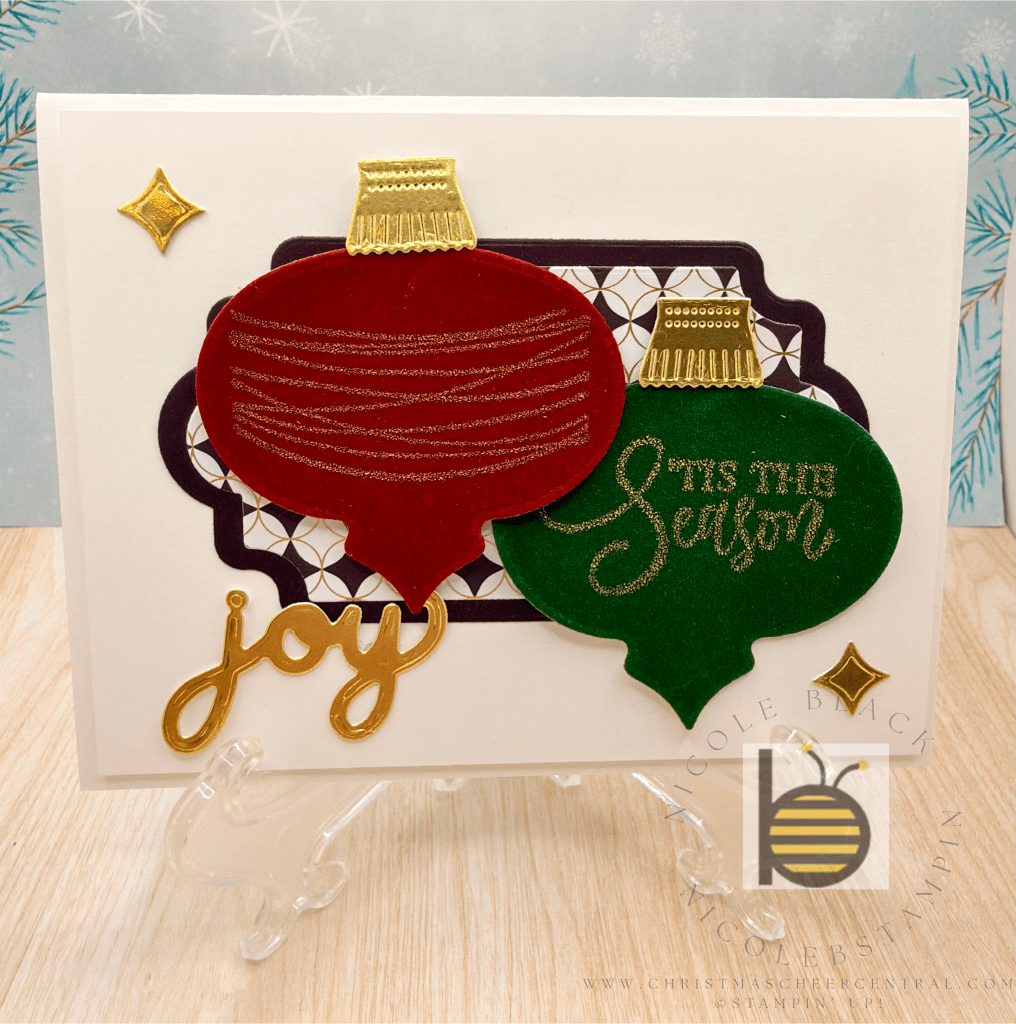
There’s nothing quite like a handmade Christmas card—especially one that combines beautiful textures and metallic shine. This design features luxurious Velvet paper paired with radiant Gold Foil for a look that is both simple and undeniably classy. Whether you’re making a batch for friends or crafting a special one for someone dear, this card delivers elegance without the fuss.
Prepare Your Pieces
Begin by die cutting all your elements. Once you have everything ready, emboss the Velvet ornaments with Gold embossing powder. Yes, you can emboss on Velvet—and it looks stunning! The heat brings out a rich texture and creates a gorgeous contrast with the gold.
Assemble the Card
Follow these easy steps to put your card together:
Add Dimensionals to the white layer and adhere it to your card base.
Tape the two labels together, then attach them to the card front.
Adhere the green ornament directly to the card front.
Add Dimensionals to the red ornament and adhere it for added depth.
Use Glue Dots (or your favorite adhesive) to secure the gold elements in place.
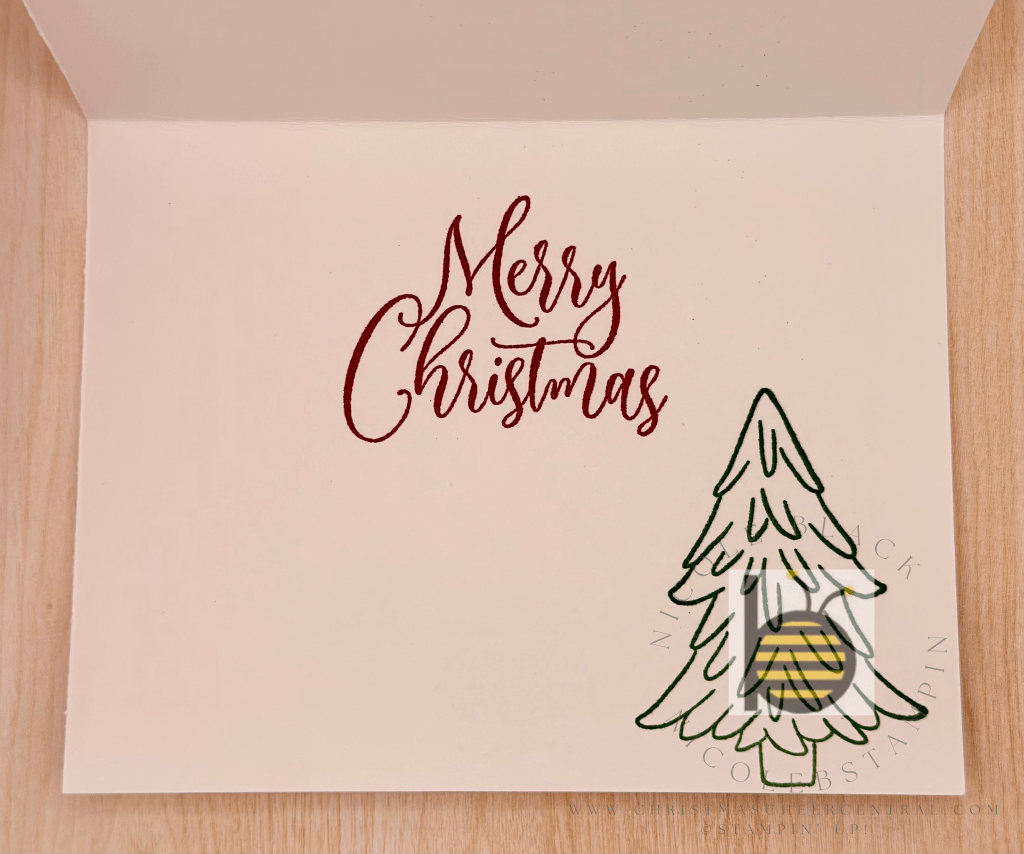
Finish the inside with a couple of coordinating stamps from the Ornamental Christmas set.
This card may come together quickly, but the result is anything but simple. The mix of Velvet texture and Gold Foil adds a luxurious feel that makes this design truly special. It’s the kind of handmade card that people keep and display long after the holidays. I hope you enjoy creating this elegant Christmas card as much as I did!
Cardstock Cuts for this project:
Basic White Thick – 8-1/2″ x 5-1/2″ scored at 4-1/4
Basic White – 5-1/4″ x 4″ panel
Basic Black – 4-1/2″ x 2-3/4″ for Label die
Gold Foil – 3″ x 2″ for Joy, Diamonds and Ornament Top dies
Modern Christmas DSP – 4″ x 2-1/2″ for Label die
All Season Velvet – 3″ x 3″ in Red and Green for Ornament Die
Stampin’ Up! products used to create this project:
It’s finally here—December 1st! That means it’s officially time to open the first doors, drawers, and pockets of your advent calendars. Whether your countdown includes chocolate, a daily activity, or a crafty surprise, there’s something extra special about this tradition that brings out the childlike joy in all of us.
Nathan and I absolutely love advent calendars… so much so that we have three! Each one brings a different kind of excitement, and together they make every day of December feel festive and fun.
Our Activity Advent Calendar
If you’ve followed along, you know our activity advent calendar is one of our favorites. I plan activities that work no matter how busy we are that day—simple, festive moments that help us slow down and enjoy the season together. This year, I added several new ideas to keep things fun and fresh:
Enjoy a cup of Christmas Tea
See how long you can make a candy cane last
Enjoy roasted marshmallows
Enjoy a Christmas cocktail
Slow dance to your favorite Christmas song
Play Christmas trivia
Use only Christmas mugs for all of your drinks for an entire day
Read Twas a Night Before Christmas
Share a kiss (or two) under the mistletoe
Watch a Christmas cartoon short
Go for a holiday walk
Sing Christmas carols
Have a glass of eggnog
Write a letter to Santa
Have a glass of hot chocolate
Play a game together
Enjoy a Christmas cookie
Color/draw a Christmas picture
Picnic in front of a Christmas tree
Snuggle up together and Enjoy a beverage and a little Christmas music
Pay It Forward/Random act of kindness
Wear a Santa hat all day
Write a Christmas wish and hang it on a tree
Play ‘I spy Christmas’ when out for a walk or drive
Wear a red and/or green outfit
Cuddle up and watch a Christmas movie
Wear Christmas socks
Work on a Holiday puzzle
Have an indoor snowball fight with socks
These little moments have become such a meaningful part of our Christmas season. They remind us to pause, notice the joy around us, and make memories in the middle of the holiday rush.
Our Tea Advent Calendar
Our second calendar is a tea advent from Adagio, and we’re so excited to brew a new flavor each day. We always like having at least one advent that gives us a daily treat—last year we enjoyed a delicious chocolate calendar from Norman Love—so this one feels perfectly cozy for the season.
My Stampin’ Up! Craft Advent Calendar
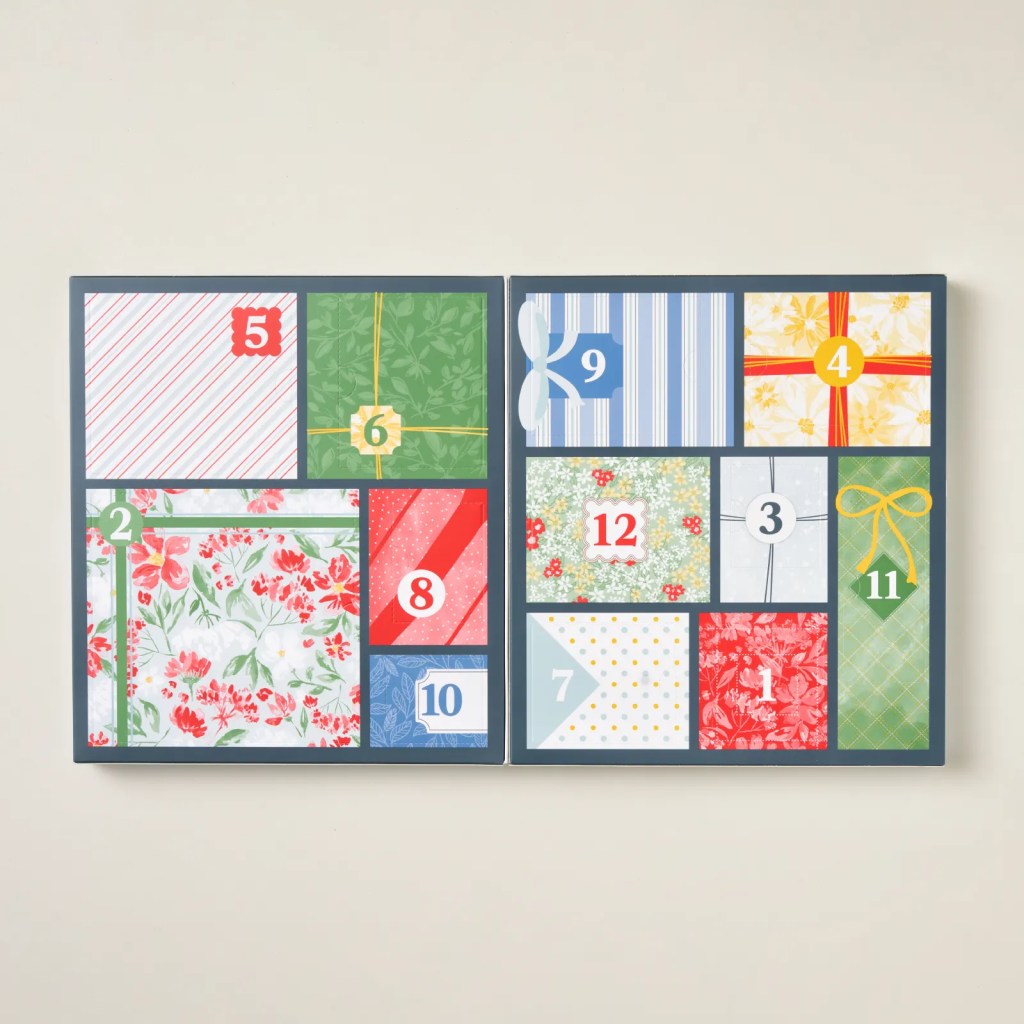
And finally… my craft-loving heart is fully invested in the Stampin’ Up! advent calendar! Each day reveals a fun crafting goodie, and I can’t wait to see what’s inside.
Stampin’ Up! also shares daily unboxing videos on YouTube where they create a project with that day’s item. If you’re a crafter, be sure to follow along—it’s such a fun way to spark creativity all month long.
December 1st always feels like the true start of the season, and advent calendars add a layer of anticipation that makes each day feel magical. Whether you have one or several, the joy is in the little moments—those tiny daily rituals that build excitement and help you savor every bit of Christmas. I hope your advent countdown brings you just as much delight as ours does!
I am a project manager by day and a crafter by night. I love Christmas and want to do it all every year. I will share with you how I do it and enjoy it too!