I love putting together little treat gifts for the office, and this year’s project might be my favorite yet. I kept seeing the Notes & Totes Dies used to make adorable craft-style bags, and I thought—why not turn them into festive Christmas totes?
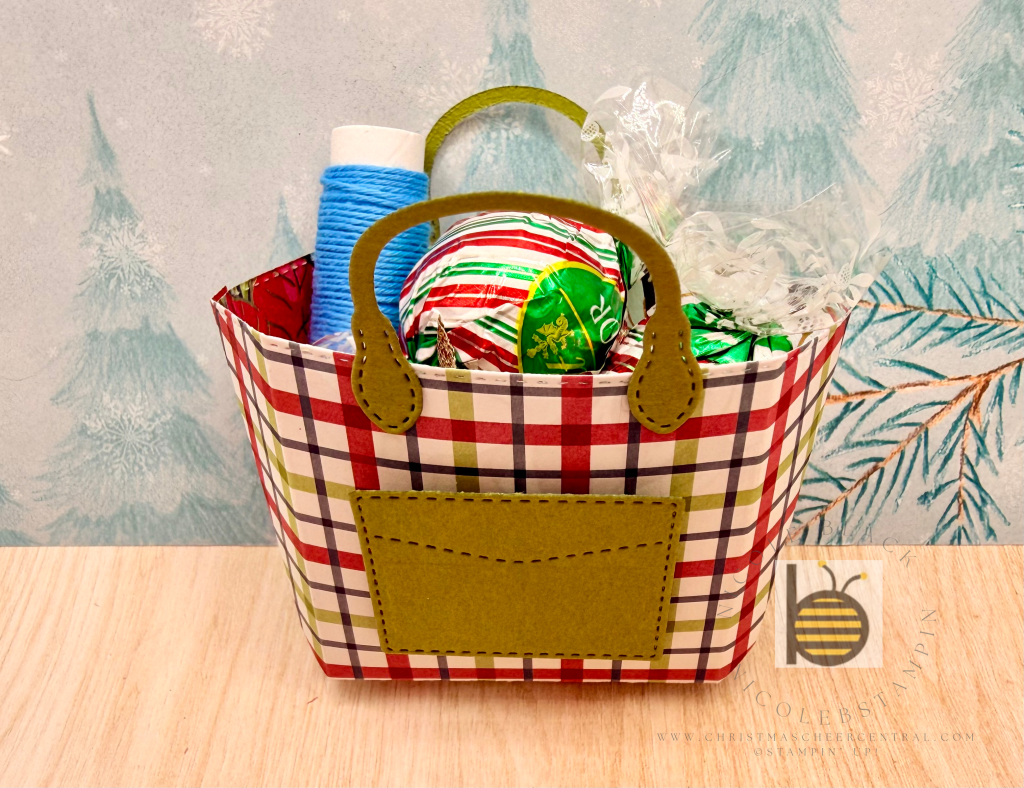
Once the bags were assembled, I was amazed by how much I could fit inside! I made a few for my crafting friends and filled them with Baker’s Twine, candies, and even a tiny Christmas bell. They’re just as fun to make as they are to give!
These mini totes are surprisingly easy to assemble, and I’ve included step-by-step instructions below, along with a video tutorial to guide you through the process.
Instructions
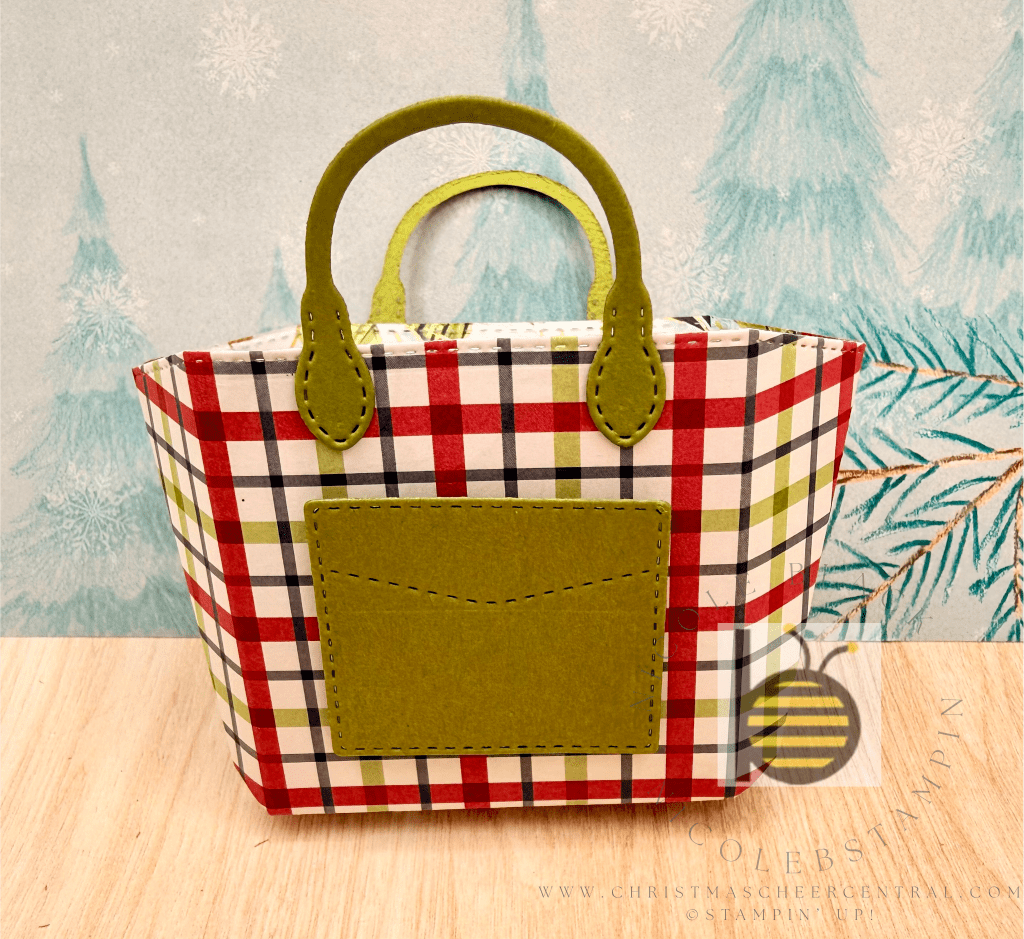
1. Die Cut
Die cut two craft bag pieces, two handles, and one pocket.
2. Fold
Fold along all the score lines on both bag pieces.
3. Assemble the Bag
Use Tear-N-Tape to adhere the bag together. Add tape to one bag piece along the three outer sections (two sides and the bottom). Overlap the matching sections from the second bag and press to secure. Tuck in the two bottom tabs.
4. Add the Handles
Use Glue Dots to attach the handles to the front and back of the tote.
5. Add the Pocket
Attach the pocket to the front of the bag using Dimensionals for a raised, polished look.
Video Tutorial:
Watch the full assembly process step-by-step!
These little Christmas totes are the perfect mix of practical, adorable, and easy to personalize. Whether you’re making them for coworkers, friends, or as holiday party favors, they’re guaranteed to bring a smile. I hope you have as much fun creating and gifting them as I did!
Stampin’ Up! products used to create this project:


Price: $16.50


Leave a comment