Every year, I love adding a handmade touch to my holiday gifts by creating a special package topper. I try to design something that not only looks pretty on a present but can also double as an ornament—because who doesn’t love a little keepsake?
This year, I came across a gorgeous idea using the Delicate Pines Bundle, and I had to try it. I’m so glad I did—it turned out beautifully!
The design itself is simple, but figuring out the ribbon assembly took me a minute. I wanted to make sure it stayed secure and wouldn’t come apart over time. After a bit of experimenting, I found a method that works perfectly. I’ve included step-by-step instructions below and a video tutorial showing exactly how I handled the ribbon, so be sure to check that out.

Instructions
1. Stamp & Die Cut
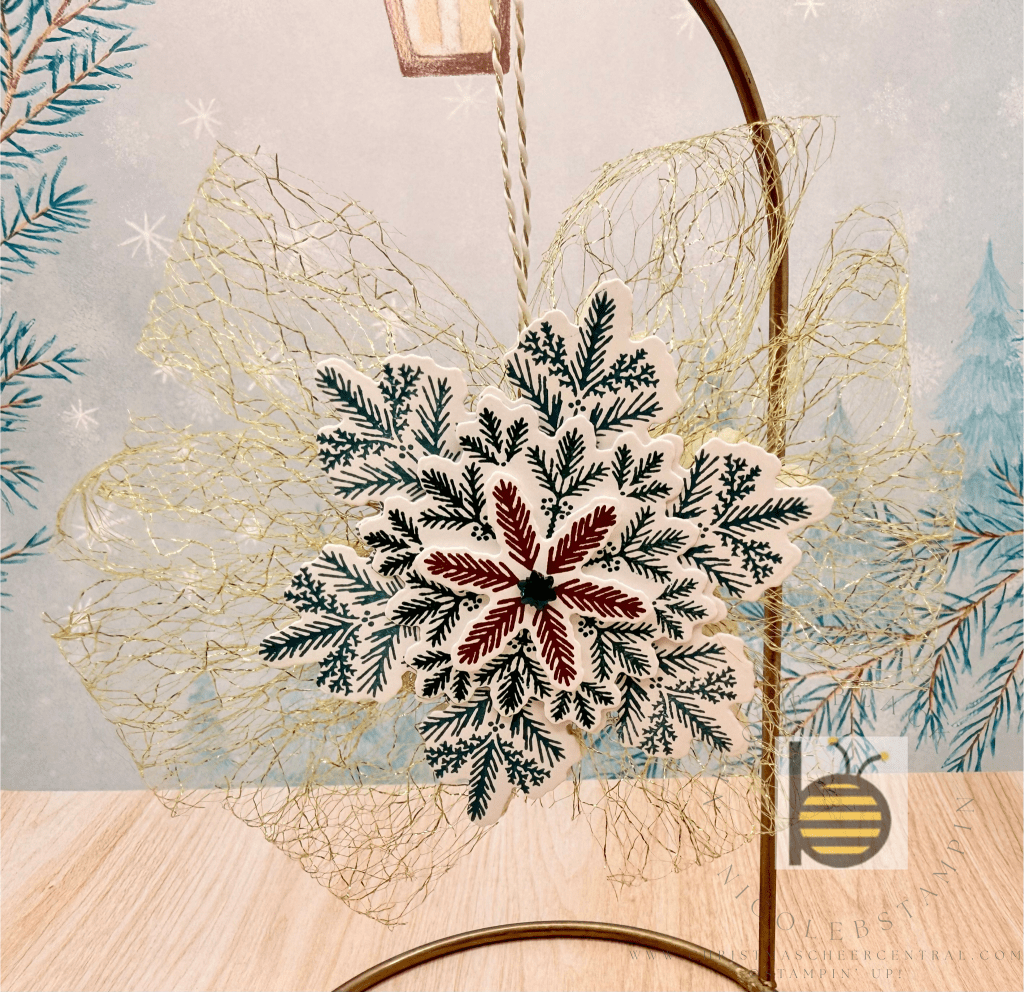
Stamp and die cut your snowflakes—three for each side of the ornament.
2. Create the Ribbon Loops
Loop the Gold Open Weave Trim 3–4 times to form 6–8 loops. Tie the center with Gold/White Baker’s Twine to secure it.
Tip: Leave a long tail on the Baker’s Twine so you can easily attach the ornament to a gift or hang it on the tree.
3. Assemble the Center
Glue the tied center of the Gold Open Weave Trim to the back of one large snowflake. Then add the second snowflake on top to sandwich the ribbon in between. Make sure the Baker’s Twine is pulled upward so it doesn’t get glued down.
4. Build the Layers
Use Dimensionals to attach the remaining snowflakes and create a stacked, layered look.
5. Add Sparkle
Finish with a Faceted Snowflake Embellishment for that perfect little shimmer.
6. Create the Hanger
Tie the ends of the Baker’s Twine together to form a hanging loop.
Video Tutorial:
Watch the full ribbon assembly and final ornament come together step-by-step!


Leave a comment