True confession time—I wasn’t immediately inspired when I first saw this stamp set. It just didn’t grab me. But then I started seeing other creators use it, and that’s when it began to grow on me. The turning point? Realizing that the jar is a punch, not a die! Once I saw that, it went straight into my cart and was on its way to my craft room.

The Table Look
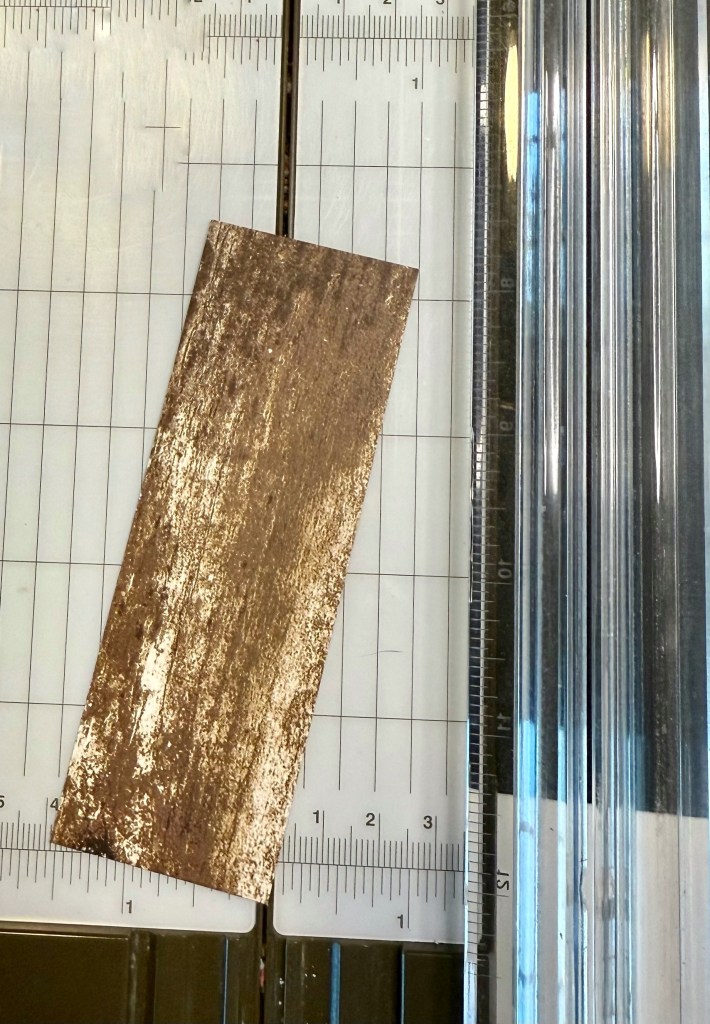
I spotted someone using the Country Woods Designer Series Paper (DSP) to mimic a tabletop, and it looked so sharp that I had to try it myself. For the angled piece, I started with a strip cut to 4-5/8″ x 1-3/4″. Then, using my trimmer, I lined up one corner on the cutting track and the opposite corner at the 1″ mark to get that perfect angled edge. Just make sure you’re cutting in the direction you want the slope to appear on your card!
Punching Out the Jar
Before stamping, I punched the jar and lid out of scrap paper. Then, I placed the jar and lid stamps inside the outline of the punch to then put them on my block. This trick let me perfectly line up both stamps, so when I stamped them on my cardstock, they fit the punch exactly and I could punch them out together—quick, easy, and perfectly aligned every time.

Cookies in the Jar
The cookie jar image uses two-step stamping—such a fun and simple technique. I first stamped the solid cookie image in Pecan Pie, then added the outline in Early Espresso. I’ve also seen it done with Crumb Cake instead of Pecan Pie, and that gives it a slightly softer look that’s just as nice.
Ribbon Tip
Here’s a little trick I use whenever I want my ribbon to wrap on an angle—and it works every time:
- Cut two ribbon pieces slightly longer than your cardstock layer.
- Tape the ends of each ribbon to the back of the cardstock using Scotch tape on one side.
- Pull them across the front at your desired angle and tape the other ends to the back.
- Tie a separate bow and adhere it to the front with a glue dot.
It’s a simple technique that keeps the ribbon neat, flat, and perfectly positioned every time.
Finishing Touches
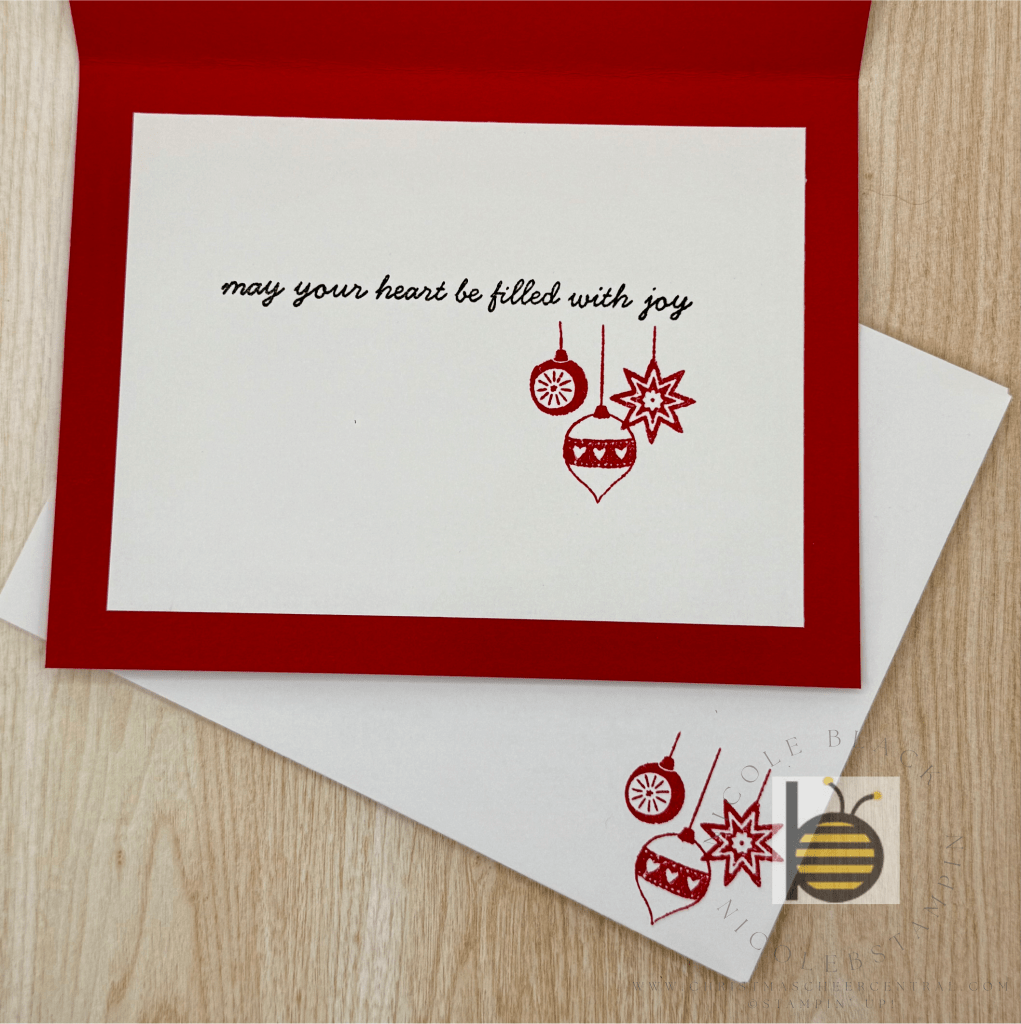
I couldn’t resist using the ornaments from this set—they’re just too cute not to include! They added the perfect festive detail to tie everything together.
I think this set has officially won me over. I already have a few more design ideas swirling in my head, so I’m sure you’ll be seeing more projects with it soon!
Cardstock Cuts for this project:
- Real Red – 8-1/2″ x 5-1/2″ scored at 4-1/4
- Early Espresso – 4-3/4″ x 3-1/2″ panel
- Basic White – 4-3/4″ x 3-1/2″ inside panel, 4-5/8″ x 3-3/8″ panel, 2-1/2″ x 2-1/2″ for Jar punch
- Country Woods DSP – 4-5/8″ x 1-3/4″ panel


Leave a comment