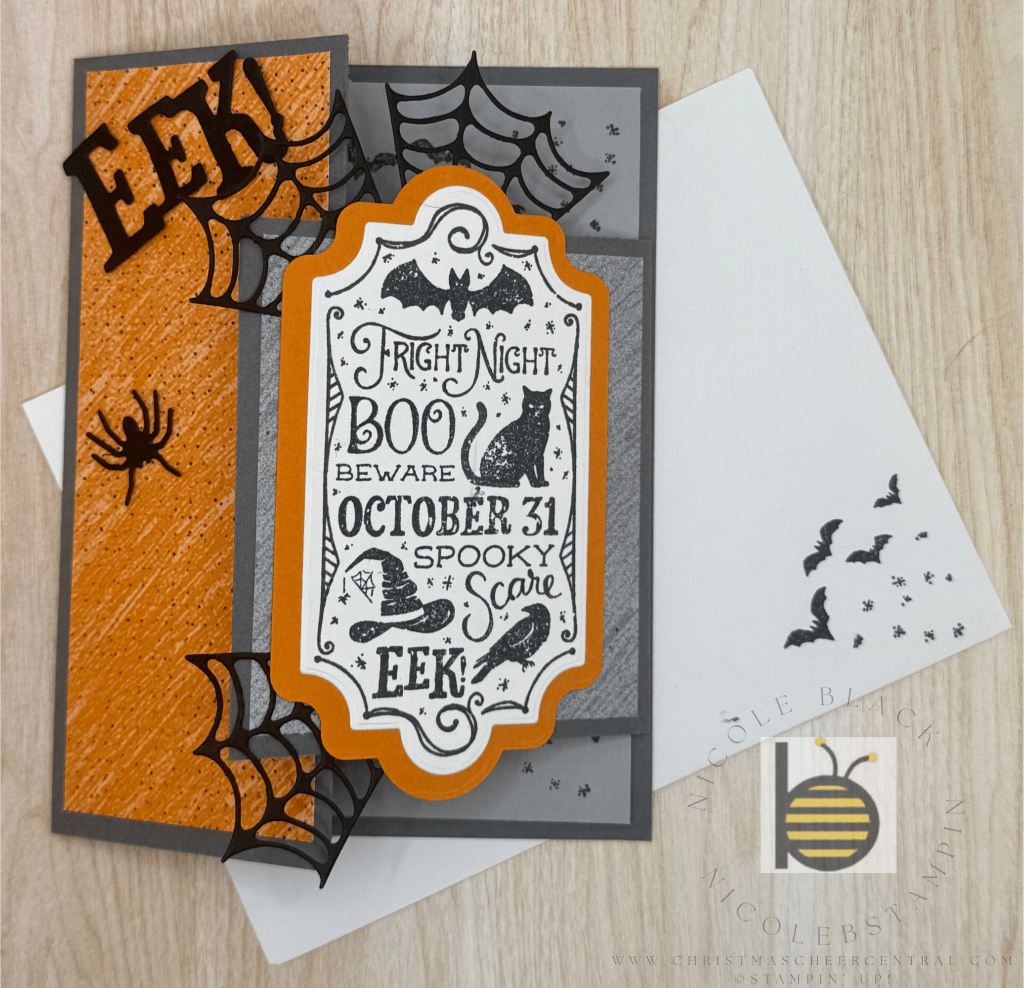
Today I’m sharing a spooky fun fold card made with the Fright Night Bundle! This fold adds such a playful twist to your card and really makes your Halloween design stand out.
Step 1: Stamping & Die Cutting
Before putting the card together, complete all your stamping and die cutting. Having everything ready makes the assembly quick and easy.
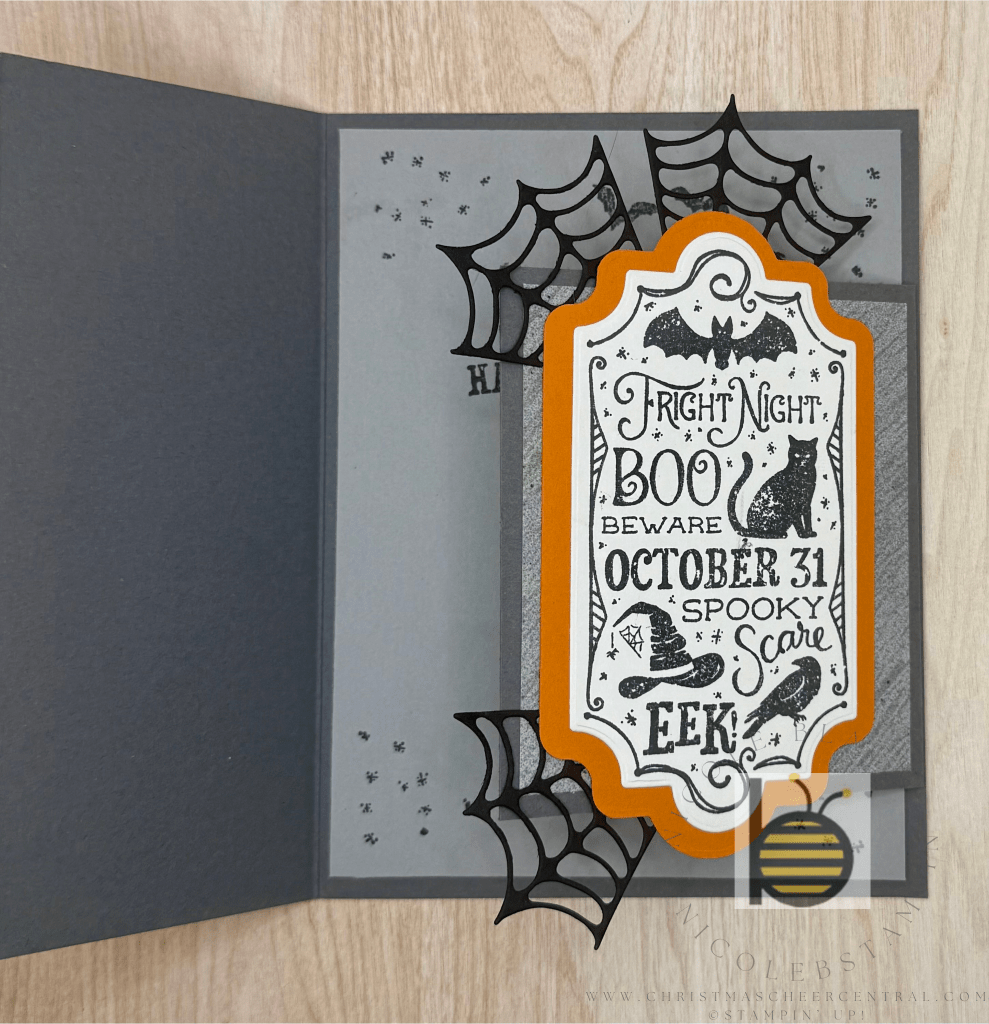
Step 2: Create the Fancy Fold
Steps Fancy Fold
- Cut a Basic Gray panel to 6-1/2″ x 5-1/2″ for your card base
- Score at 4-1/4″. The short section will be part of the front of the card.
- Cut a Basic Gray panel to 4″ x 3-1/2″
- Score at 3″.
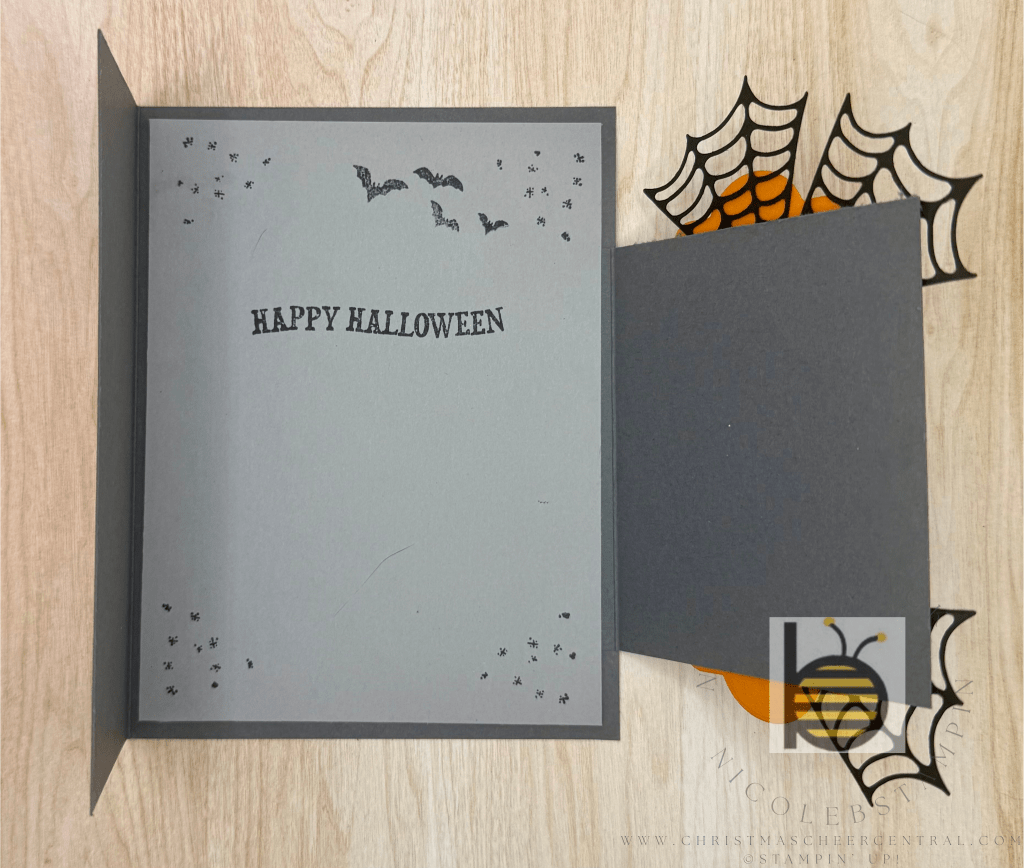
- Adhere the 1/2″ section to the inside of your card base so the fold lines up with the card’s edge.
- Cover the flap by adhering your inside panel over the 1/2″ section to hide it.
- Add your layers to both of the front panels for dimension and color.
Step 3: Decorate the Front
Now the fun part—decorate! Add your die cuts from the Fright Night Bundle to the front of the card. Play around with placement to build a spooky little scene.
And that’s it! A festive and interactive Halloween card that’s sure to surprise and delight whoever opens it.
Cardstock Cuts for this project:
- Basic Gray – 6-1/2″ x 5-1/2″ scored at 4-1/4; 4″ x 3-1/2″ scored at 3″
- Smoky Slate – 5-1/4″ x 4″
- Spooky Sweet DSP – 5-1/4″ x 2″, 3-1/4″ x 2-3/4″
- Pumpkin Pie – 4-1/2″ x 2-1/2″
- Basic White – 4-1/4″ x 2-1/4″
- Basic Black – scrap


Leave a comment