I had so much fun creating with the Spooky Halloween and Fright Night bundles this week! I put together a few new pieces to add to my Halloween décor, and I can’t wait to display them this year.
Framed Halloween Art
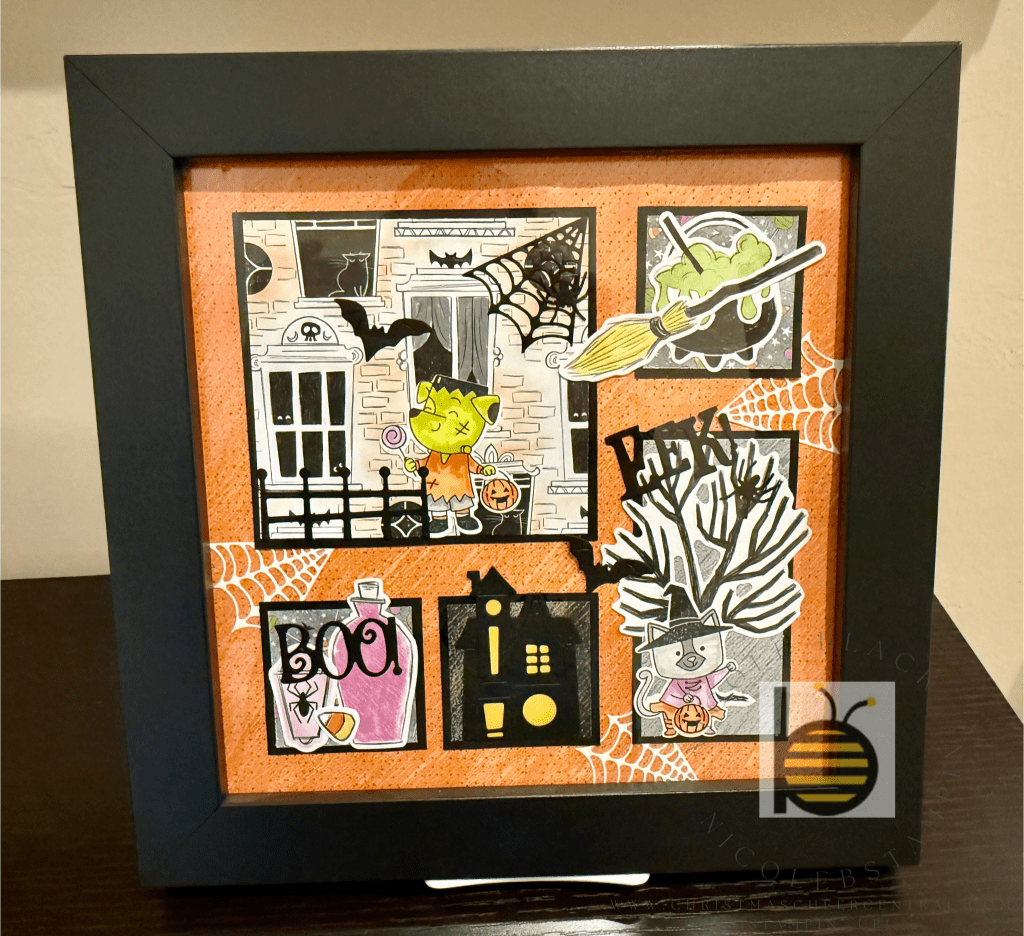
I started with a 9″ x 9″ framed picture, using elements from the Spooky Sweet DSP along with some die cuts from the bundles. The best part about these sets is how easy it is to mix and match—you can truly make the design your own!
Tip: For the haunted house, I traced the Basic Black die cut onto Crushed Curry cardstock, fussy cut it out, and layered it behind. The result? A glowing look in the windows—like the lights are on inside the house!

Festive Halloween Banners
Next, I pulled out the Party Dies Bundle and created some Halloween banners using Pumpkin Pie cardstock and more Spooky Sweet DSP. I embellished them with die cuts for extra detail, but you could also use the punch-outs from the DSP to make it quick and easy.

I love how these pieces came together, and I’m already excited to add them to my decorations this Halloween season. Sometimes the little handmade touches make the holiday feel extra special!
Cardstock Cuts for this project:
Picture
- Basic Black – 4-3/4″ x 4-1/2″, 2-1/4″ x 4-1/2″, three 2-1/4″ x 2-1/4″, 2″ x 2-3/4″ for house die, 4-1/2″ x 3″ for other dies
- Basic White – 2-1/2″ x 2″ for dog die, 2-1/2″ x 2″ for cat die, 2″ x 6″ for other dies
- Spooky Sweet DSP – 9″ x 9″ background, 4-1/2″ x 4-1/4″, 2″ x 4-1/4″, three 2″ x 2″
- Crushed Curry – 2-3/4″ x 1-3/4″ for house
Banner
- Pumpkin Pie – 3-1/2″ x 2-3/4″ per banner piece
- Basic Black – scrap for die cuts
- Spooky Sweet DSP – 3-1/4″ x 2-1/2″ per banner piece, 2-3/4″ x 2-1/4″ per letter


Leave a comment