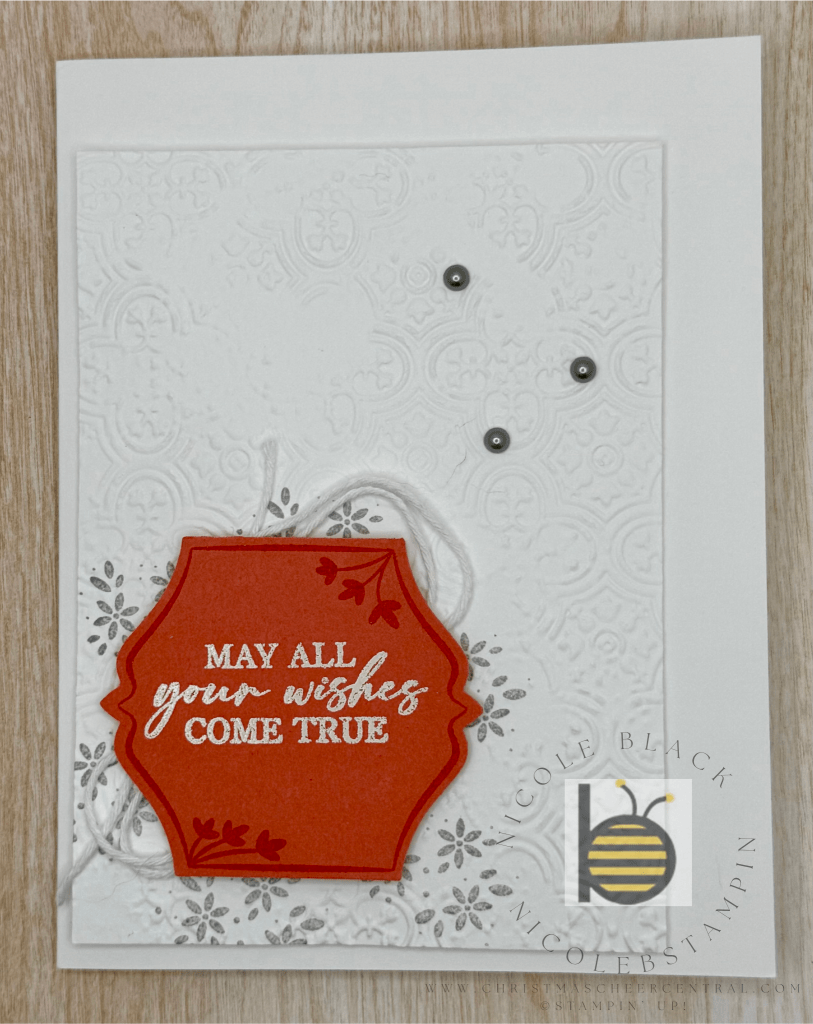
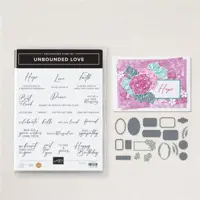
Today I’m excited to share a clean and simple card featuring the Bright Borders Bundle! This versatile set is perfect for birthdays, thank you notes, or any kind of celebration. I love how easily it adapts—just by changing up the colors or embossing folder, you can make it feel feminine, festive, or even more masculine.

Here’s how I put this design together:
✂️ Step-by-Step Instructions:
1. Create the Background Panel
Start with a panel of Basic White cardstock.
Stamp the floral border from Bright Borders in Smoky Slate ink. Then run the panel through your embossing machine. I used the retired Distressed Tile Embossing Folder for texture, but any subtle pattern will do the trick.
Pop it up on your card base using Stampin’ Dimensionals for a little lift and interest.
2. Make the Label
On a piece of Calypso Coral cardstock, stamp the border image in Calypso Coral ink to create a tone-on-tone look.
Next, heat emboss your sentiment in White Embossing Powder for a bold contrast.
Punch out the label using the To The Point Punch.
3. Add Twine & Embellishments
To soften the design, take White Baker’s Twine and create a few looped circles. Secure them to the back of your label with Scotch tape.
Then adhere the label to the front of the card with Dimensionals.
Finish it off with a few Smoky Slate Pearls for just a touch of sparkle.
This is one of those go-to layouts you’ll find yourself using again and again. Simple, stylish, and easy to personalize!
Let me know what color combos you’re using with this bundle—I’d love to see your take on it!
Cardstock Cuts for this project:
- Basic White Thick – 8-1/2″ x 5-1/2″ scored at 4-1/4
- Basic White – 4-3/4″ x 3-1/2″ panel
- Calypso Coral – 2-1/2″ x 2-1/2″ for label


Leave a comment