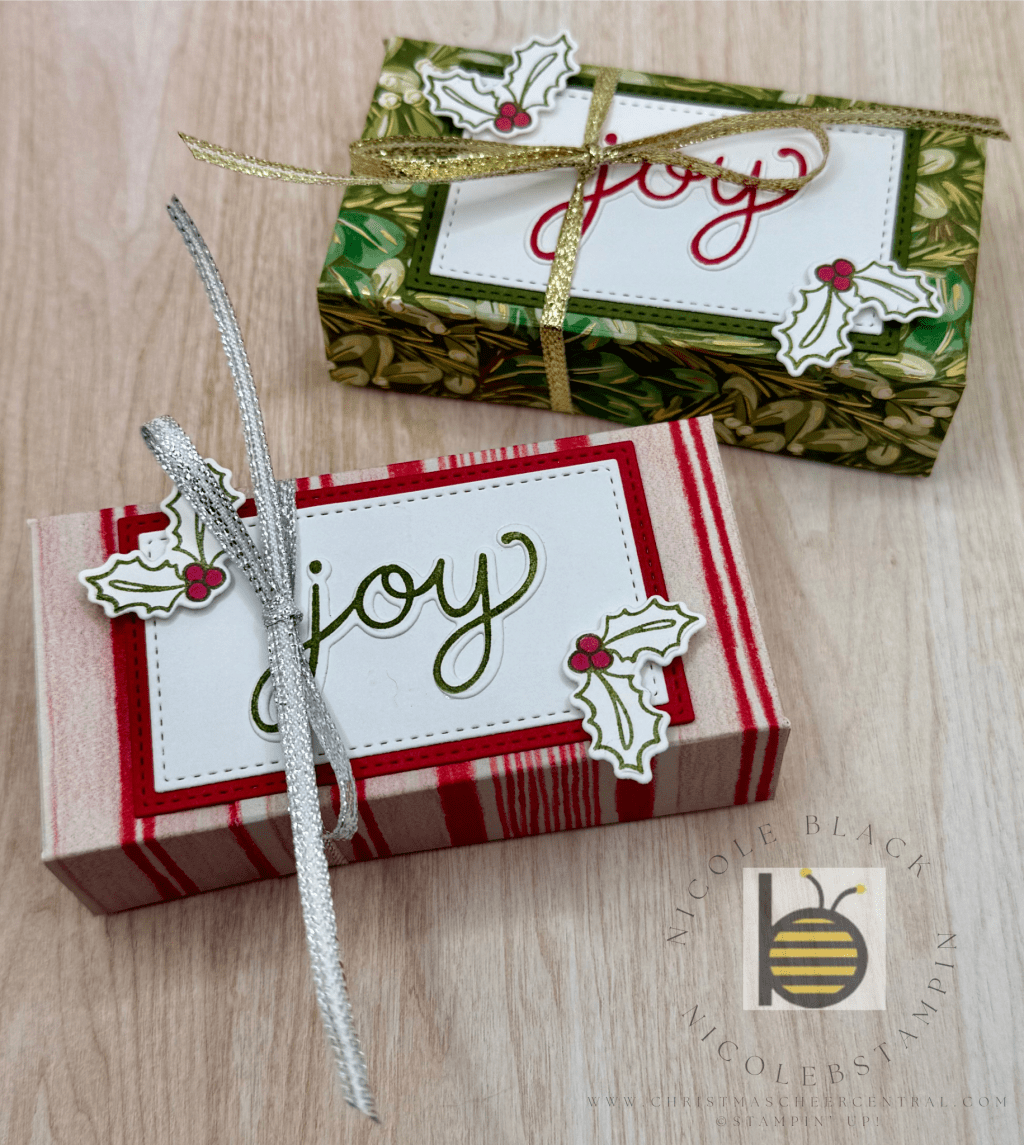
While browsing for fun and simple gift ideas, I came across an adorable box design that immediately struck me as the perfect little gift for co-workers. Since it’s Christmas in July, I thought—why not make a festive version to share with you now?
These boxes are quick to make and a great way to use up some of that leftover Designer Series Paper (DSP) you might have tucked away. I used a retired holiday DSP from last year, and it worked beautifully.

Instructions to Make the Box:
- Cut your DSP to 11″ x 4″
- Score along the long side at 3″, 4″, 8″, and 9″
- Rotate your paper one quarter turn and score again at 1″ and 3″
- Fold along all the score lines to define your box shape
- On the 1″ side, snip along the folds at the 3″, 4″, 8″, and 9″ marks to create flaps
- Add Tear-n-Tape to the small tabs and assemble the box
- Decorate the top with embellishments, die cuts, or tags
- Finish it off by tying a ribbon around the box to hold it closed
Step by Step: Easy Christmas Gift Box
That’s it! You now have a cute and functional gift box ready to fill with goodies, gift cards, or even a few handmade treats.
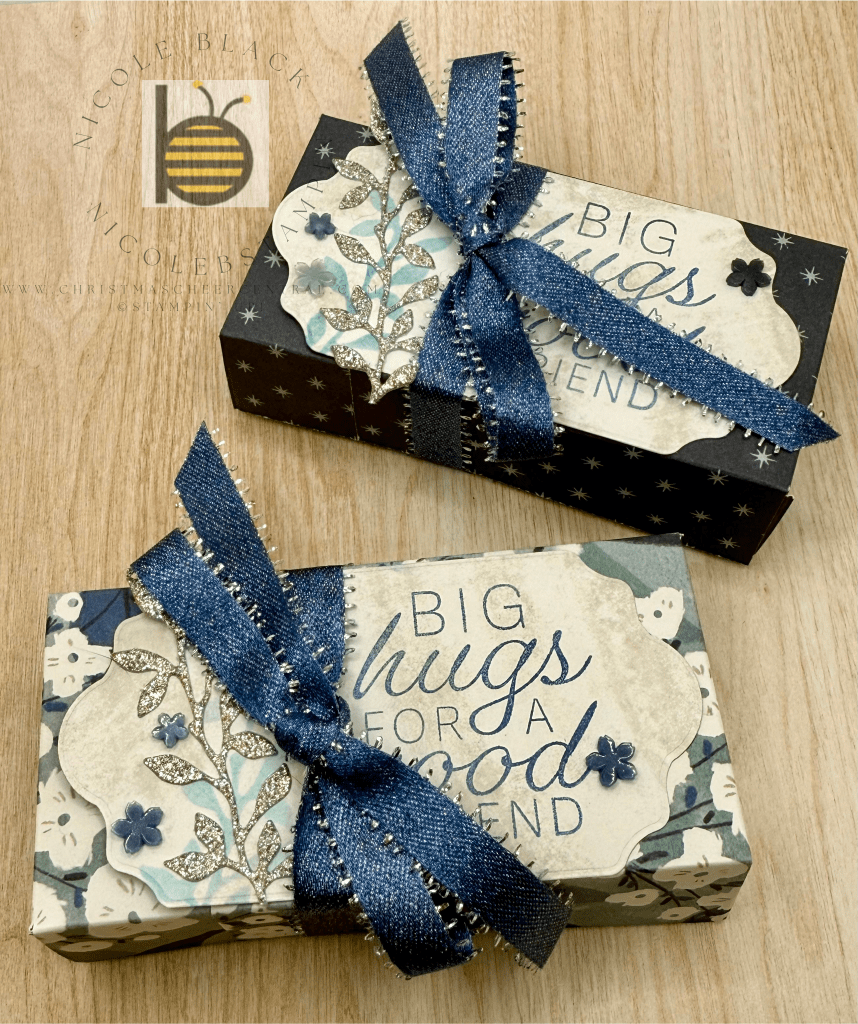
✨ And here’s a little sneak peek! I used elements from one of the stunning new Suites launching this September. I’m in love with the soft blues and all that sparkly bling—it’s a winter wonderland in paper form!
Cardstock Cuts for this project:
- Designer Series Paper – 11″ x 4″ scored at 3″, 4″, 8″, 9″. Rotate and score at 1″ and 3″
Stampin’ Up! products used to create this project:


Sale: $11.55
Price: $16.50


Leave a comment