Every year, I create a special Christmas card for my Stampin’ Up! customers. It’s my way of saying thank you and spreading a little holiday cheer. I held off on sharing the design until after Christmas to keep it a delightful surprise for them. Anyone who knows me knows I can’t resist adding a touch of sparkle—and this year was no exception!
Here’s how I brought this year’s card to life, step by step:
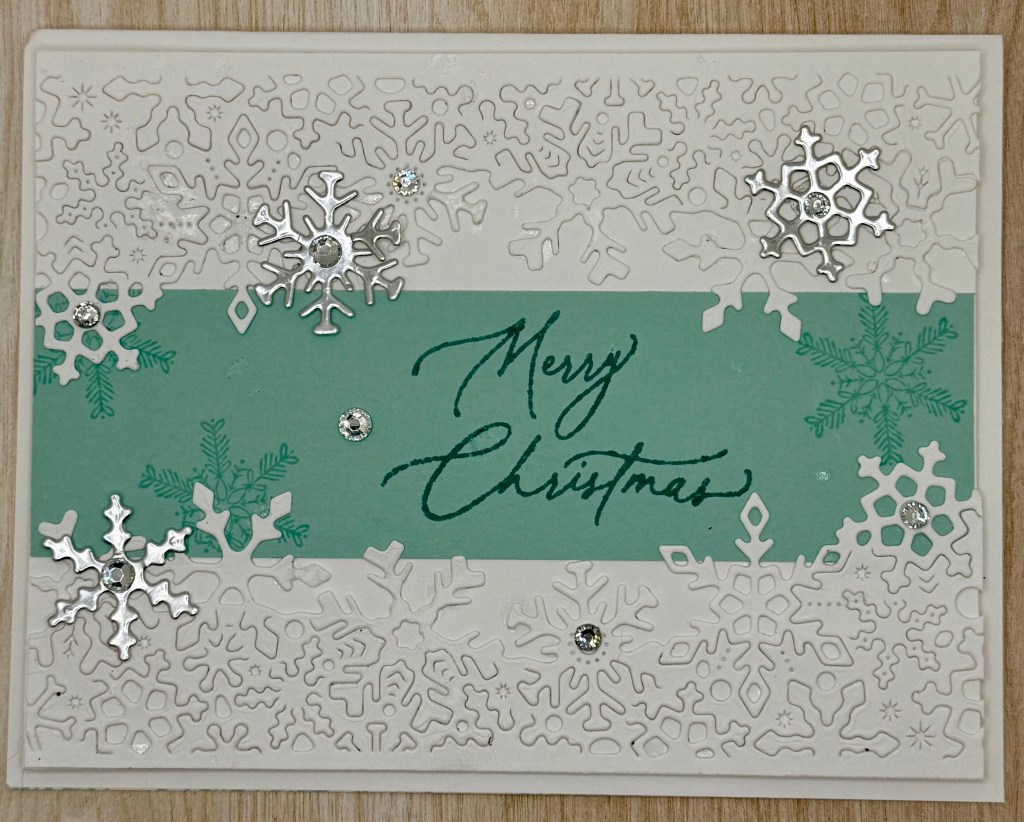
Creating This Card: A Step-by-Step Guide
1. Pool Party Band
To start, I stamped the sentiment in Lost Lagoon and added snowflakes in Pool Party onto a 1-1/4″ wide strip of cardstock. Once stamped, I adhered this band to the center of my 5-1/4″ x 4″ panel. While I made this as a Christmas card, the design is versatile—it could easily work as a birthday, thank-you, or “Happy Winter” card!
2. Snowflake Borders
Next, I ran another 5-1/4″ x 4″ panel through the Big Shot twice, cutting out the snowflake border on each side. These delicate borders added an extra layer of wintery charm. I adhered this border panel to the base layer with the band in the center.
3. Layering for Dimension
For a touch of depth, I attached the completed panel to the front of the card base using dimensionals. I adore how a tone-on-tone layer with dimension adds subtle elegance to any card.
4. Adding Snowflakes
I die-cut several snowflakes from Silver Foil paper and arranged them on the card front. Glue dots made it easy to secure them wherever I thought they looked best.
5. Bling It Up!
Finally, I added sparkle (because it wouldn’t be complete without it!). I used adhesive-backed sparkling gems (retired, but any rhinestones or gems will work) to the centers of the snowflakes. The extra shimmer brought the whole design to life, capturing the magic of a snowy winter day.
And there you have it, a wintery card full of snowy sparkle!
Cardstock Cuts for this project:
- Basic White Thick – 8-1/2″ x 5-1/2″ card base scored at 4-1/4″
- Basic White – 5-1/4″ x 4″ panel, 5-1/4″ x 4″ Snowflake Border Dies
- Pool Party – 5-1/4″ x 1-1/2″ panel
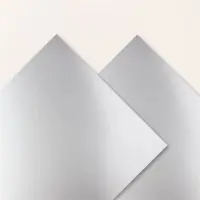
- Silver Foil – Snowflake Dies


Leave a comment