
As we near Thanksgiving, I’m excited to share my final Christmas card design of the year. This one’s what I’d call an “above and beyond” card—a little extra special for those who truly appreciate the creative effort that goes into it!
This card incorporates two distinct techniques: Masking and a Fancy Fold. These add a unique touch, making it perfect for anyone who enjoys that extra bit of artistry in a handmade card. I’ve included short video tutorials for each technique below to make it easy to follow along.

Creating This Card: A Step-by-Step Guide
Fancy Fold Assembly
The fancy fold layout gives this card its standout structure. I’ve created a quick video to walk you through the assembly process, showing you just how simple it is once you get started.
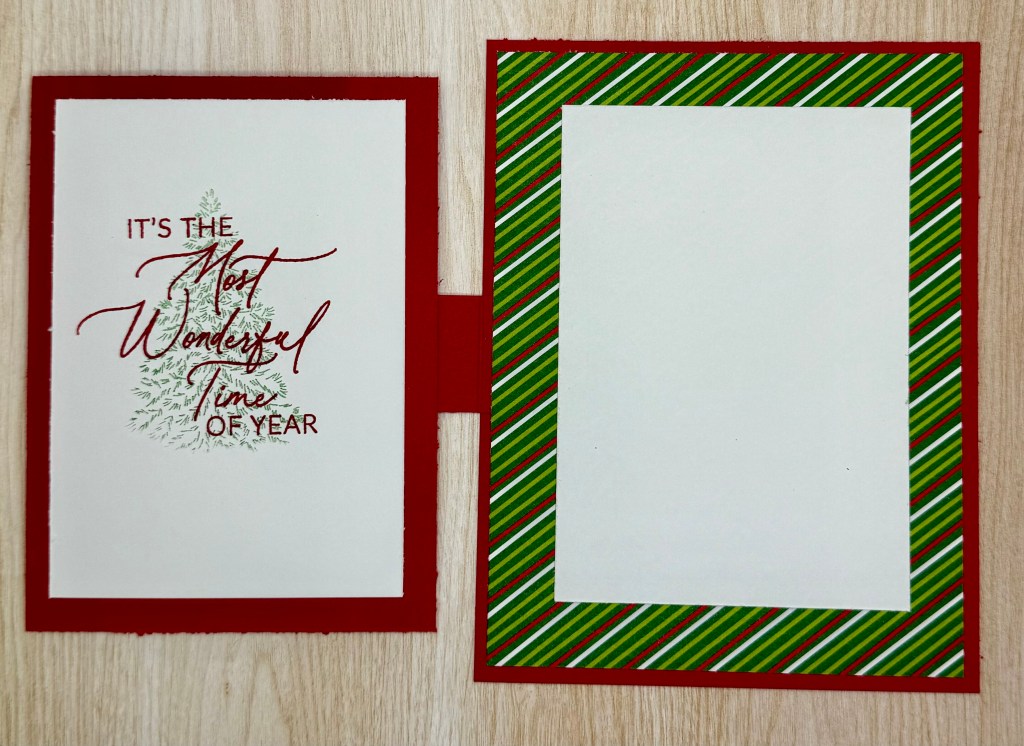
Stamping the Inside
- Left Side Panel: I used the Greetings of the Season stamp set in Real Red for a festive message. To add a subtle holiday touch, I inked the small pine tree from Forested Forest in Garden Green, stamped it off twice, and then layered it over the sentiment for a soft watermark effect.
- Right Side Panel: I left this blank to provide space for a personal message. You can also add a sentiment or watermark here if you’d like.
Masking Technique for the Front Panel
For the front panel, I used a masking technique to create a layered look, adding depth and dimension to the trees. I also included embossing to make the design pop. Check out the video tutorial below for a quick walkthrough of these techniques.

Finishing Touches
To complete the card, I added a sentiment from Sophisticated Sled in Real Red and used Iridescent Foil Gems for a touch of sparkle.
I hope you love this card as much as I do! Once you get the hang of the fancy fold, you’ll see how easy and enjoyable it is to make a card that feels just a little different from the usual.
Cardstock Cuts for this project:
- Real Red – 5-1/2″ x 4-1/4″ card base, 4-3/4″ x 3-1/2″ panel, 5″ x 1″ panel scored at 2″
- Take a Bow Designer Series Paper – 5-1/4″ x 4″ panel, 4-1/2″ x 3-1/4″ panel
- Basic White – 3 panels of 4-1/4″ x 3″


Leave a comment