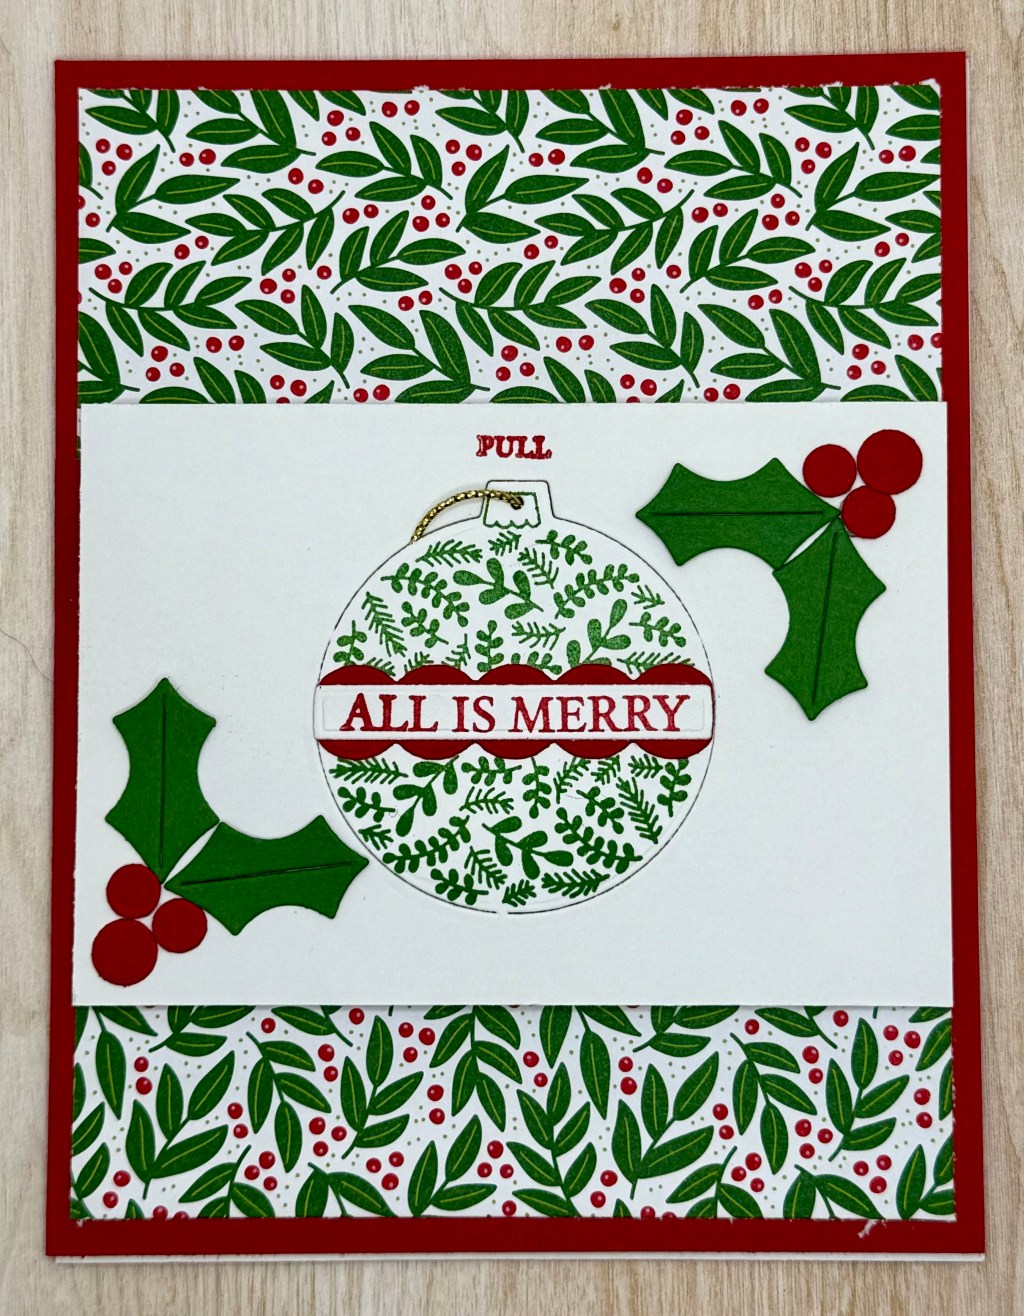
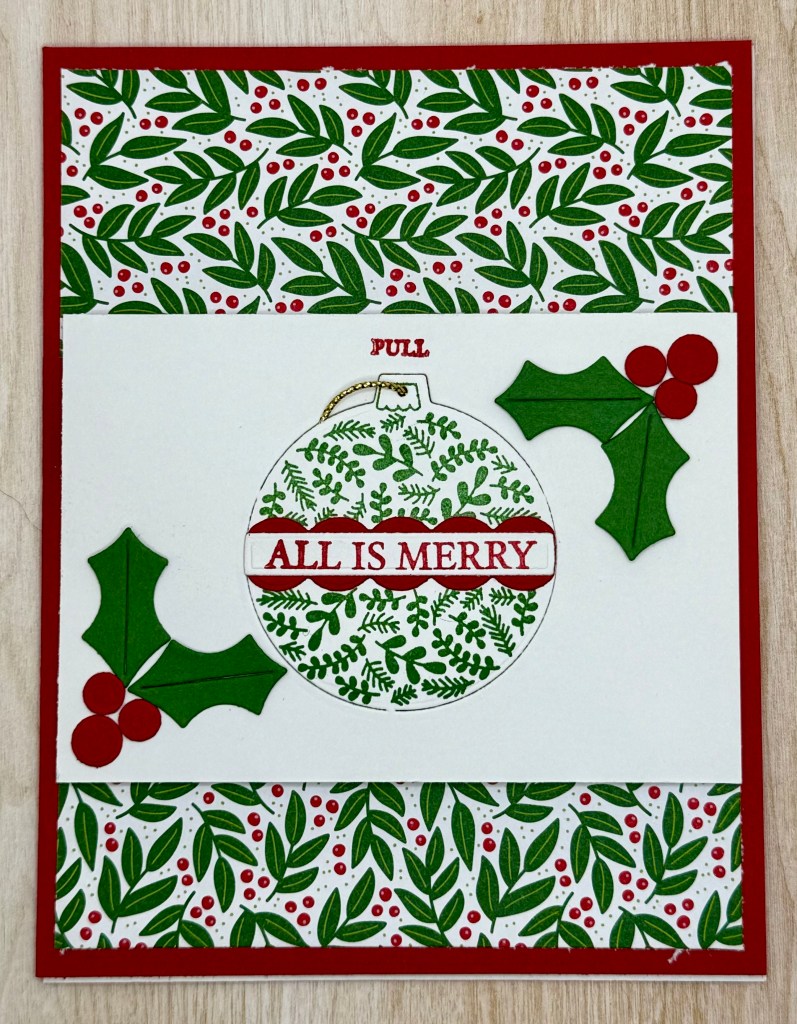
As we hit mid-November, I hope your holiday cards are coming along nicely! Today, I’m excited to share a special card that I’d call an “Above and Beyond” design. This one is a bit more involved but truly worth it—especially since it doubles as both a card and a keepsake ornament for your recipient to hang on their tree!
I’ve included a video to guide you through the steps for the front panel and ornament, as it’s easier to show than to explain in just words.

Assembling the Card: Step-by-Step
Front Panel and Ornament
The front of the card includes a beautiful ornament that’s easy to detach and hang on the tree. The video below will walk you through the process of assembling this interactive piece. It adds a unique, personal touch that makes this card a memorable holiday gift.
Inside of the Card
For the inside, I stamped the sentiment from the Greetings of the Season set in Real Red. I also added a strip of Designer Series Paper (DSP) along the bottom edge for an extra bit of flair and color contrast.

This card is fun to make and even more fun to give—a card and ornament all in one! I hope this design inspires you to go “above and beyond” with your holiday cards this year. Happy crafting!
Cardstock Cuts for this project:
- Real Red – 8-1/2″ x 5-1/2″ card base scored at 4-1/4″, scrap for Banner and Berries Dies
- Basic White – 5-1/4″ x 4″ panel (inside card), 4″ x 2-3/4″ panel, scrap for Banner Die
- Take a Bow Designer Series Paper (DSP) – 4 x 3/4″ panel (inside), 4″ x 1-3/4″ (top), 4″ x 1-1/4″ (bottom)
- Garden Green – Scrap for Holly Leaves Die


Leave a comment